I finally got to take SHAD out and I love it! After just a couple of minutes I found myself paddling, concentrating on my photography instead of the boat. It was like putting on an old pair of slippers, You don’t think about them, you just put them on and go about your business and that is exactly what I did.
I found SHAD a little smaller than most of my boats. I straddle the boat in the water, park my butt in the seat and then pull in one foot then the other. Because it is a little lower volume I could still do this but I had to lean back a little to get my leg in. It rubbed against the frame under coaming. I could get in without risk of getting stuck, it was just lower and that makes it a little tighter to get in. That was a surprise but that was the only one. I found it comfortable, easy to turn and tracks really well.
I was expecting really hard tracking but a little lean and it started to turn slowly. A lean and a little paddle stroke and it would go where ever I wanted.Just really impressed. This may become my other go-to boat. I still Long Shot better, but she is a close second.
Here is some photos from the paddle.BTW, at the end of the paddle I took several of her on the water and shore….. but I forgot to check the lens and there were big water drops that ruined the photos. So I will have to take some more. Gives me an excuse to go paddling again. 🙂
-
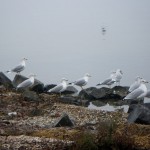
- My audience for the launching
-
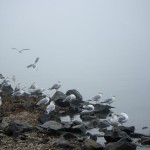
- Late arrivers comeing to see the launching.
-
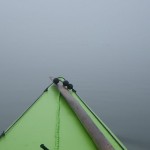
- Nothing here to see, move on.


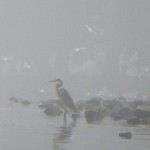
-
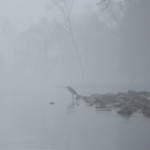
- Blue heron looking for his lunch
-
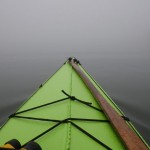
- As Buzz Lightyear would say…”To infinity and beyond!”
-
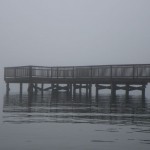
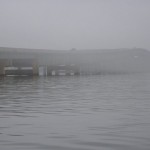
- Kiwanas fishing pier
-
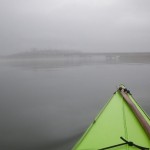
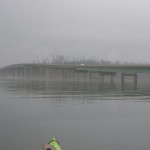
- After 30+ minutes of paddlign toward the traffic, the bridge appears out of the fog.
-
- And the fog just starts to dissapear!
-
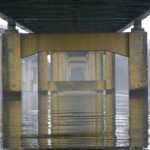
- A different perspective of the bridges
-
- Just as suddenly the fog starts to roll in on me. Time to turn around.
-
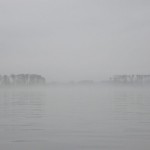
- The Islands soon dissapeared from view


