November, 2015
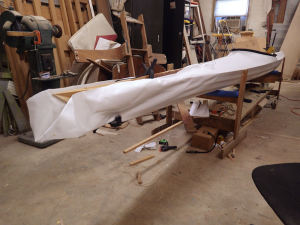
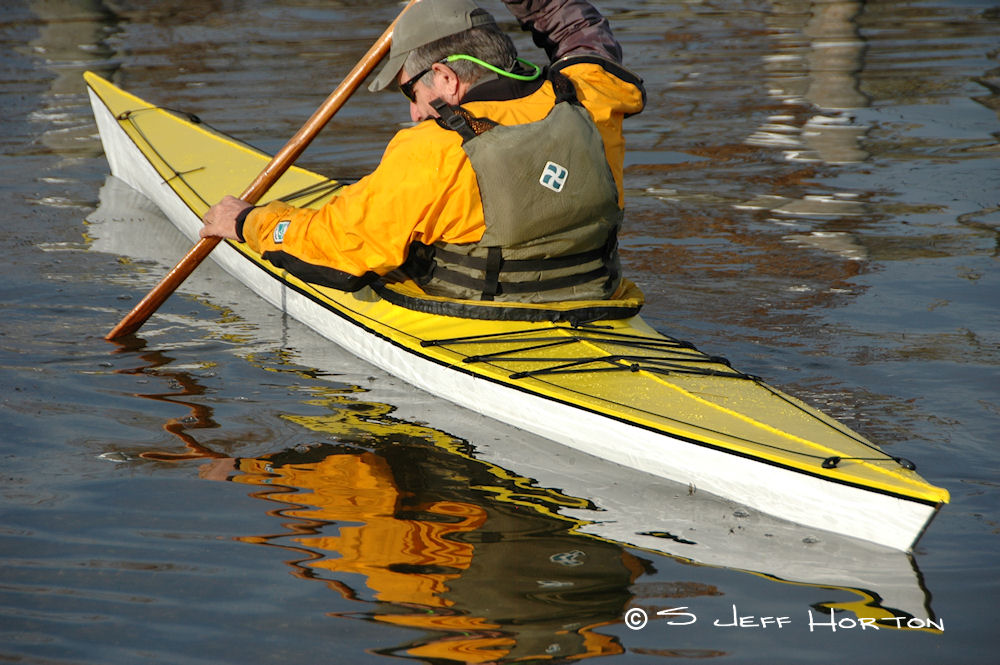
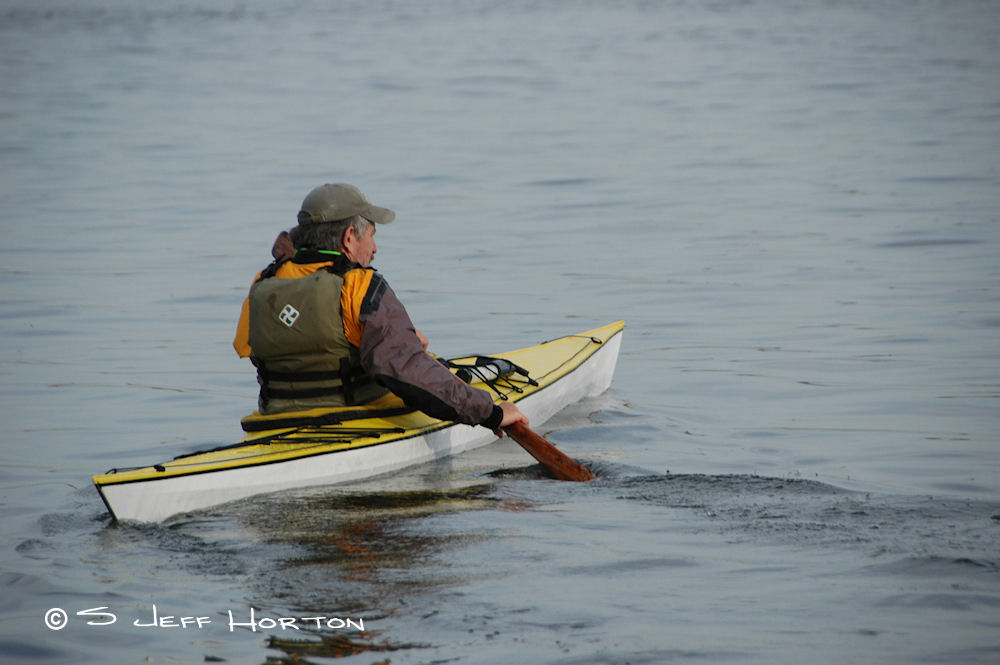
In case you have not been following along I just finished building a new kayak and I kept close track of the costs and the labor to build it. My wife finally tried kayaking and discovered just how much fun it can be. Problem was, none of the boats in my stable really suited her, so I needed to build her one..
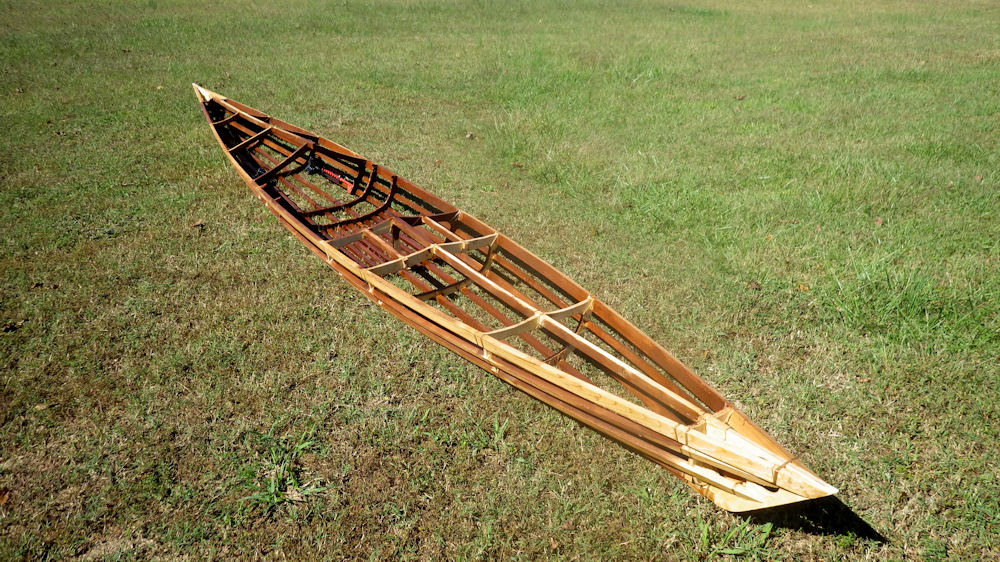
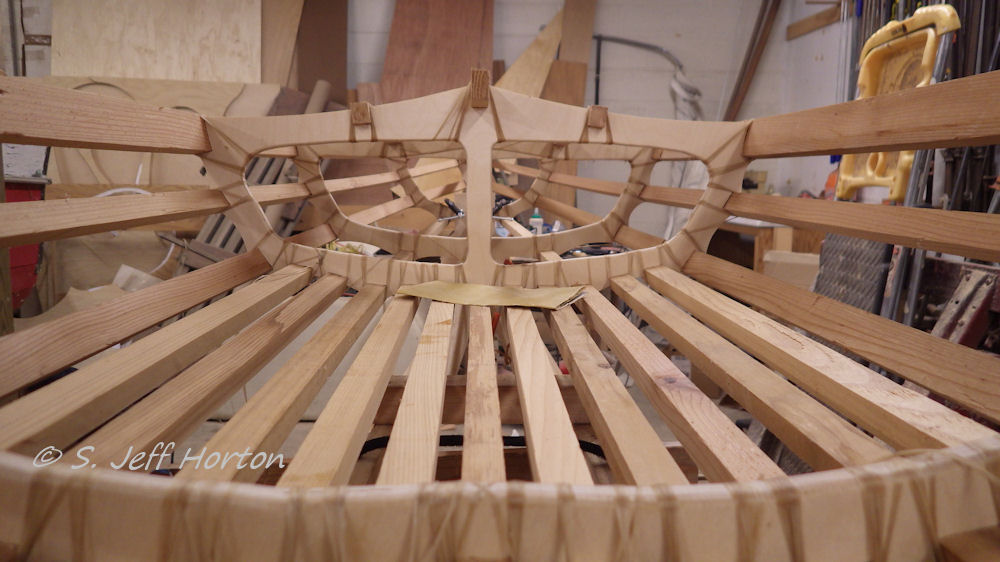
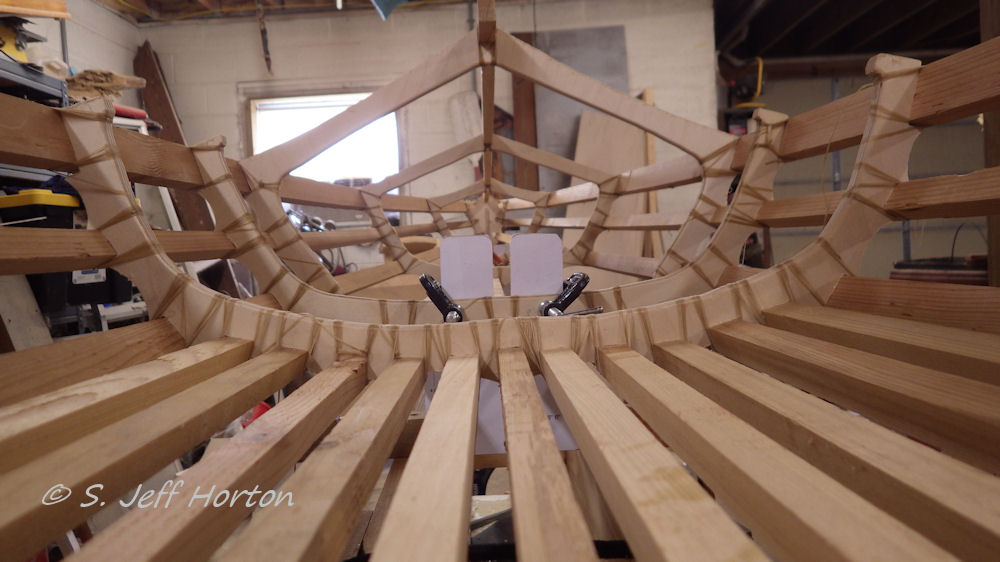
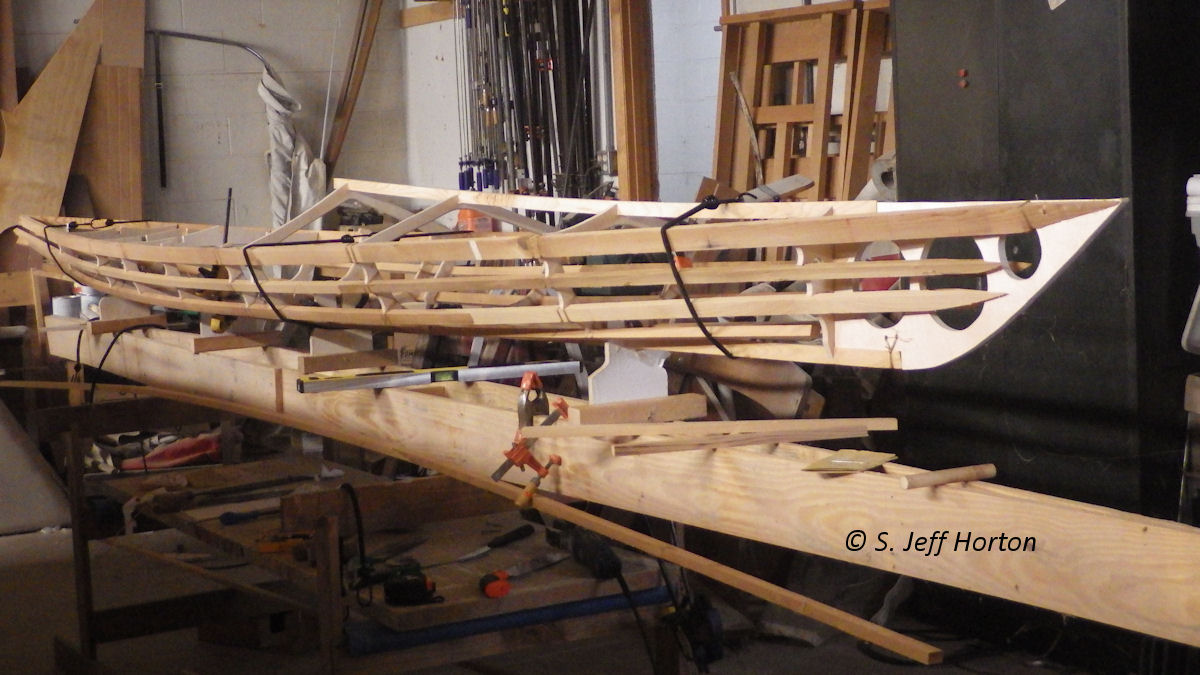
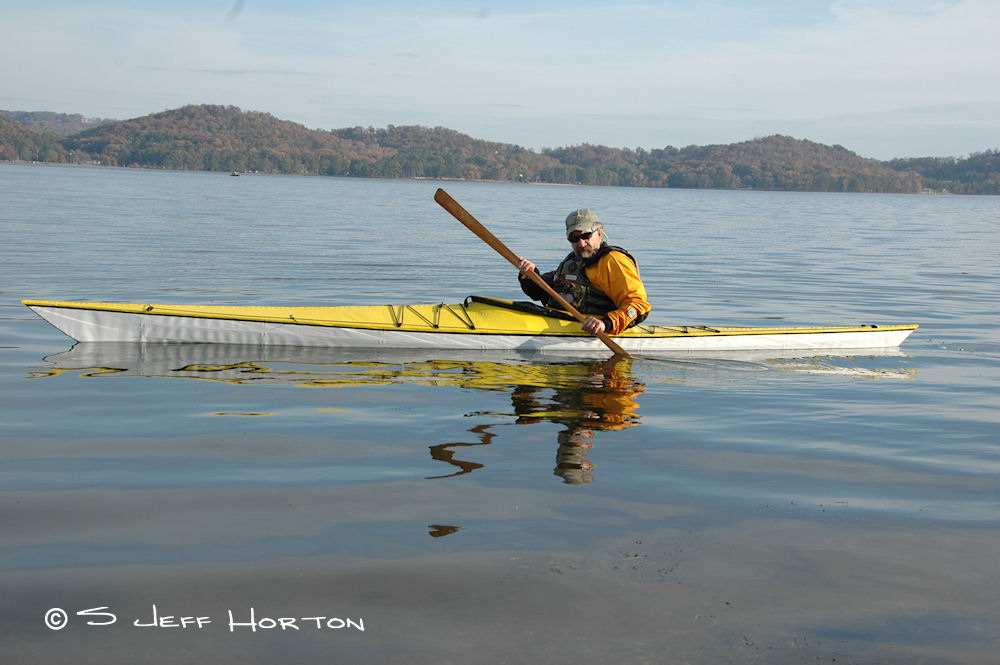
Short Shot has always been an under appreciate design. At sixteen and half feet and with better resistance numbers than most of my designs I had expected great things from this design but sales were always slow at best. I felt the styling was part of the problem and I have long thought about redesigning it to look more traditional and this was the motivation I needed.
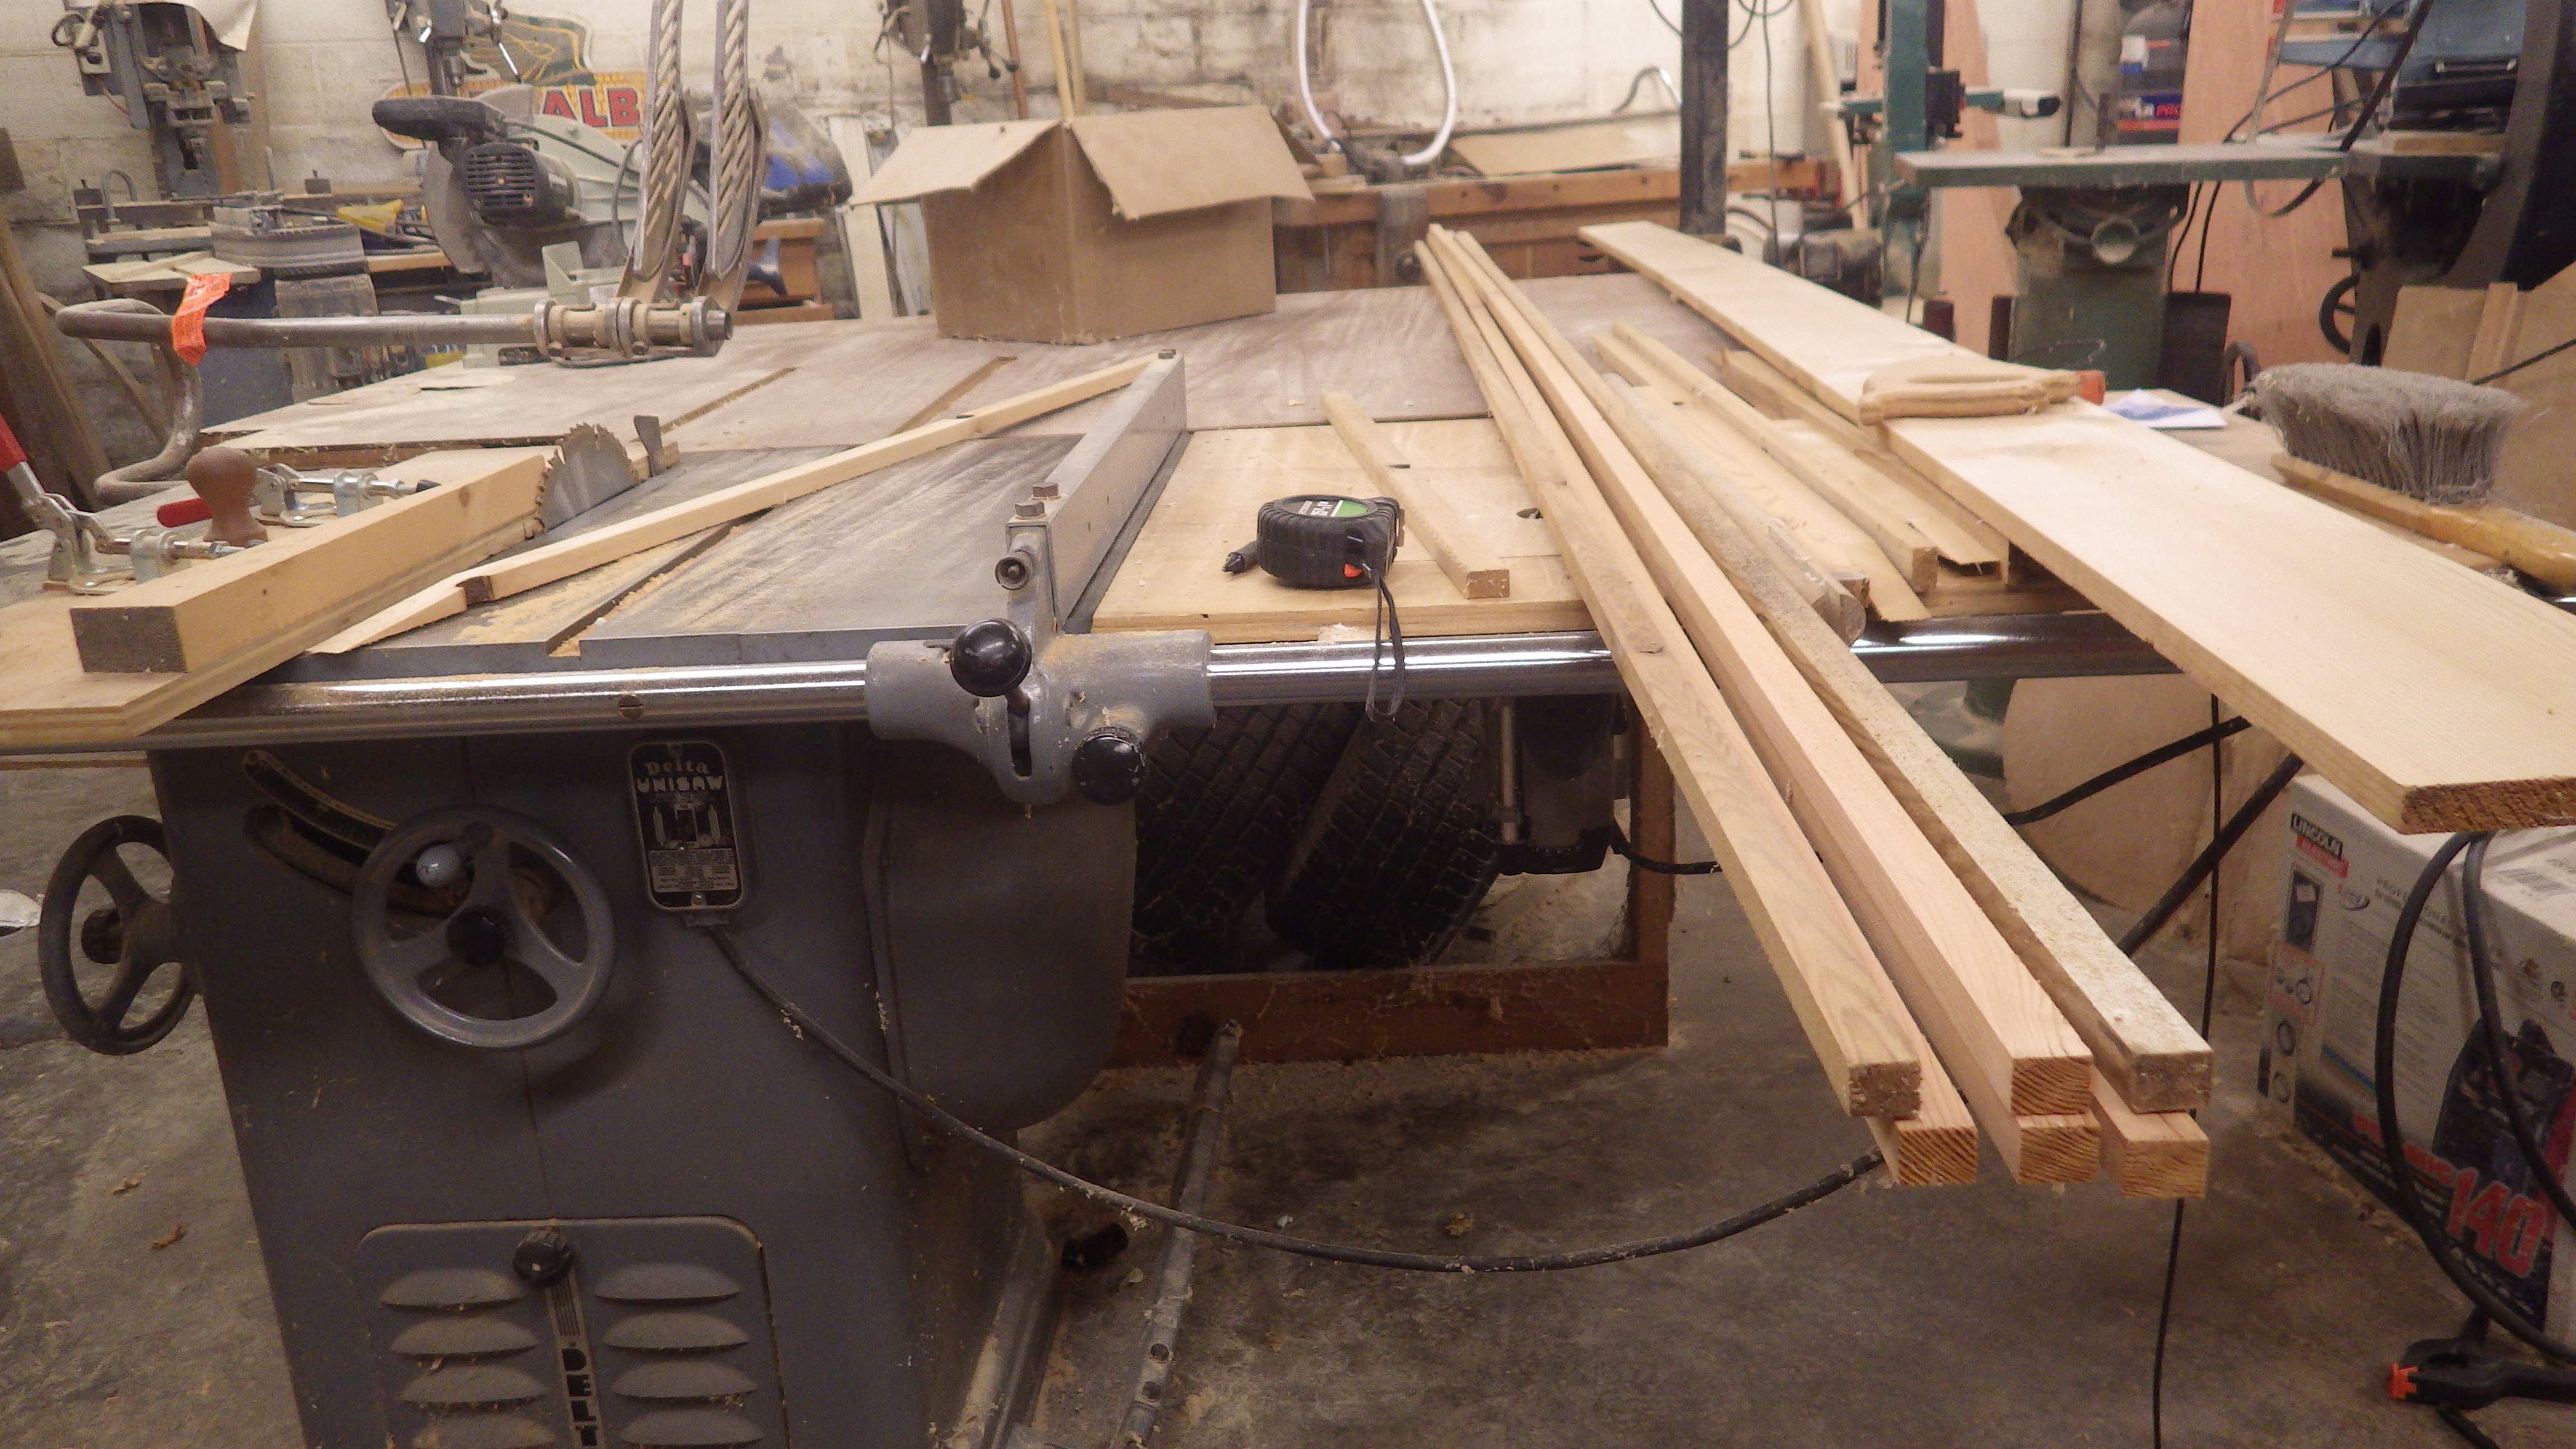
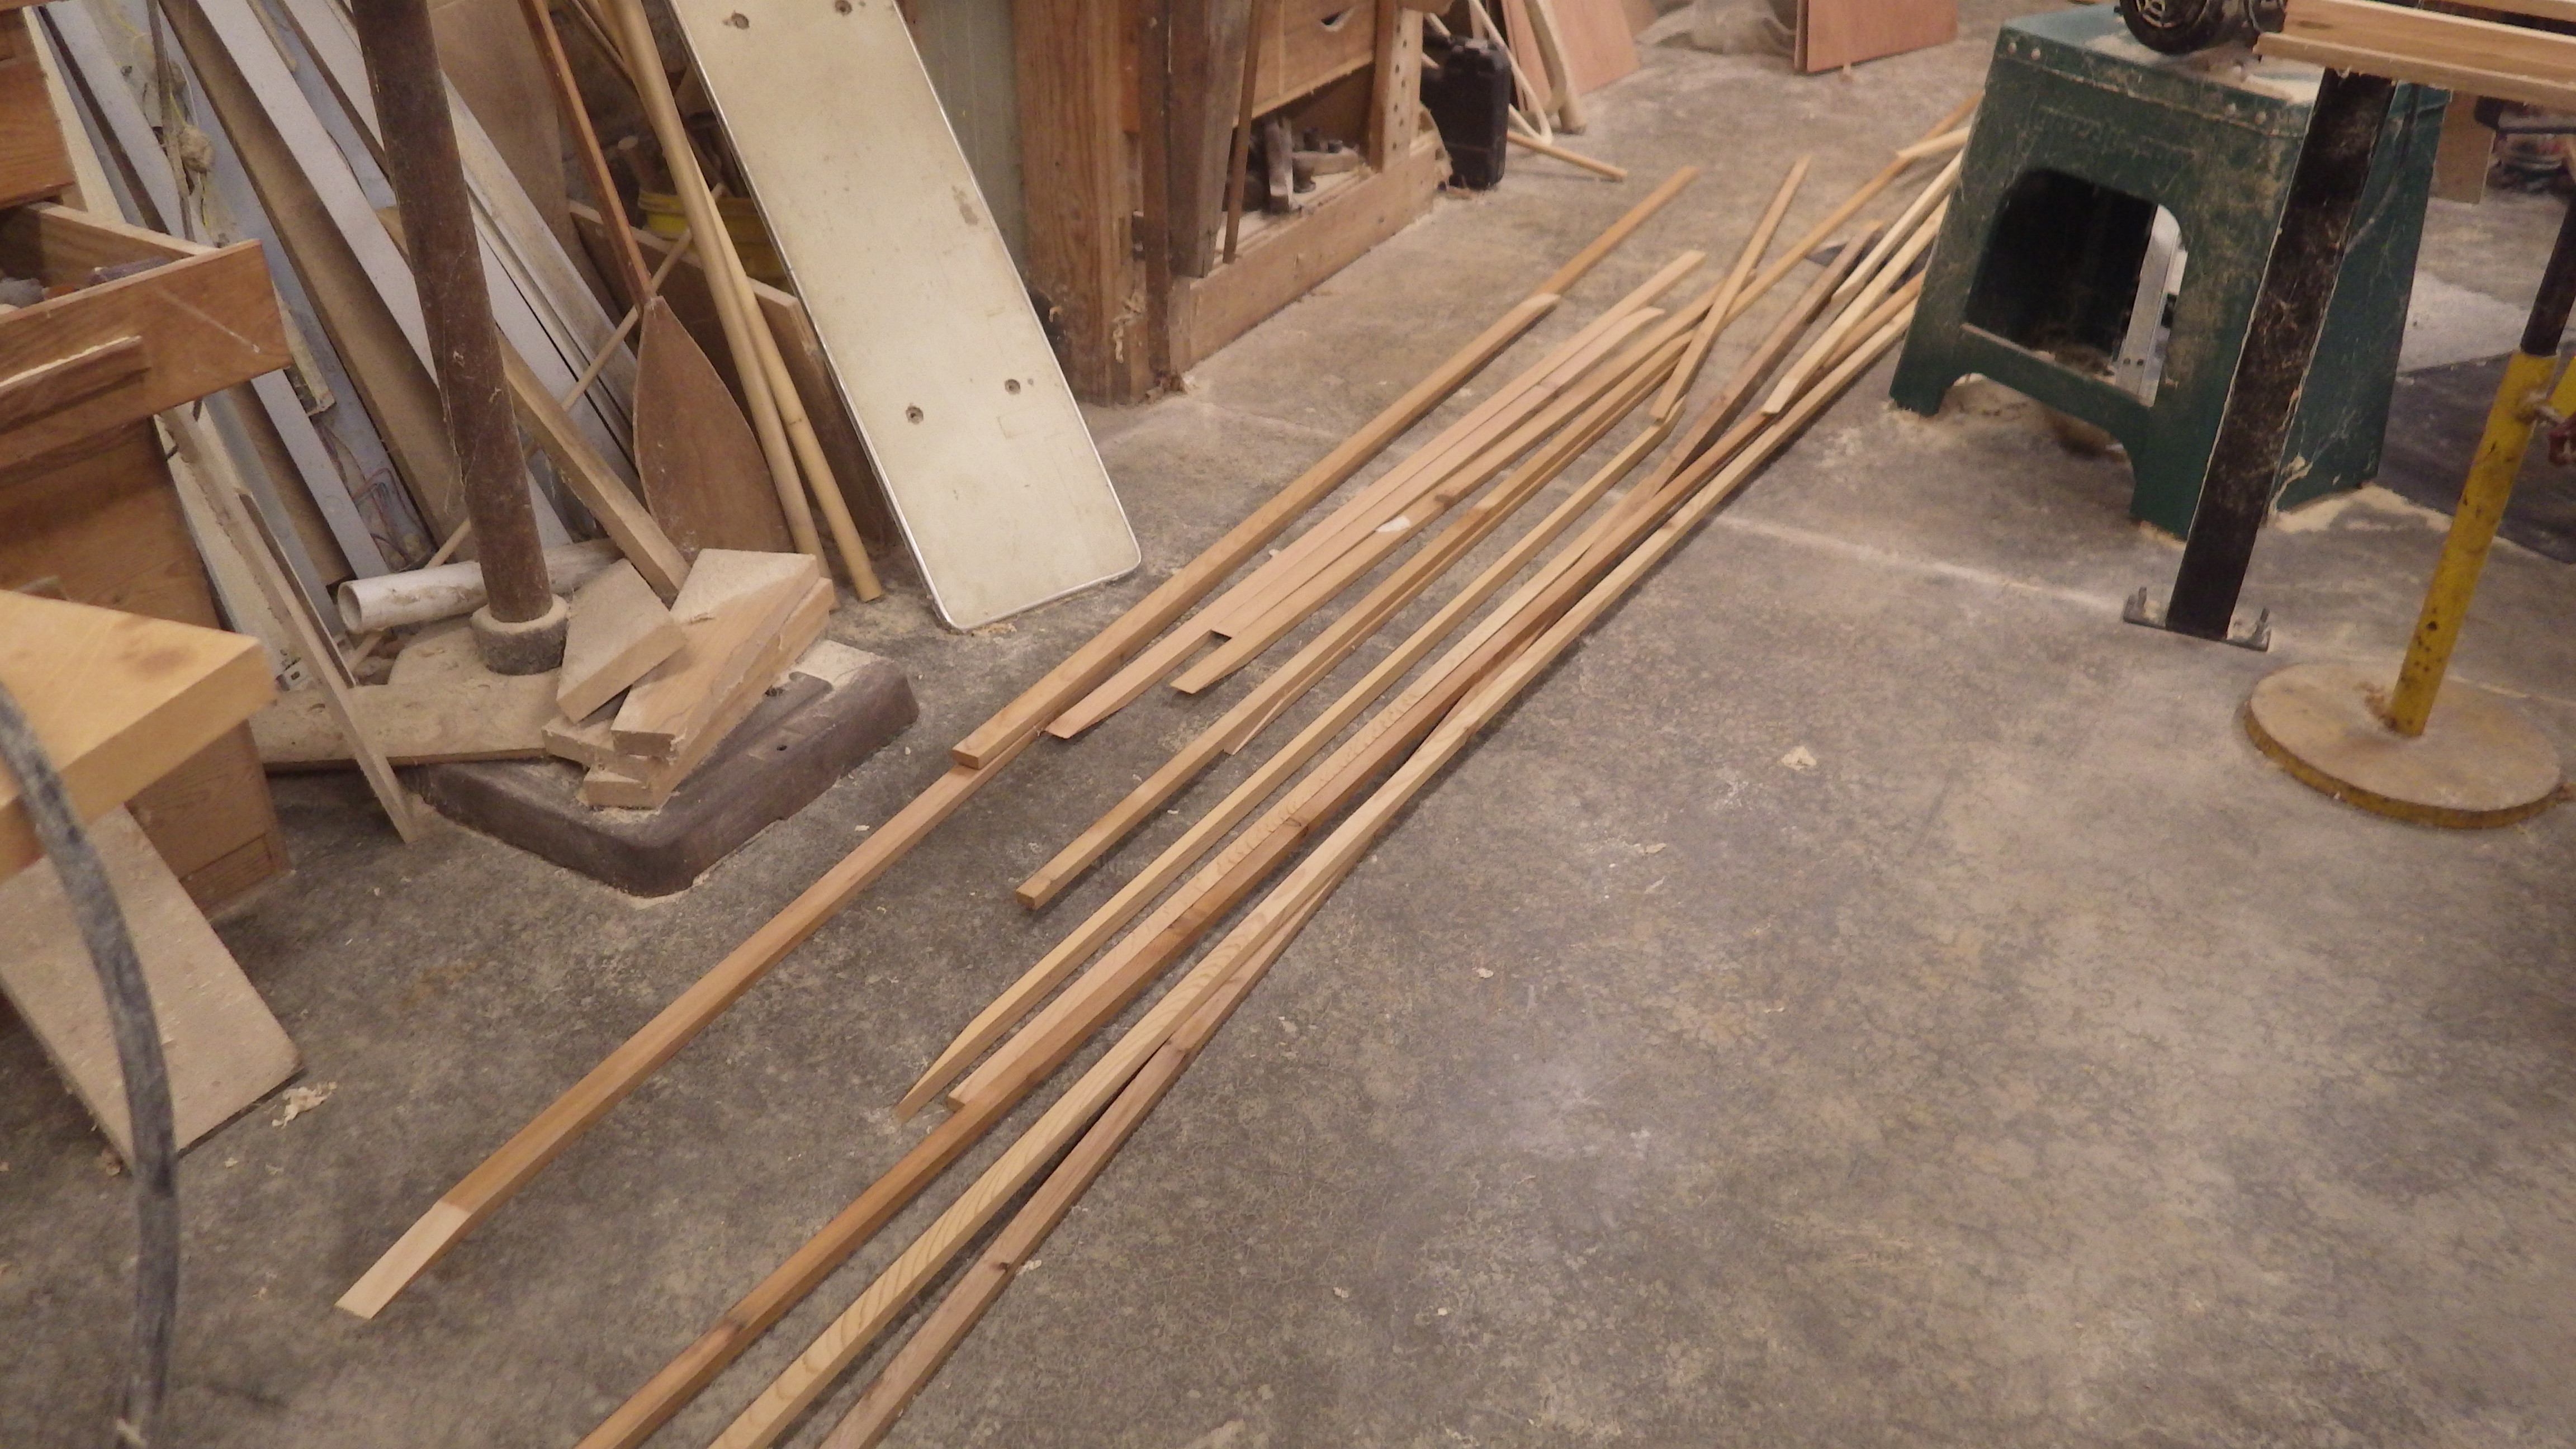
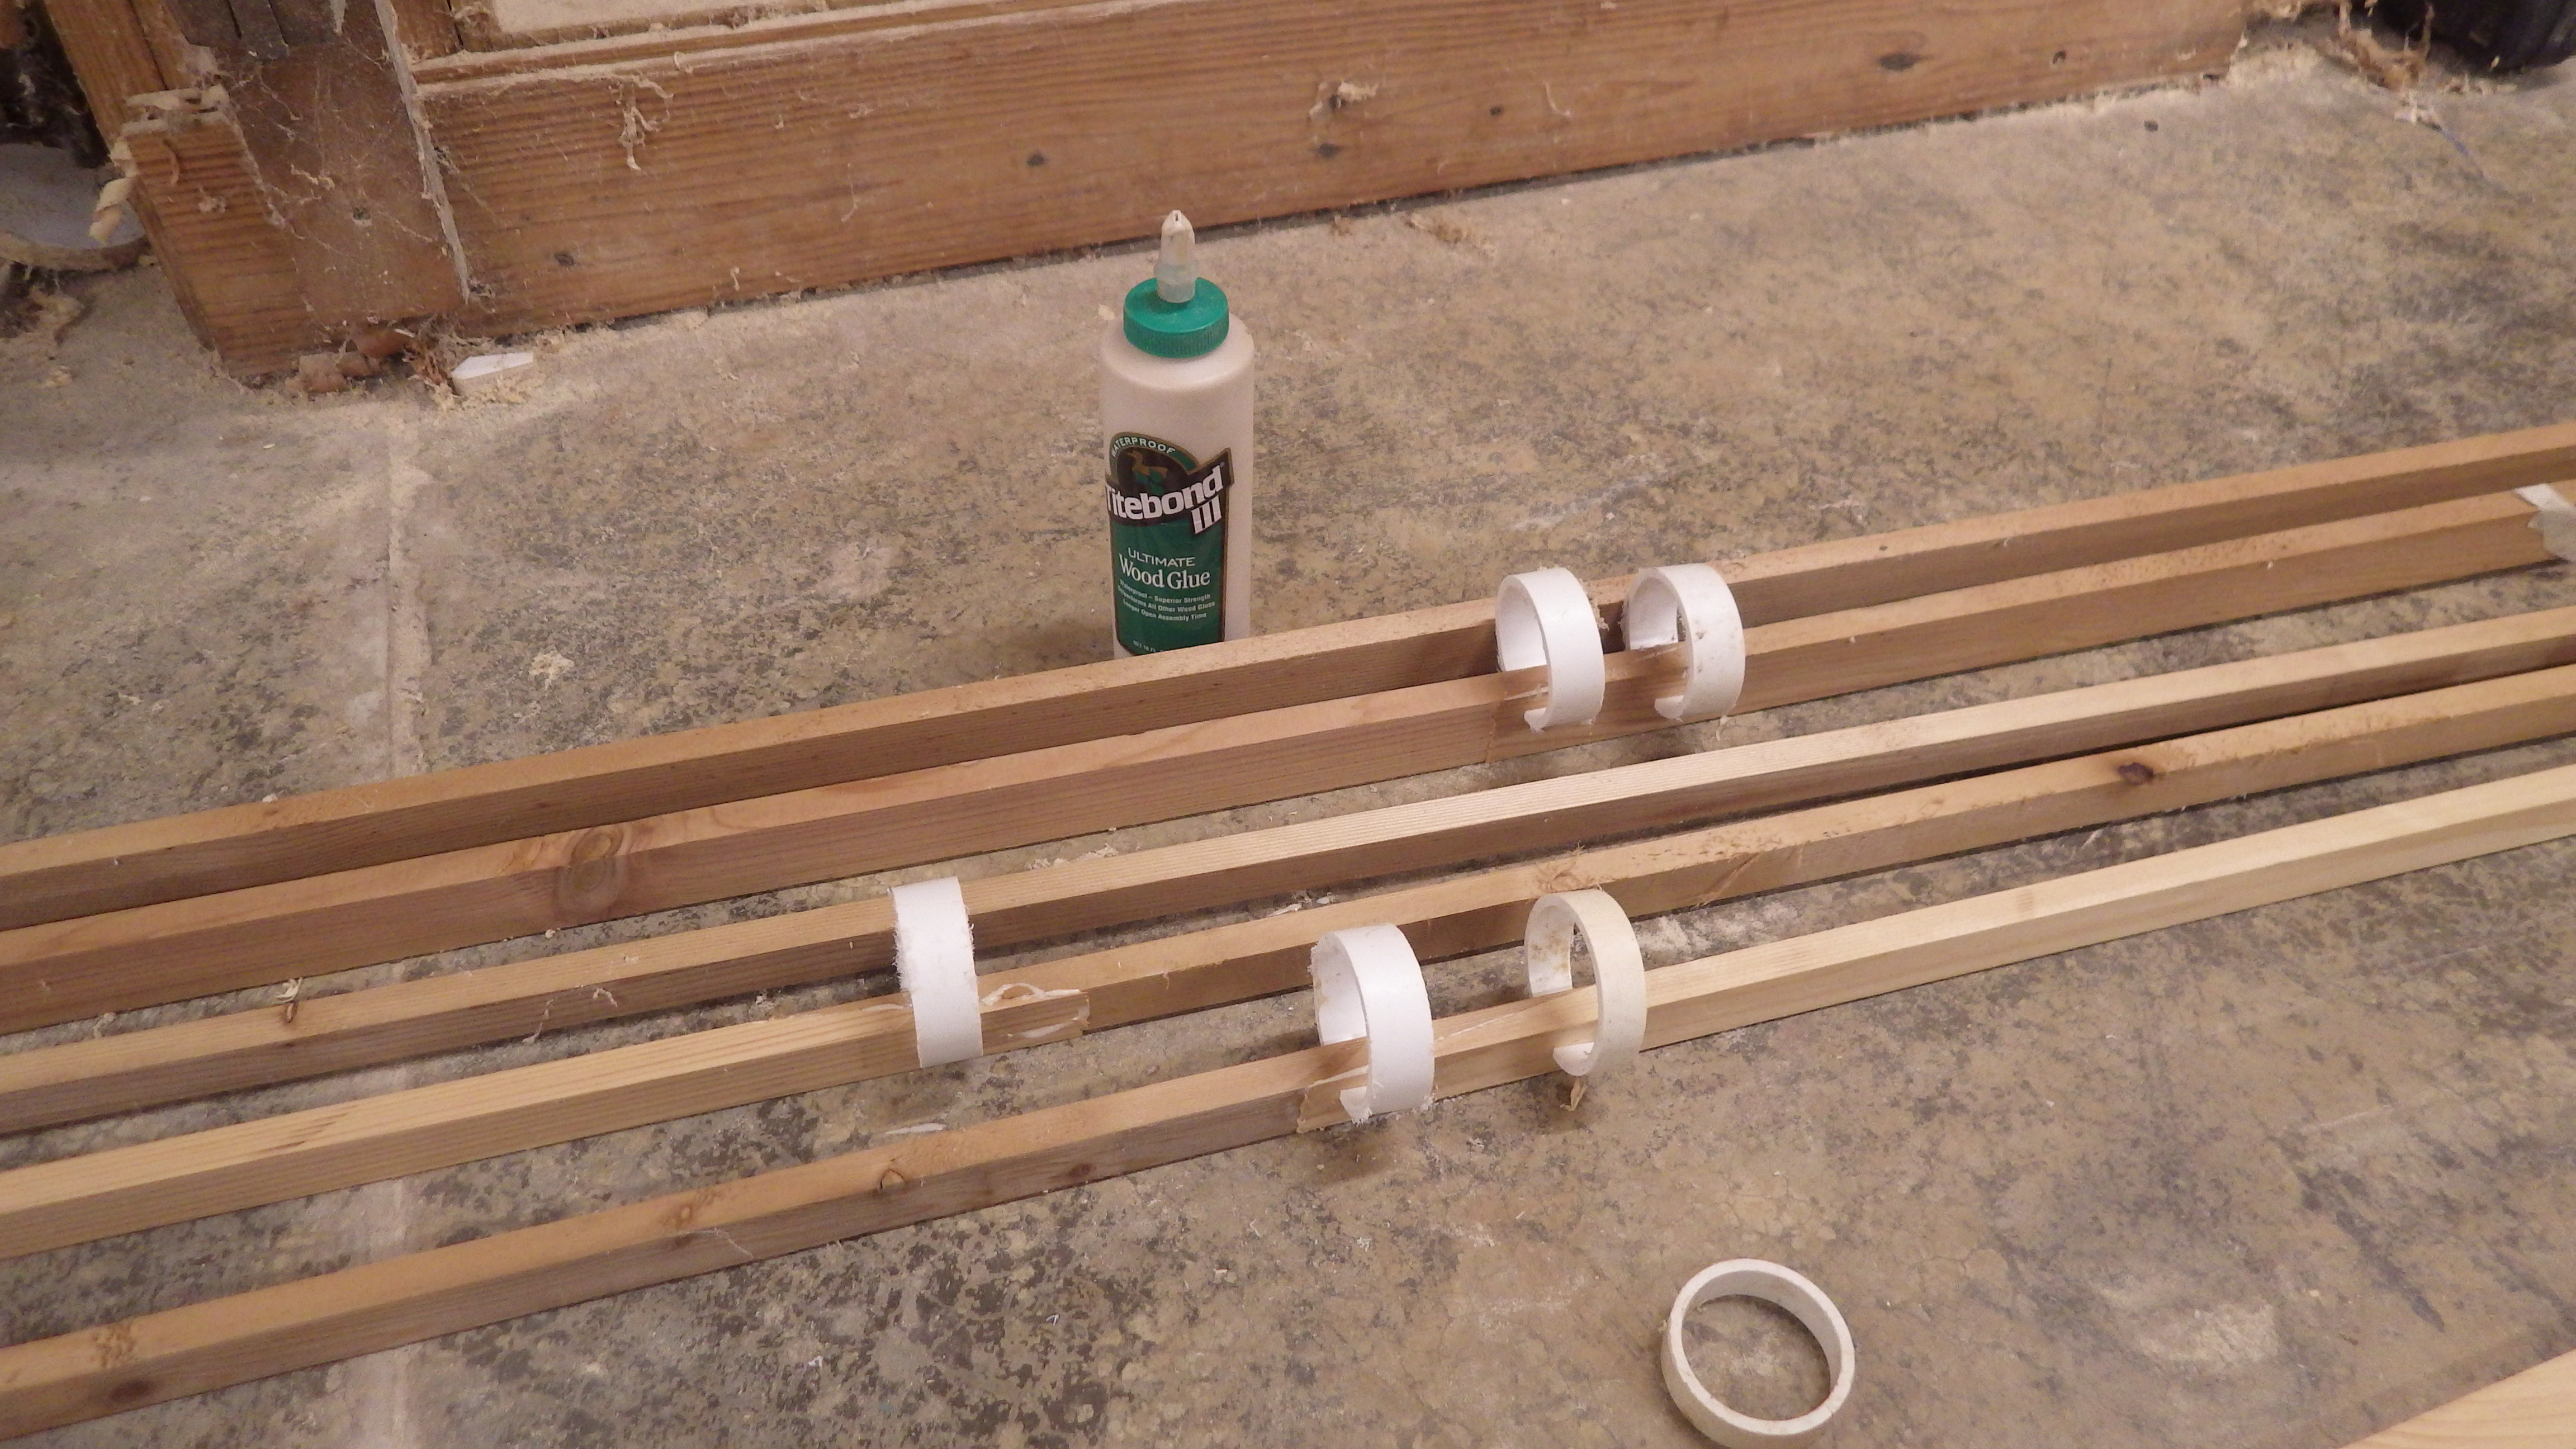
 As I built Short Shot, I kept close tabs on the time and cost of this boat. I had a lot of scrap plywood and other odds in ends in the shop from other projects I had saved, so my cost to build wouldn’t reflect your cost. Instead of keeping tack of what I spent, I kept track of all the materials and prices for these items. The following is a list of what it took to build this boat.
| 16.5′ Short Shot kayak | Fully loaded |
Minimally equipped |
| Materials | Cost | Cost |
| Plans | $ 69.00 | $ 69.00 |
| Plywood for frames | $ 50.00 | $ 50.00 |
| Western red cedar for stringers | $ 25.00 | $ 25.00 |
| Sinew-2 rolls | $ 19.00 | $ 19.00 |
| Paint 2 quarts and 1 pint, Rustolem | $ 27.91 | $ 23.00 2 quarts |
| 2 can spray poly | $ 21.90 | |
| Sewing thread | $ 9.00 | |
| 18 feet of 11.7 oz fabric | $ 126.00 | $ 81.00 8 oz fabric |
| Seat | $ 86.00 | |
| Paint supplies | $ 21.00 | $ 21.00 |
| Brass 5 feet | $ 30.00 | |
| Bungee 17 feet | $ 5.95 | $ 5.95 |
| Backband | $ 28.00 | $ 28.00 |
| Black rope | $ 6.40 | |
| Stainless screws for coaming (box-50) | $ 8.25 | $ 8.25 |
| TOTAL | $ 533.41 | $ 330.20 |
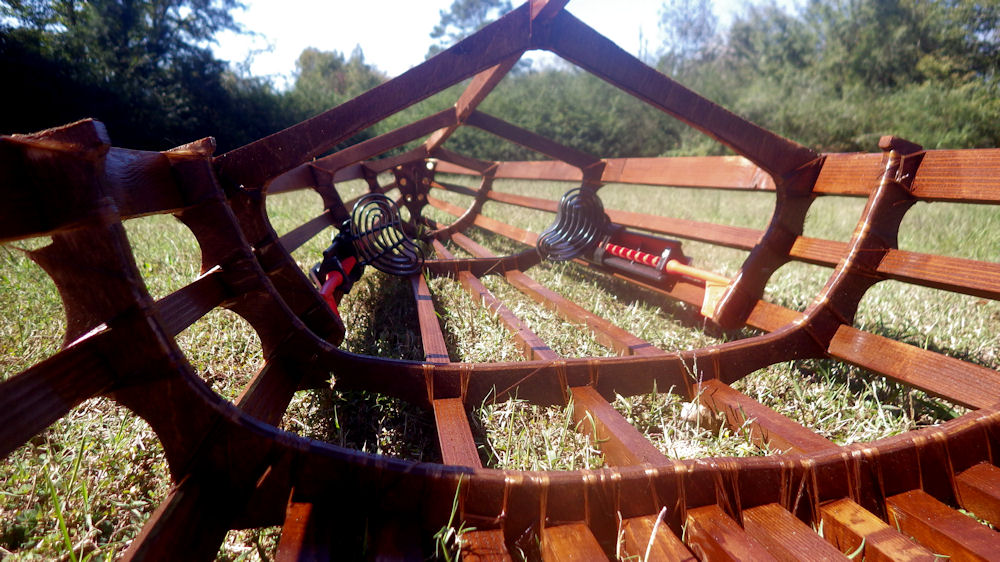
In the first column is what I used to build the boat. It included a Redfish seat, brass strips on both ends, the 11.7 oz skin and deck rigging. We stained the frame to enhance the look and then we coated it with gloss poly. She wanted a two tone paint job with a black stripe, so that took 3 cans of paint. All this came to just under $550. When you consider this is a 34-35 lb kayak that is not a lot of money! You can’t buy a used composite boat of similar weight for that.
A lot of people are attracted to these boats because of the low cost. I wanted to see what the low end would be so I created a column with just the minimum parts. No stain or poly on the frame, no Redfish seat, using sinew instead of sewing thread, etc. By cutting out the extras you could build this boat for $330. With a little care I think you could come in under $300.
You will pay almost that much for those 10′ or 11′ kayak all the big box stores sell. The difference is any of my designs will be far easier to paddle and much faster! Yes there is a big difference and it is not the weight of the boat. I don’t design short boats because short boats are barges. There is no way around that either, but that is another story for another day.
And these are not a boat with a 2-3 year life. As long as you take reasonable care and don’t store in the sun or where it will stay wet and rot, your can probably pass it on to you kids or grand kids.
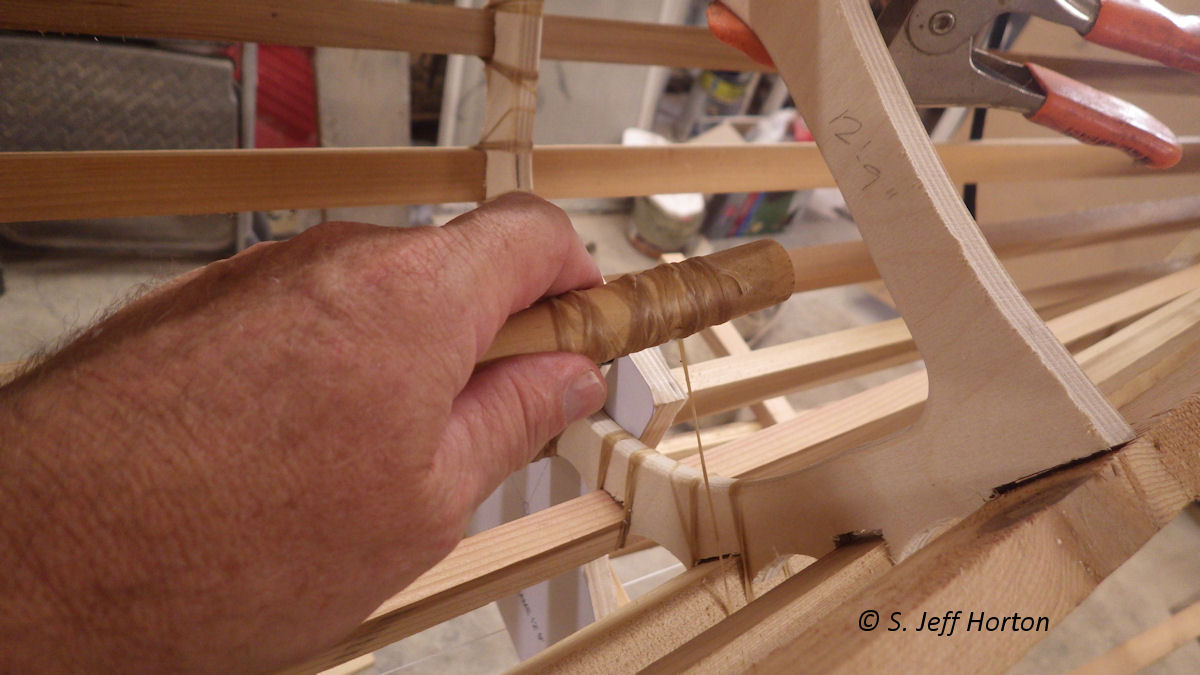
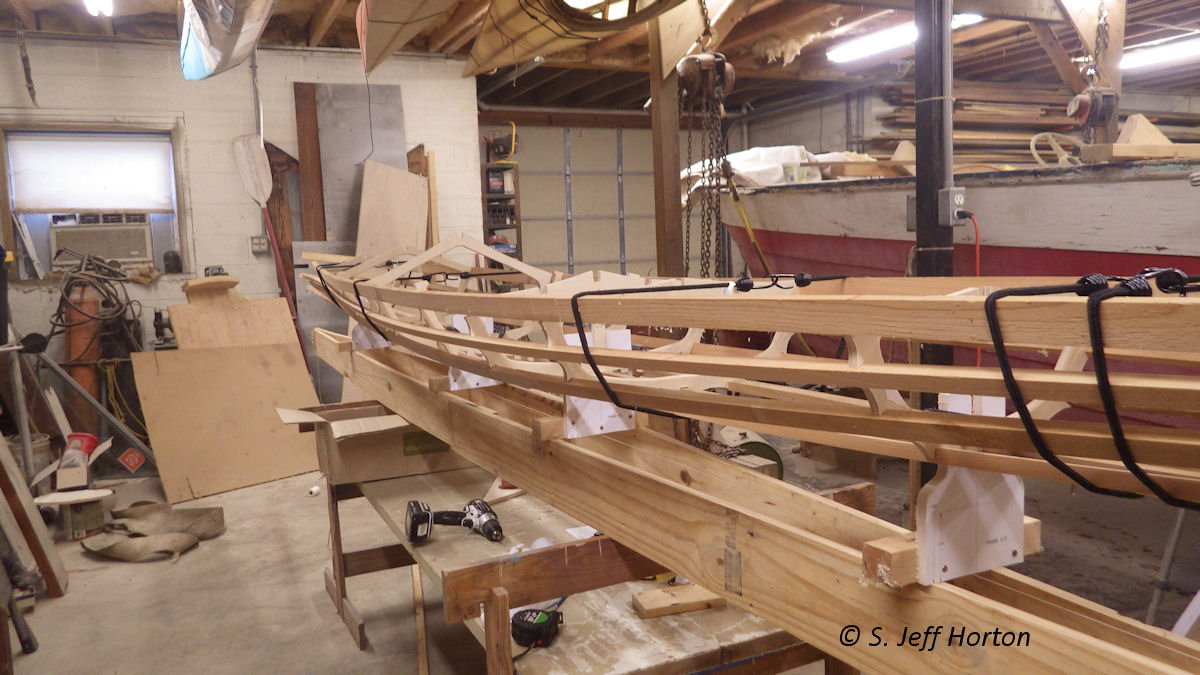
I also kept track of the labor to build Short Shot. I feel it only fair to point out that I have built a few boats ,so I have the process down and don’t have to spend time thinking about what or how to do something. I have done it enough that it is just instinct, so I am going to be able to build one faster than most people, especially if it is your first time. But the learning curve is short and most people will be able to get reasonable close to these numbers.
| Task | Task Hours | Total Hours |
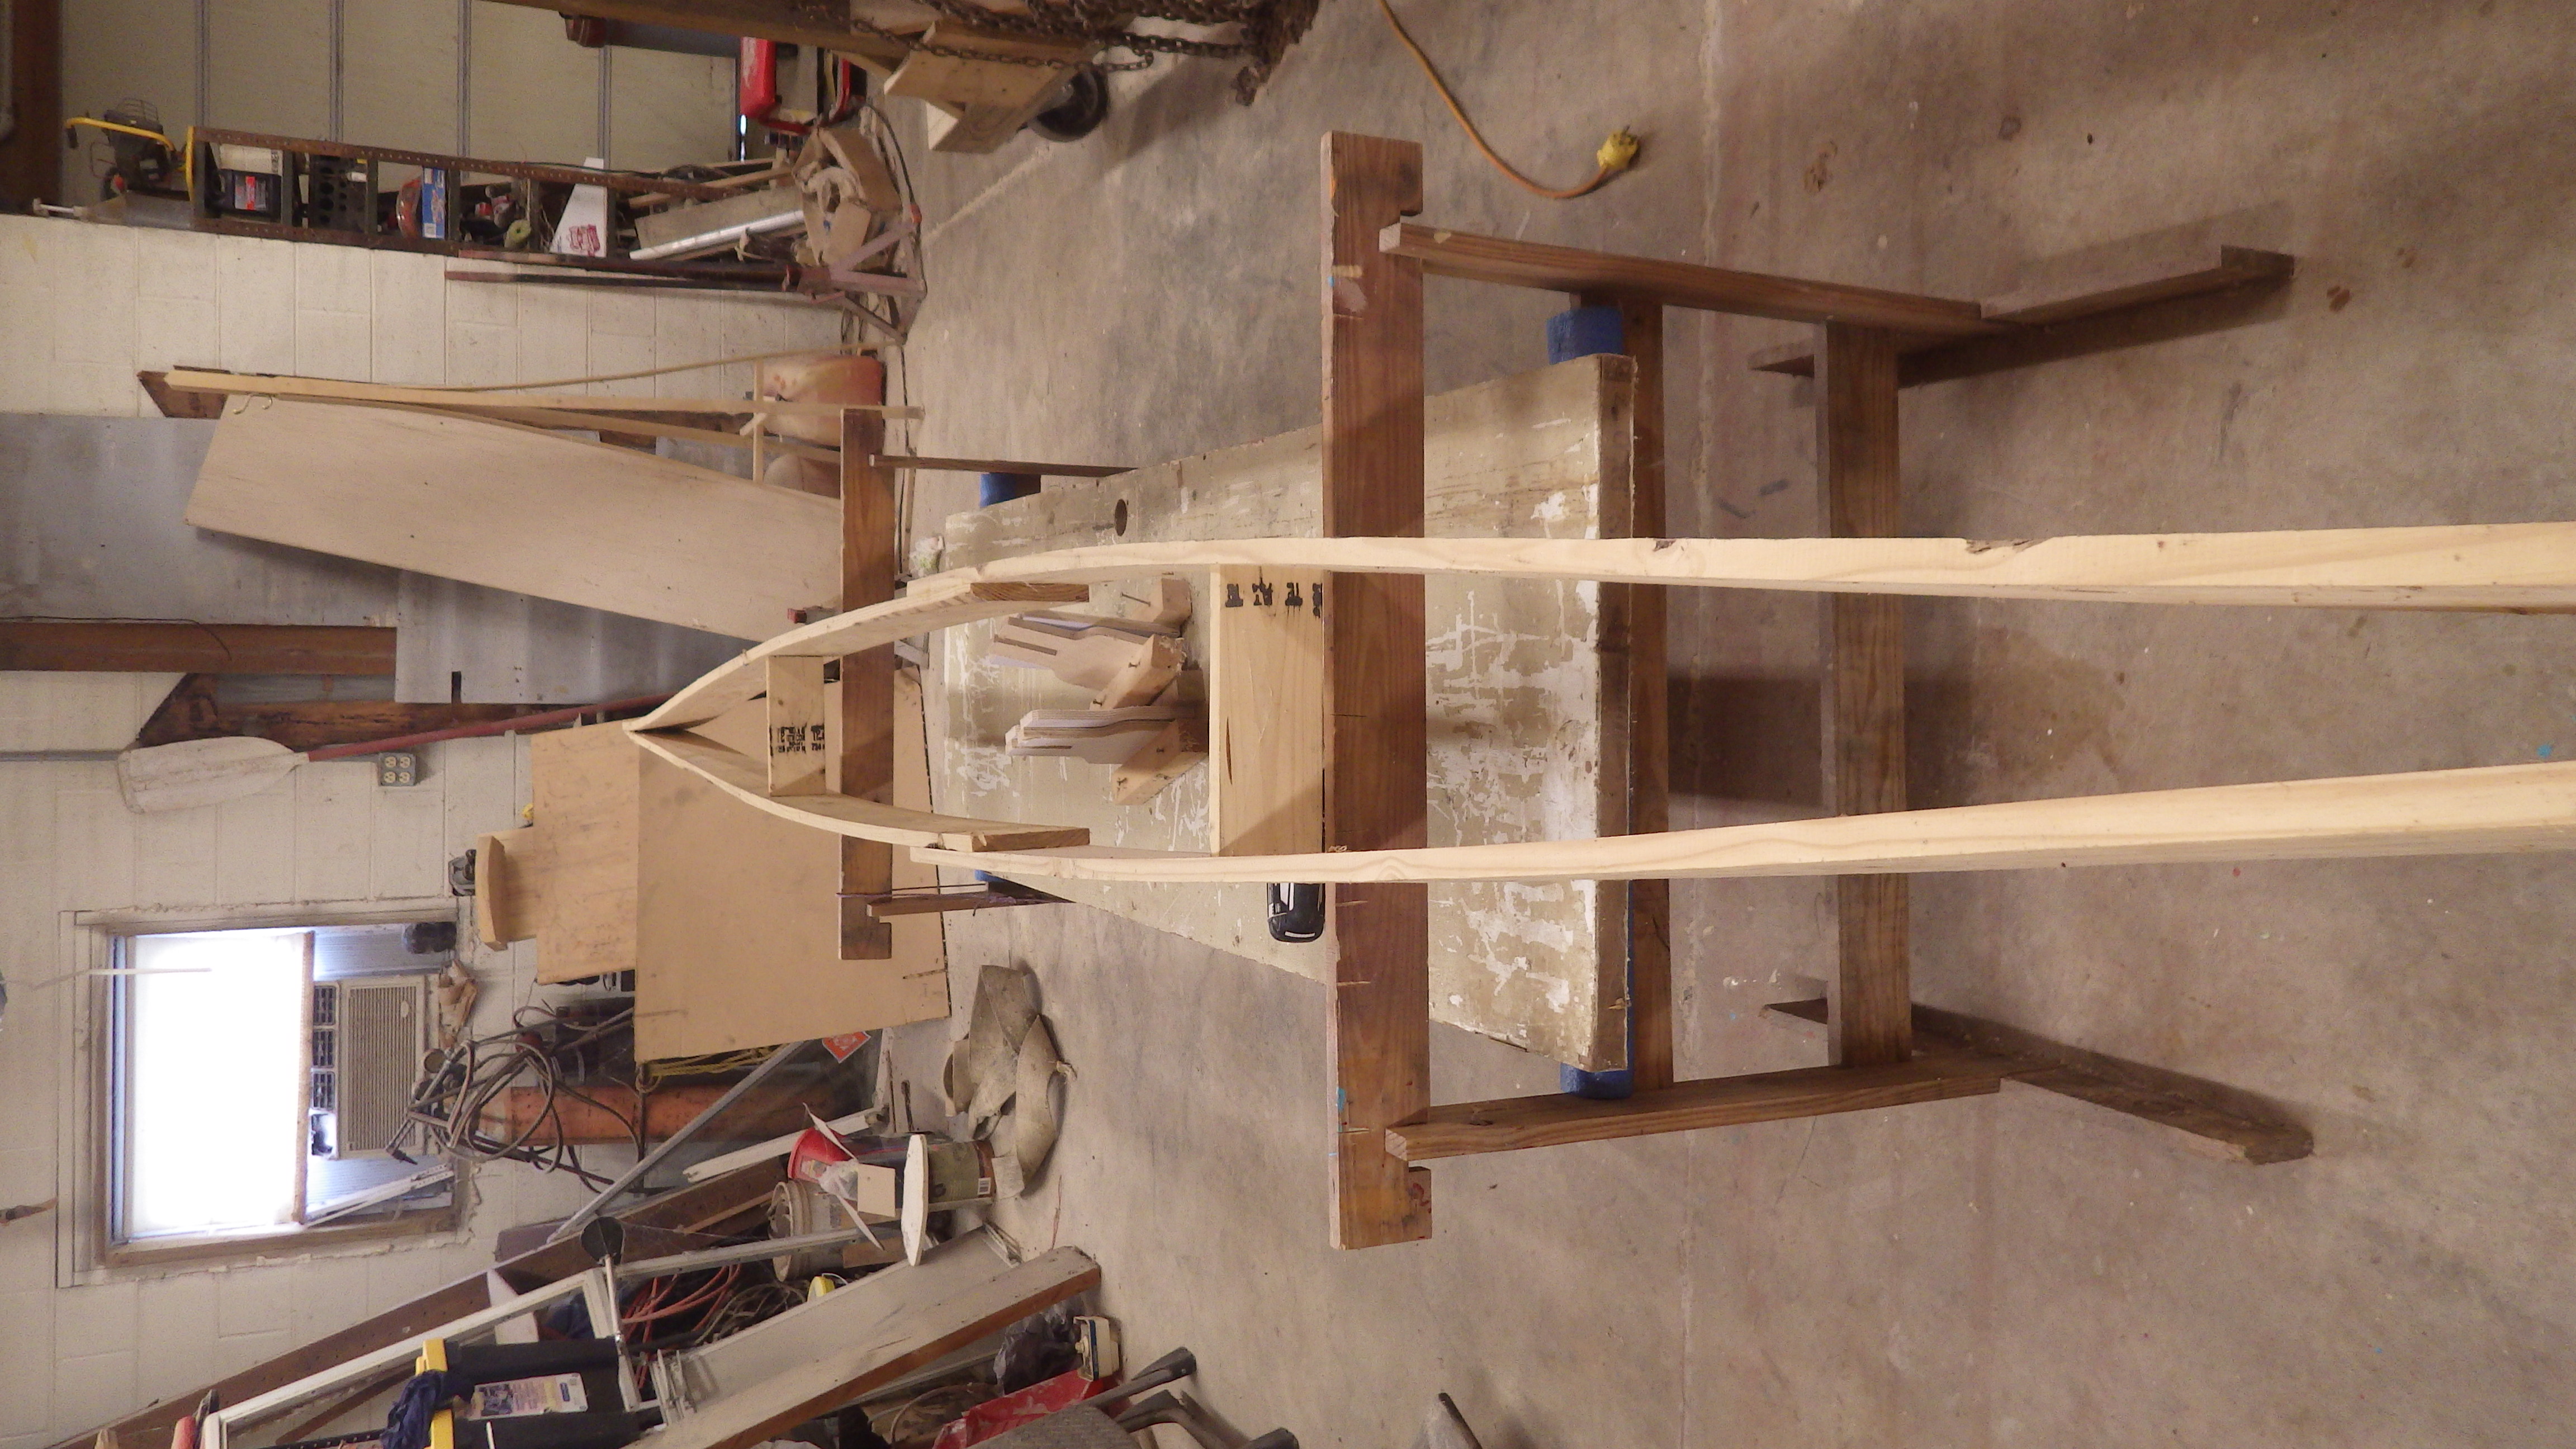
| Cutting frames | 8:00 | 8:00 |
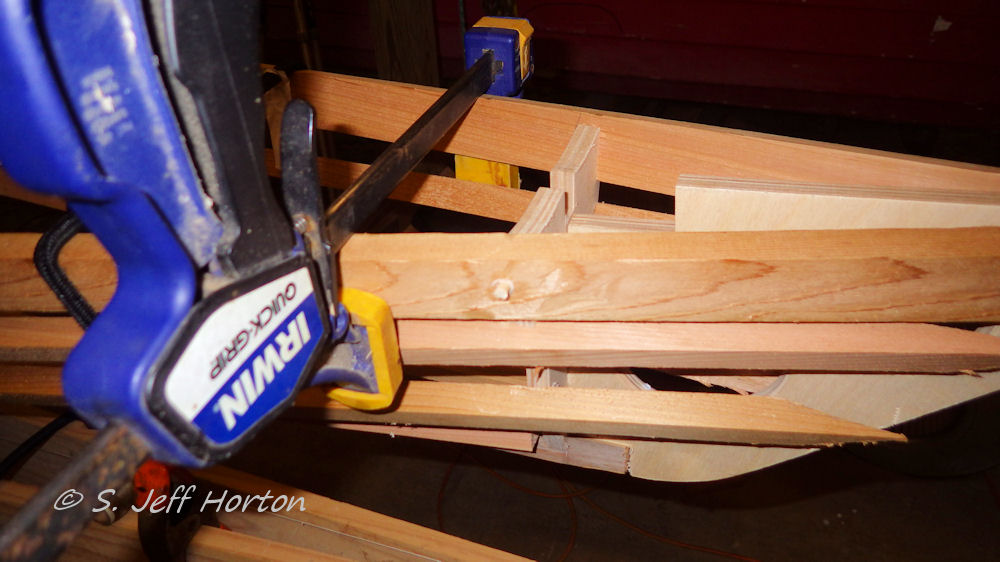
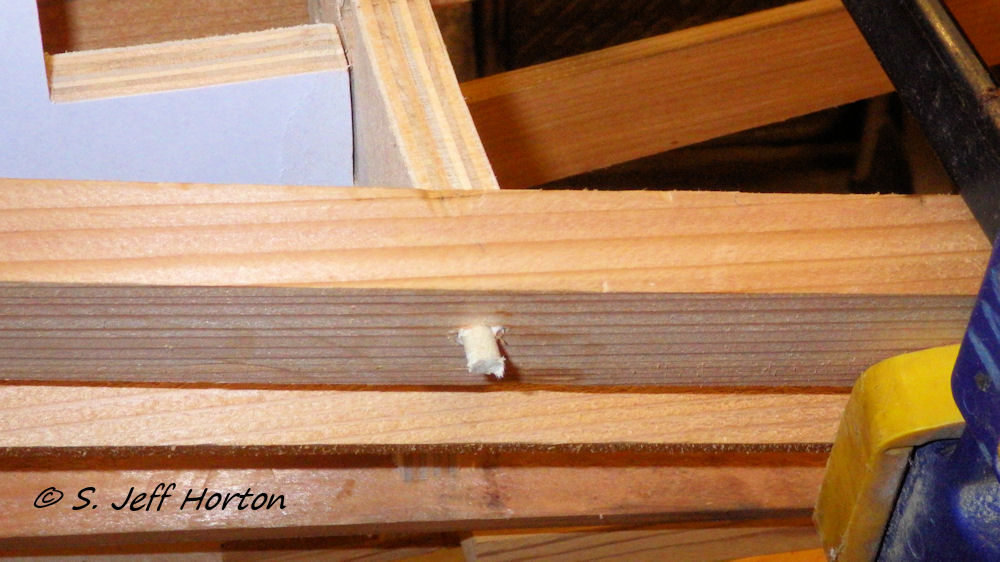
| Setting up strongback/cutting – scarfing – gluing stringers | 2:43 | 10:43 |
| Lashing | 1:21 | 12:04 |
| lashing | 3:44 | 15:48 |
| lashing | 1:17 | 17:05 |
| lashing | 4:52 | 21:57 |
| lashing-FINISHED | 4:52 | 26:49 |
| Staining frame | 2:23 | 29:12 |
| Spraying poly on frame-paint coaming | 1:00 | 30:12 |
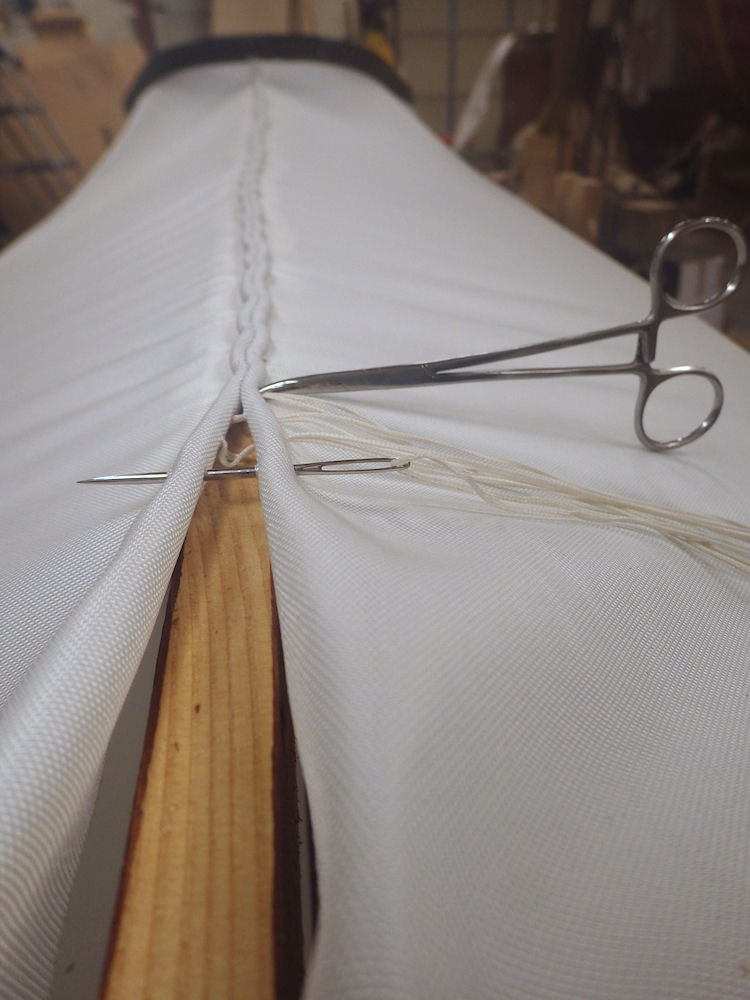
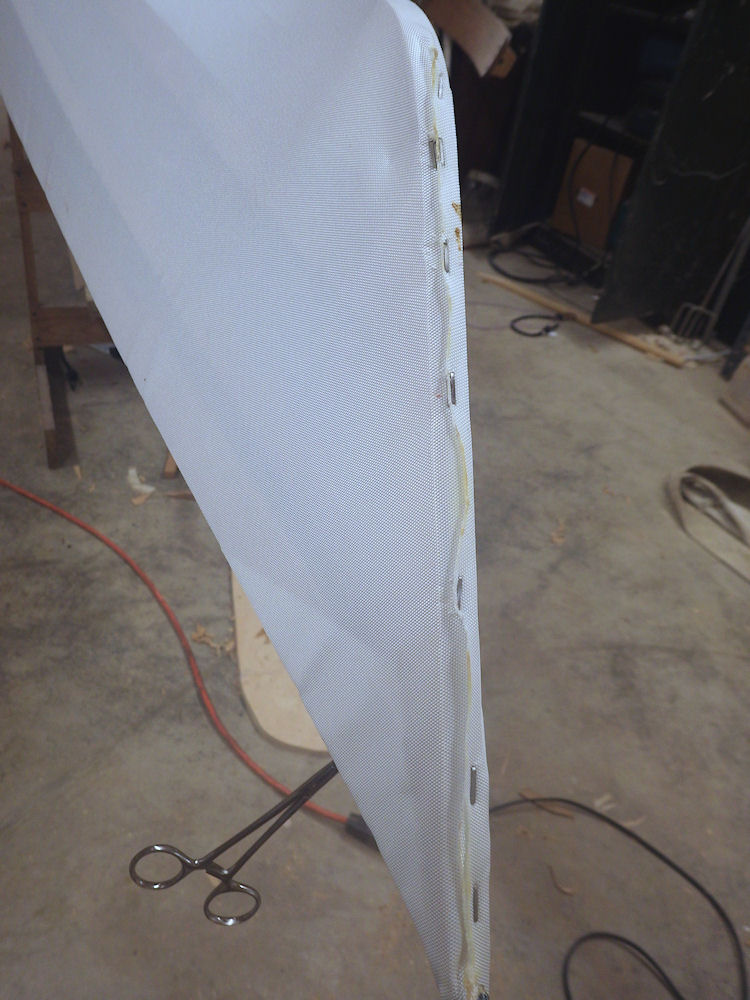
| Skinning | 2:00 | 32:12 |
| Skinning | 1:36 | 33:48 |
| Skinning | 4:20 | 38:08 |
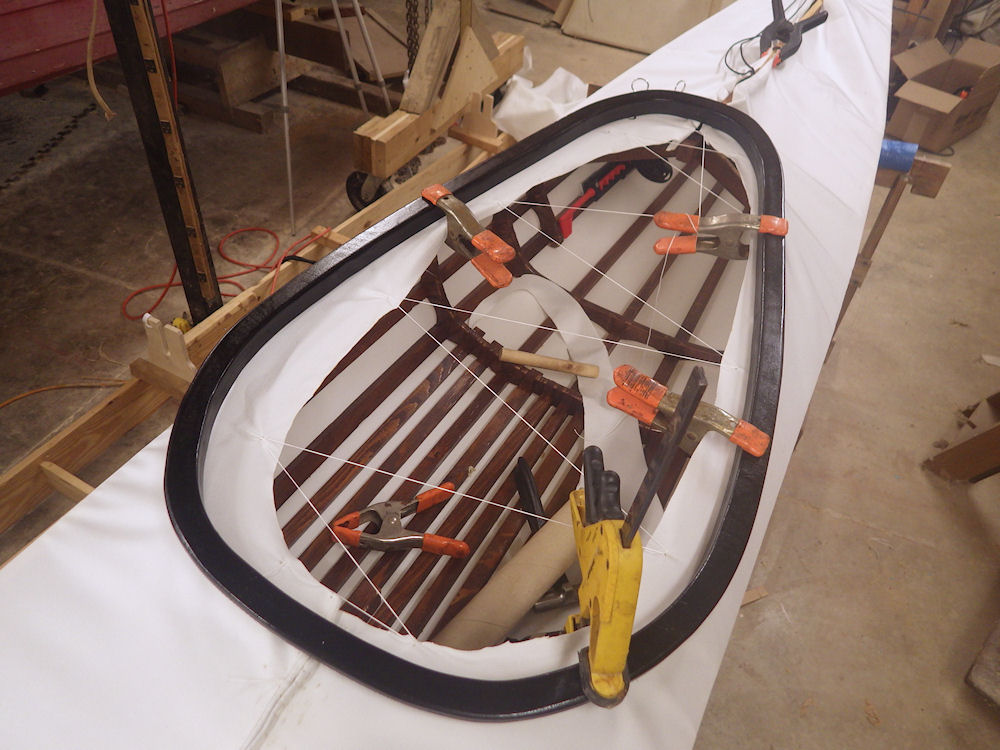
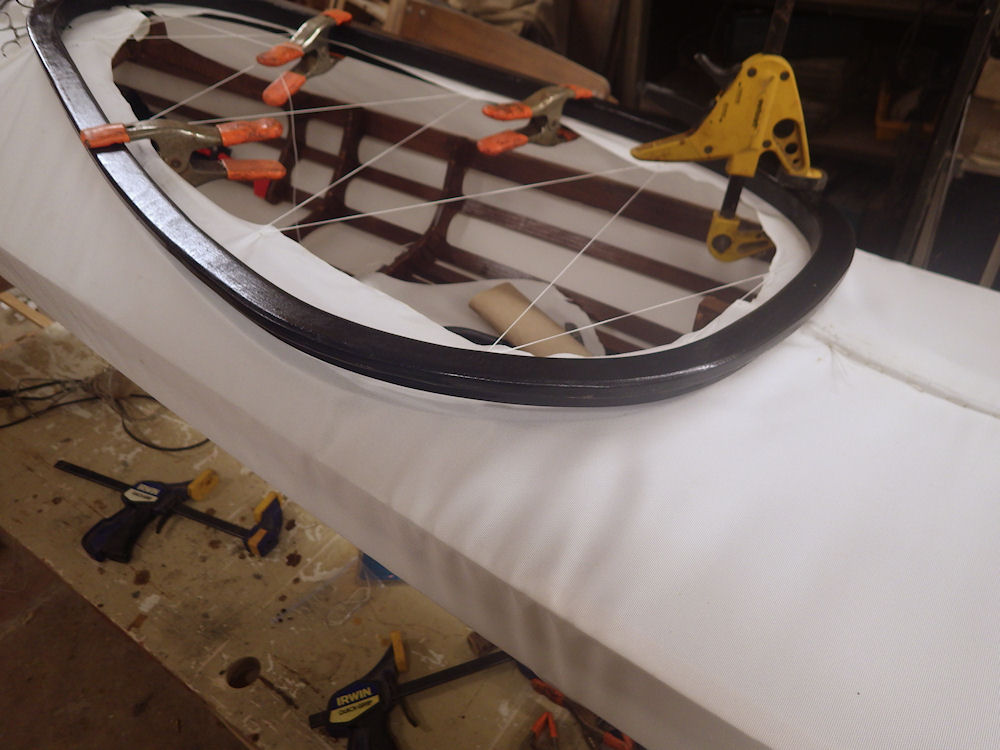
| Installing coming | 0:54 | 39:02 |
| Painting | 1:15 | 40:17 |
| Painting | 1:30 | 41:47 |
| Painting | 1:12 | 42:59 |
| rigging | 3:18 | 46:17 |
As you can see I spent just under 46 and 1/2 hours, start to finish on this boat. In my classes we build a single chine boat, VARDO or Ravenswood in roughly 45 hours and these are typically people who have never built a boat or much else in their life. Short Shot is a multi-chine boat and that takes a little longer to lash all those stringers. I have people tell me quite regular that spend about 60 hours on their boat and this seems like a reasonable number to me.
As I said earlier, I don’t do short boats because they are not good designs. White water boats get away with the short lengths because of the ways they are used. They are pushed along with the current and not paddled long distances on flat water, so the high resistance is not an a problem. But if you are looking for sea kayak to paddle on open flat water you need a little waterline length.
Drop in my web site and check out my designs. Kudzucraft
Talk to people who have built and paddle my boats on our forum.

![10155175_10152857752083637_3146700171828702359_n[1]](http://www.kudzupatch.com/blog/wp-content/uploads/2014/11/10155175_10152857752083637_3146700171828702359_n1.jpg)
![10407065_10152868674548637_7053745604893262592_n[1]](http://www.kudzupatch.com/blog/wp-content/uploads/2014/11/10407065_10152868674548637_7053745604893262592_n1.jpg)
![1467336_10152868674633637_4366544975802705400_n[1]](http://www.kudzupatch.com/blog/wp-content/uploads/2014/11/1467336_10152868674633637_4366544975802705400_n1.jpg)