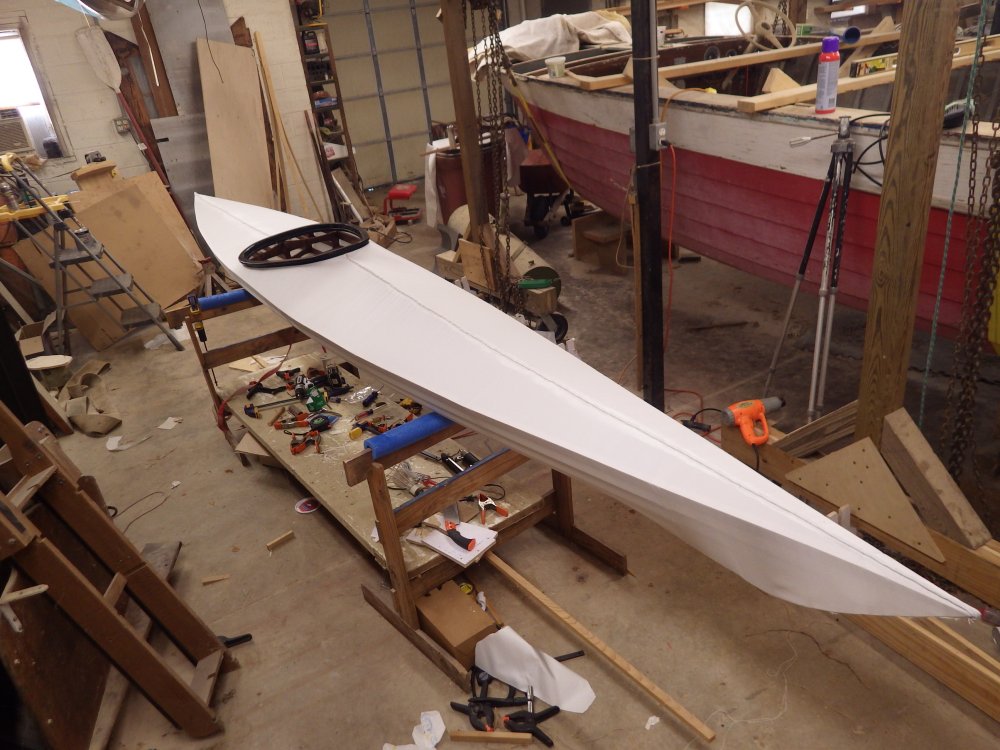
As you can see, it is skinned and ready for paint in 39 hours and 48 minutes. 🙂 I am telling you, these are quick and easy to build.
 I decided early on that I wanted to try putting the screws into the coaming from the underside instead of the top. I have always found the screws in the top ugly but it is a lot of work to build a laminated, sewn in coaming. I knew putting the screws in from the bottom wouldn’t be easy and I was right! After a little struggling I found the trick!
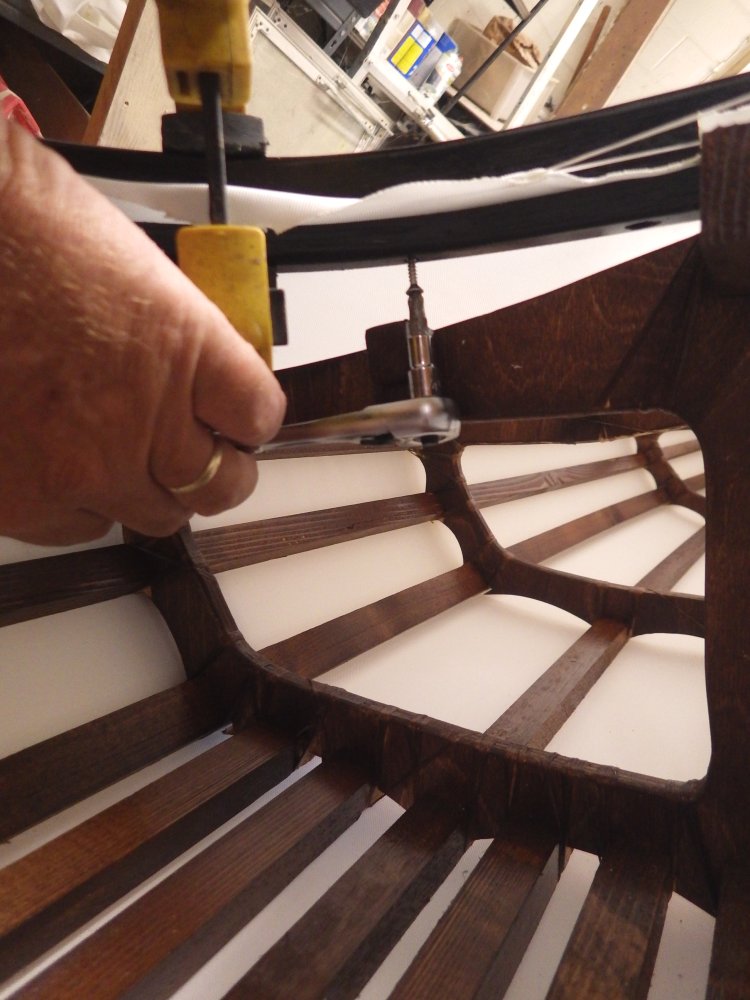 Operating a screw driver inside the boat and upside down was very awkward. I had to use a stubby screw driver at the stern and that was even more awkward! After trying a couple of different ways I tried using a ratchet with a screw driver bit. BINGO! I was really surprised at just how well this worked. It made installing the screws so much easier!
Here is a tip if you. Remember to drill a hold large enough for the screw to slip through in the bottom ring! Without that clearance, the screw is feeding through both pieces and can’t pull the two together. I knew this but apparently I never went back and redrilled the holes so I had to clamp them together before tightening the screws.
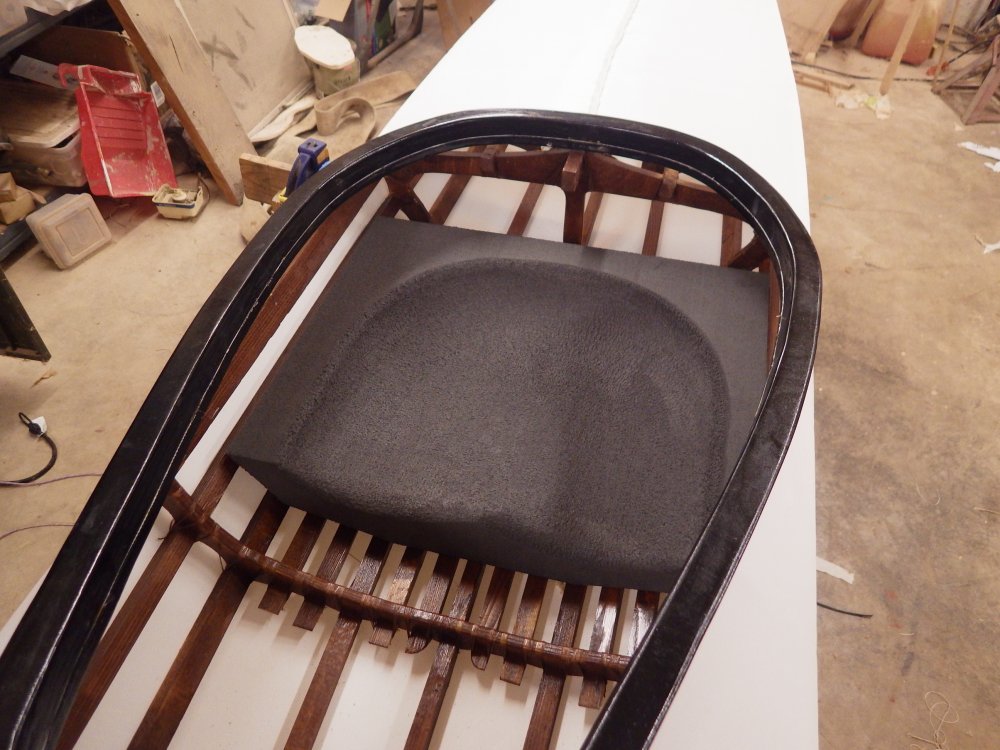 I wanted to check the fit of the sear. I am a huge fan of these mini-cell foam tractor seats. After trying other seats I have found this by far the most comfortable. I buy mine from Redfish kayak and it is a bit pricey but it well worth it to me. I send them a template of the boat shape and he cuts it to fit the contour of the boat.
A quick breakdown of the time.
- 8 hours cutting the frames.
- 2:45 hours cutting stringers and setting up the strong back.
- 15:14 hours lashing.
- 3:23 hours staining and applying poly on the frame
- 10:28 hours sewing the skin, installing the coaming now ready for paint.