I am at least a week and a half behind on this project. Yet another sinus infection has stolen any strength or will to work I have had. Today was the first time in well over a week I have been able to be productive. I have gotten in an hour here and 30 minutes there, but you don’t get much accomplished that way.
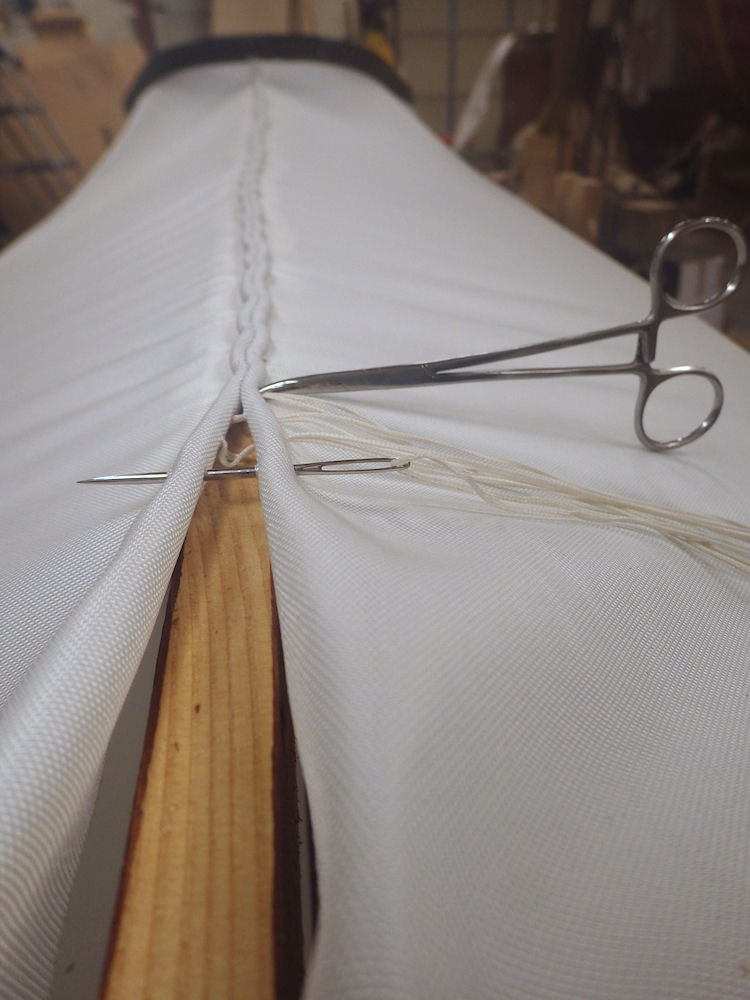
As of tonight I have about 75% of the skinning completed. I am using the Double Corded stitch with the 11.7 oz fabric. This has become my go-to fabric/stitch combo. As I have said before, the fabric is a little stiff and a little hard to get the needle through but the weave is so tight you can really pull it tight around the frame.
 I ended the stitching by just wrapping it around the end of the boat so that is just out of sight. Sorry, I didn’t get a photo. On the ends I trim the fabric and staple it in place with stainless staples. This will all be covered the with bronze rub strip (stemband) screwed in place.
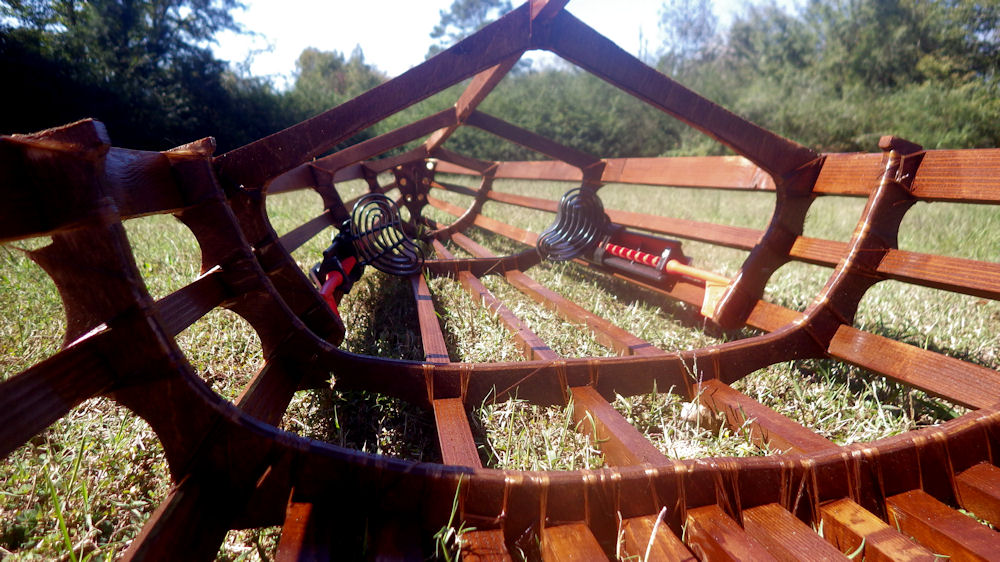
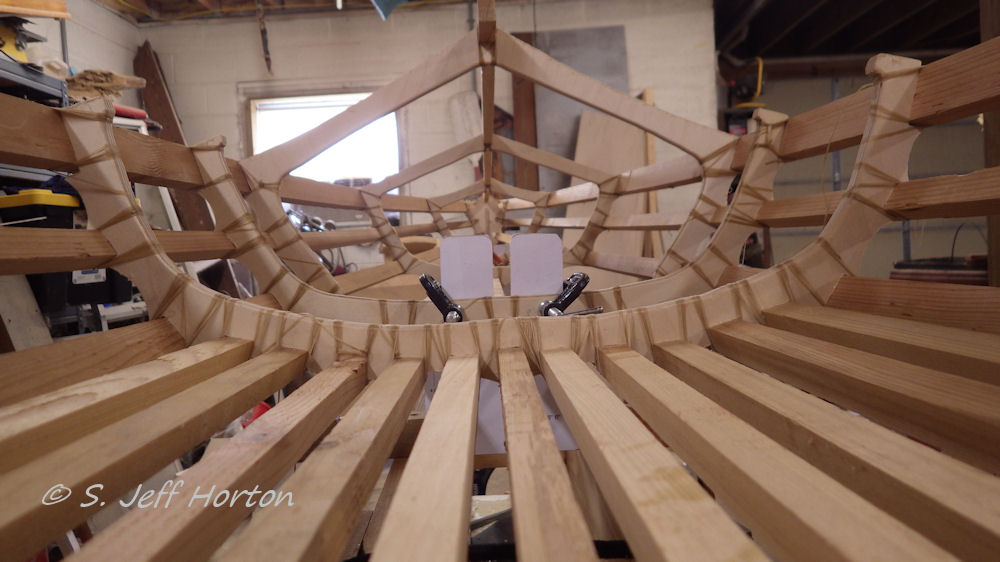
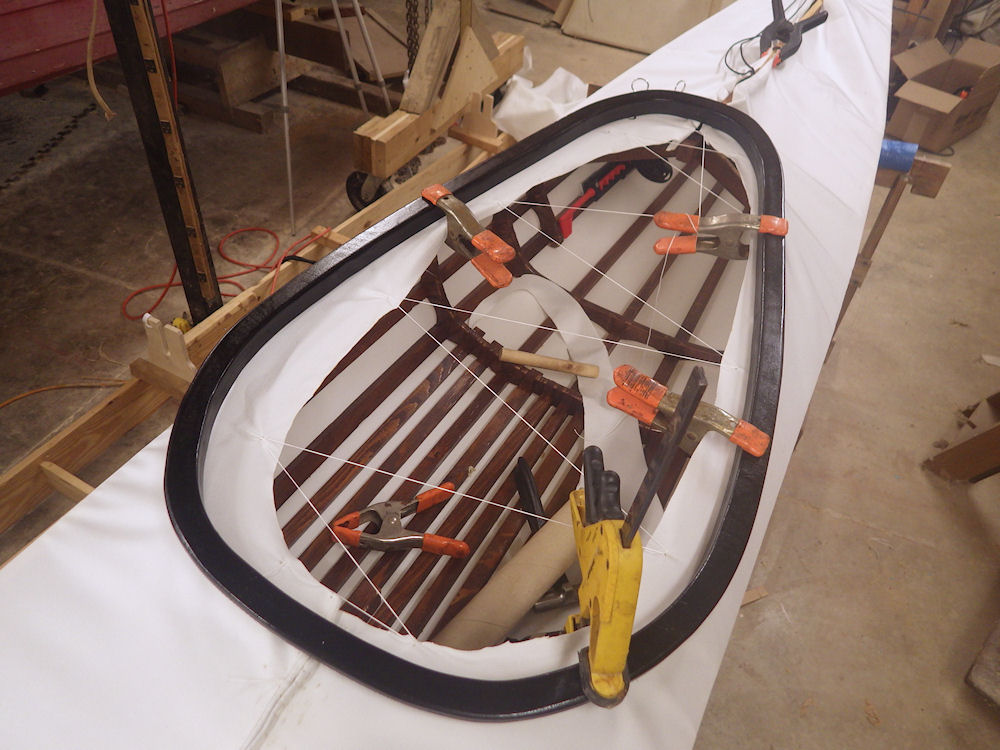
 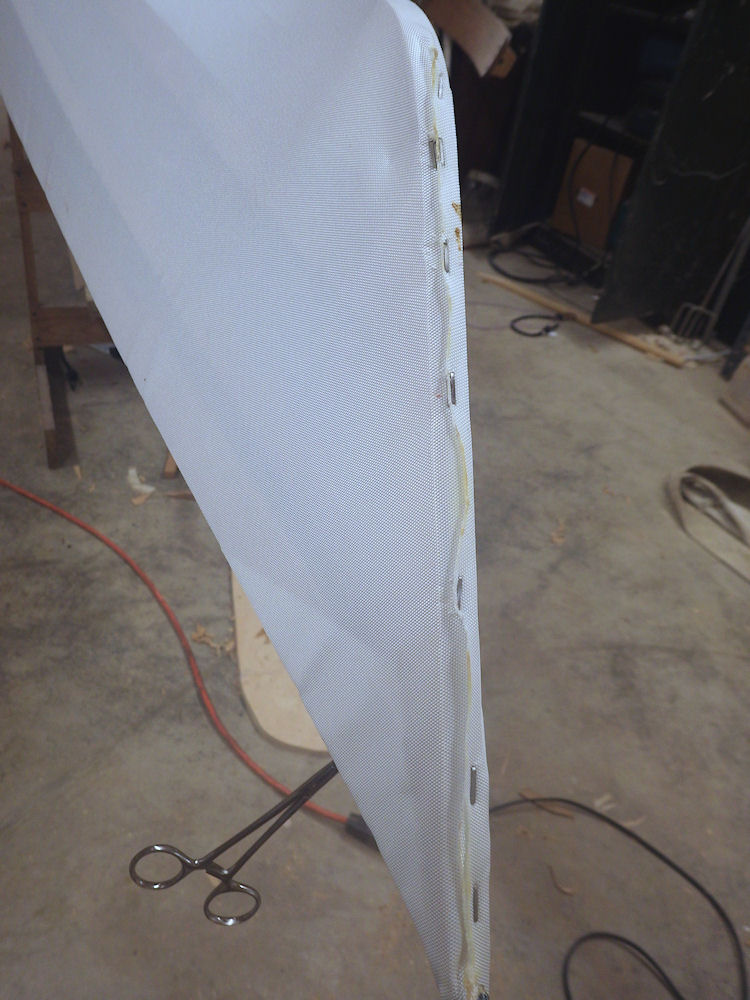 Because the fabric has such a tight weave I was able to try something new. I laced the fabric inside the coaming and then pulled it tight. I could easily over tighten it and deform the lower coaming ring so I clamped the top ring of the coaming in place and then tightened it. With it tight, I could how everything fits and if I have any problems.
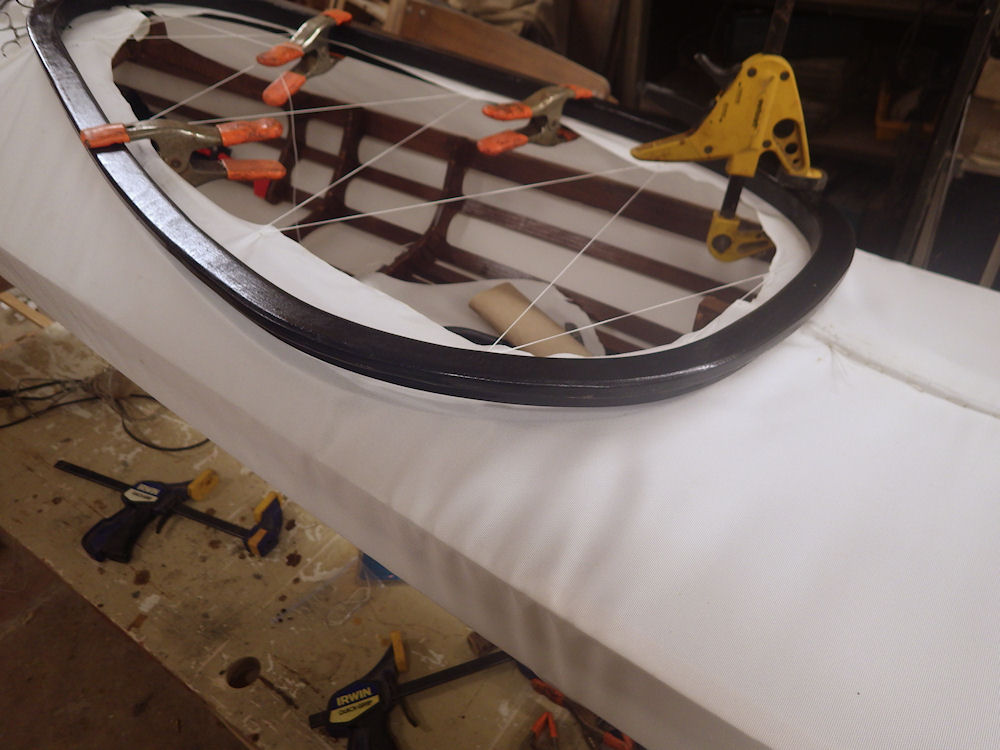
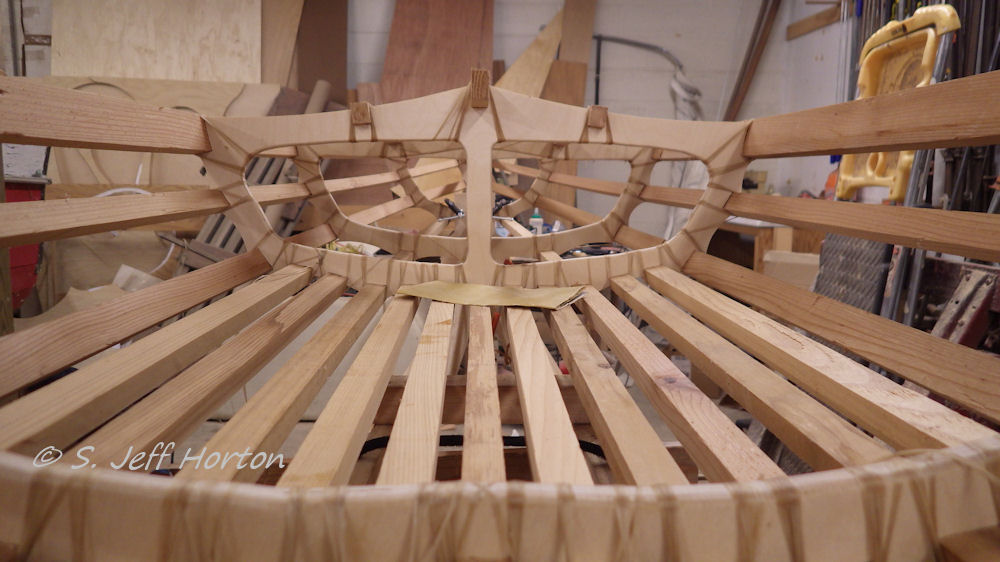
 The only problem I have is some wrinkles at the back corner. This fabric doesn’t shrink like the 8 oz. does, so I want to keep wrinkles to an absolute minimum. These shouldn’t be a problem. What I can’t pull out I should be able to shrink.
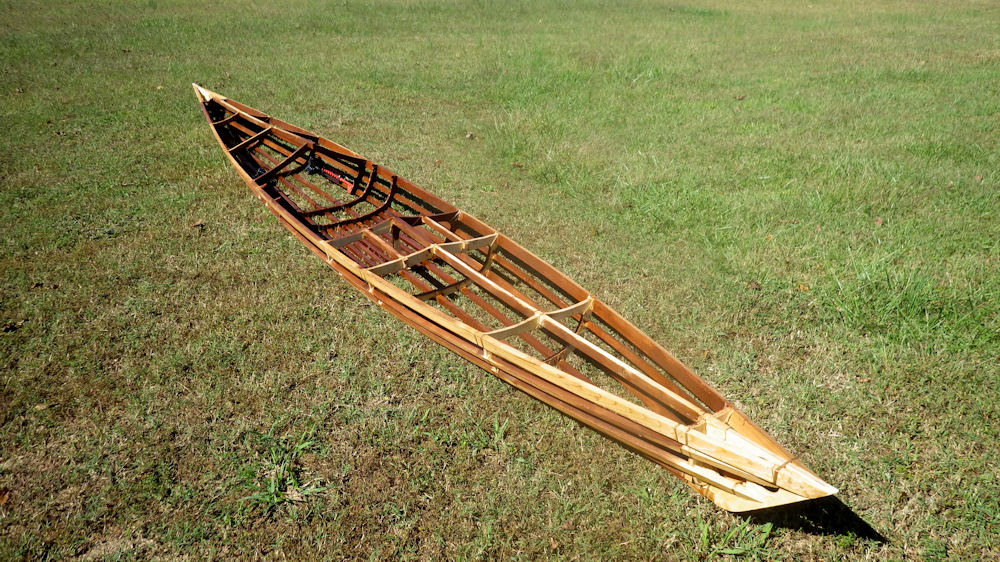
Here she is when I quit. Assuming no relapse of my sinuses I expect to finish skinning tomorrow.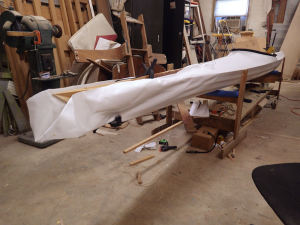
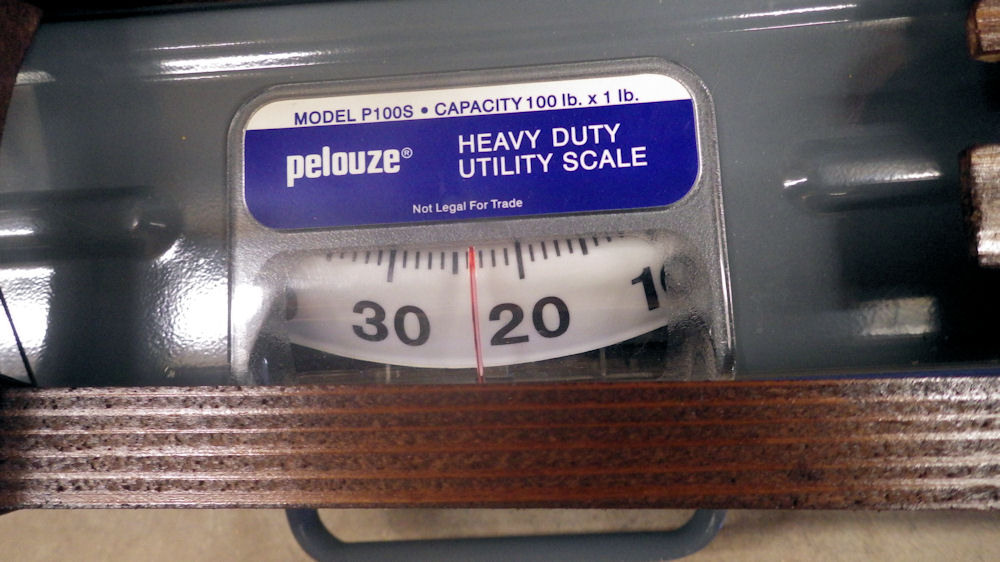
I wanted to post my chart of the time and cost so far. I still have to adjust a couple of the cost figures, so this will change a little bit. But the time stands at 37 hours so far. I expect to be in the low 50’s when all is said and done.