Last of of August I was invited to the Chincoteague Bay Field Station, in Wallop Island, VA to teach a Road Scholar class where each student builds a Fuselage Frame kayak for themselves.
Being a Road Scholar program the staff has also scheduled in field trips such as kayaking, exploring a private beach and educational classes. They also take everyone out to a few local Restaurants. All of which are very good, especially if you like sea food!
The facilities at the Field Station are top notch as is the the staff. As one student said, they over serve you! If you ask for a pencil you will get a handful of them with a sharpener and a smile. The Educators that work with the classes are college grads and most have studied Marine Science or related fields. They are all obviously the cream of the crop and you will not meet one that doesn’t impress you. The ladies in the cafeteria always provide excellent meals and plan them well. I was last in line one morning and it looked as if they had run out of food. When I got up to the steam table I realized that actually there was just enough for a couple more people. They plan so well that there is just very little waste. It shouldn’t have surprised me because that is just typical of the way everything is done here.
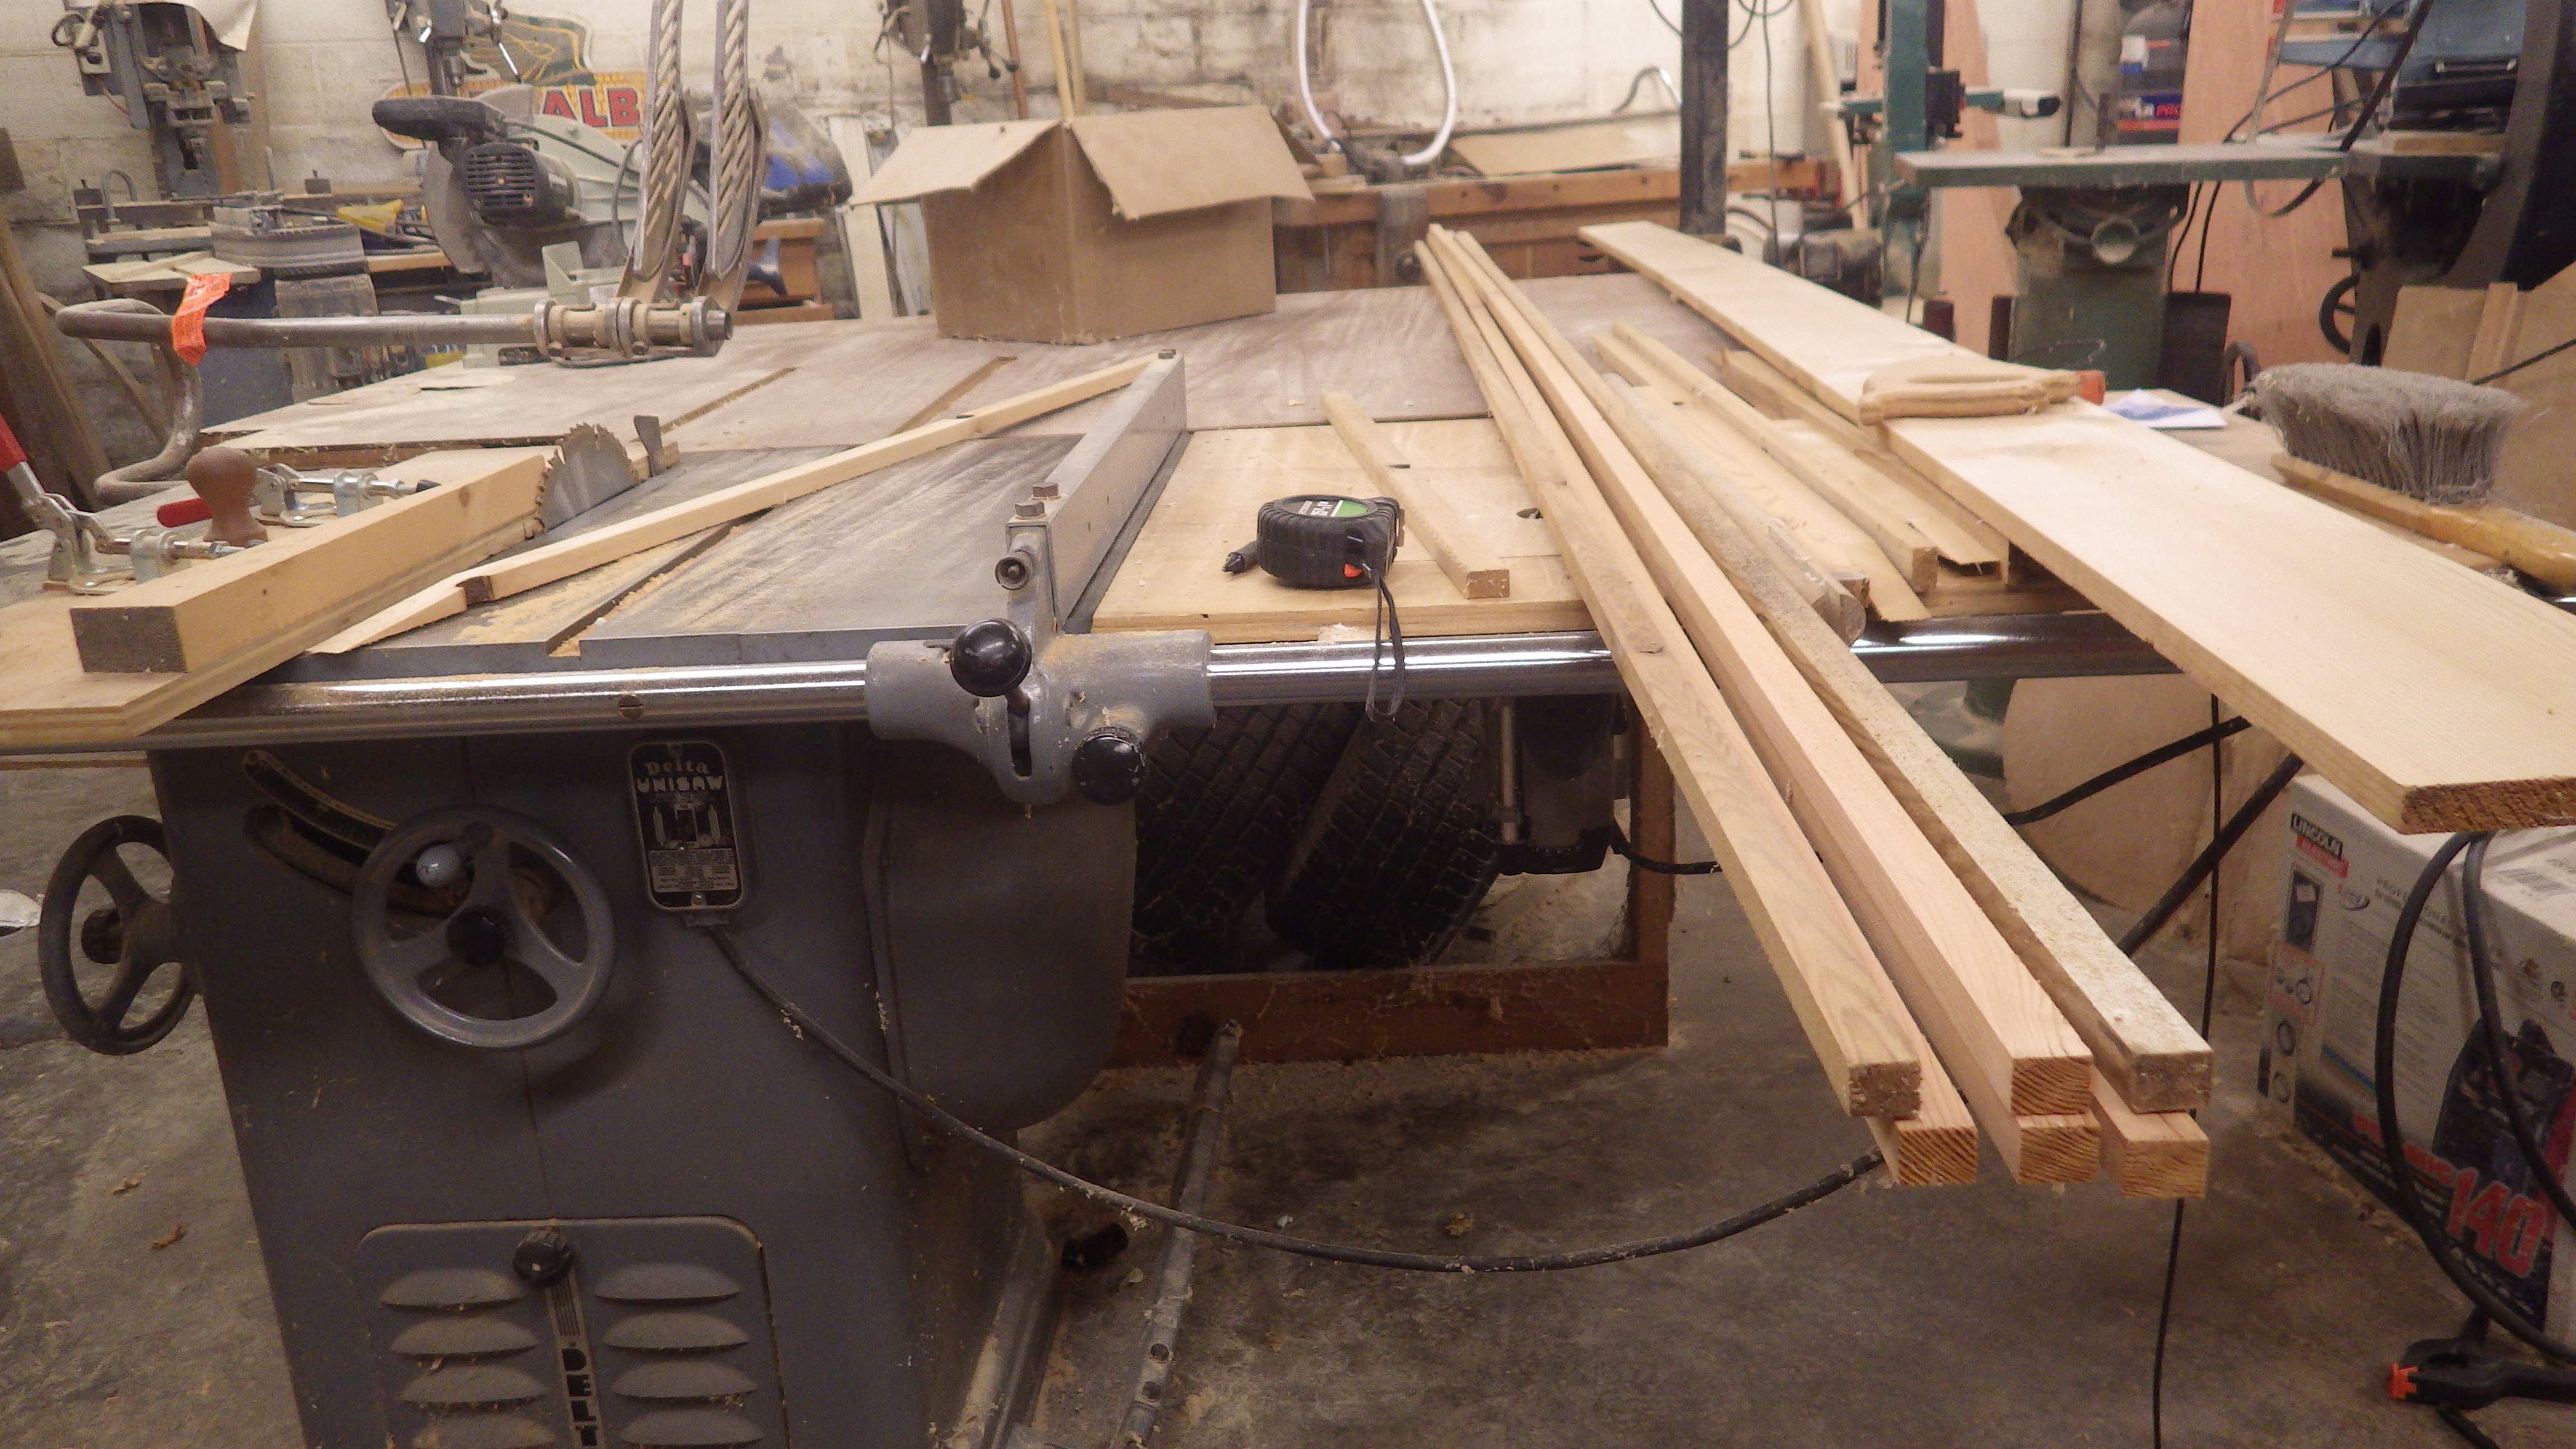
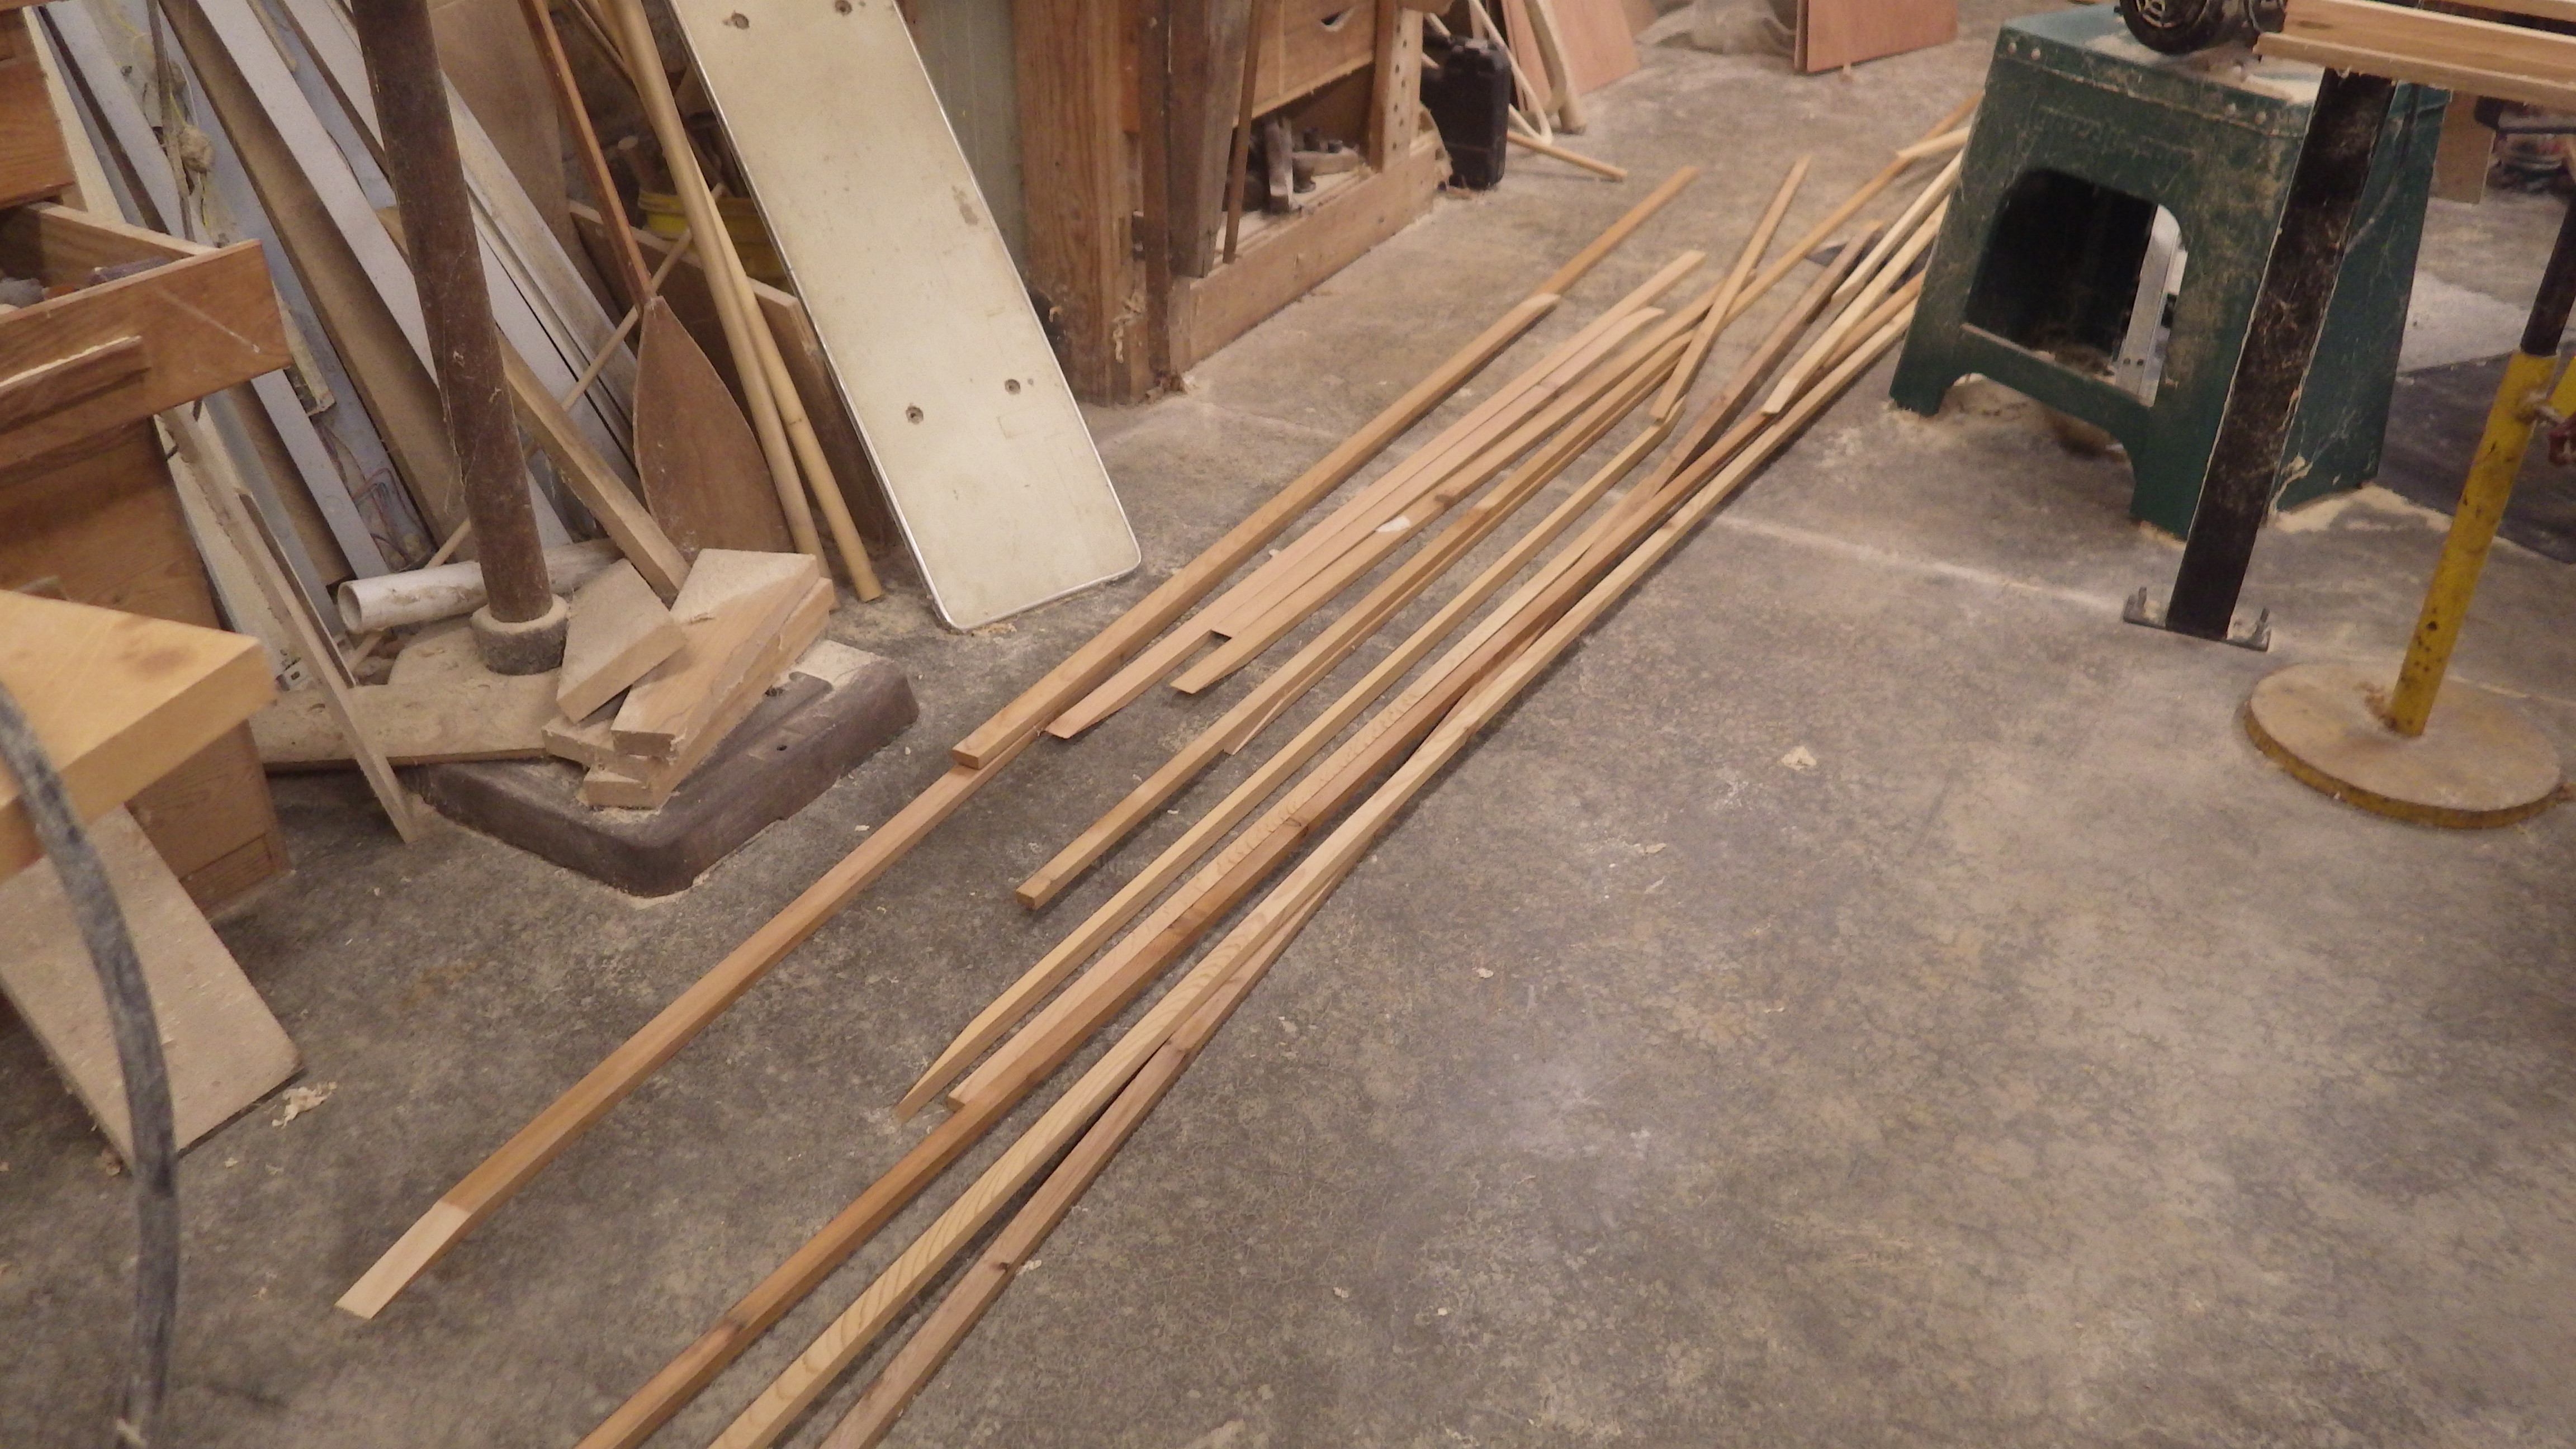
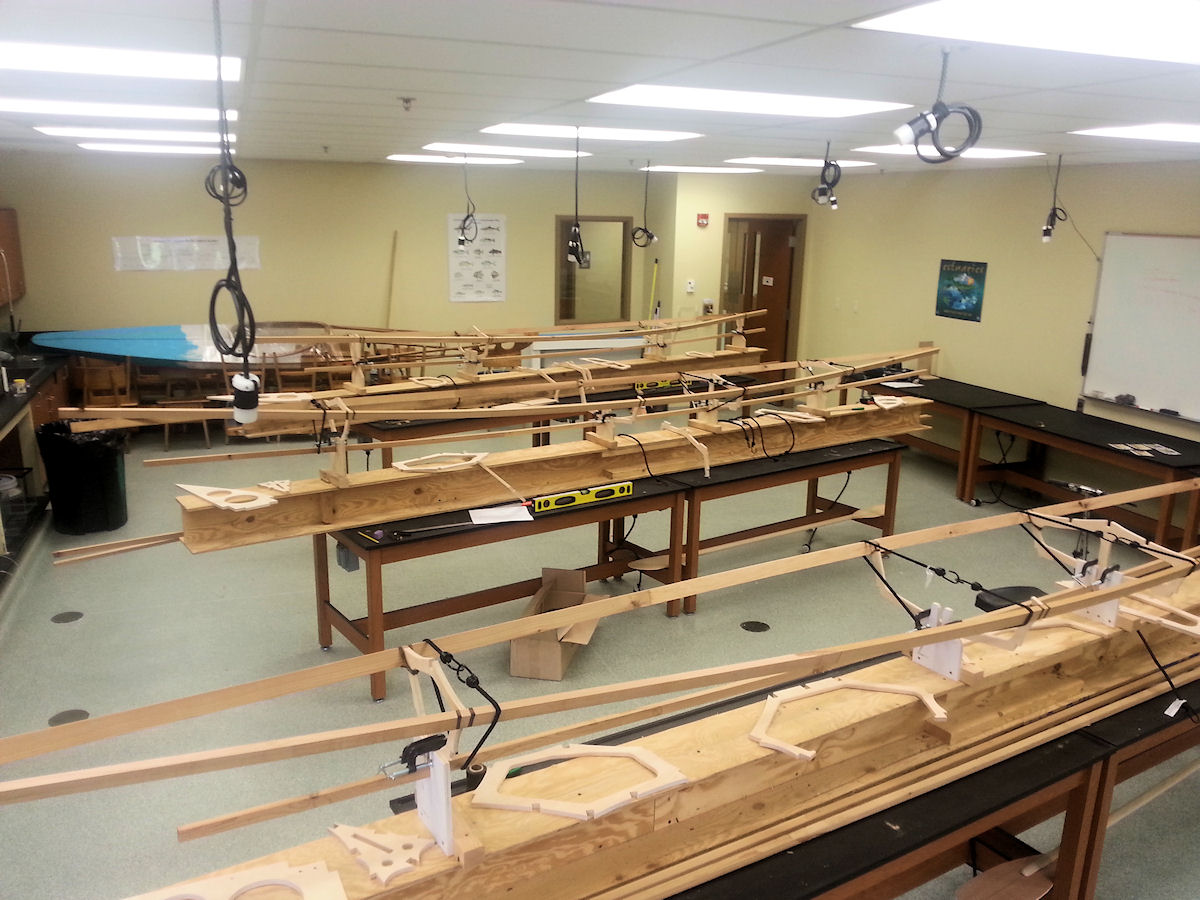
Sunday afternoon the students arrive and check in. I had arrived a day early and prepared my class room ahead of time. I had the strong backs set up, all the tools, frames, stringers, etc. sorted out and arranged at each work station. It didn’t take long to have the class room in shape so I was free to enjoy a couple of days of paddling.
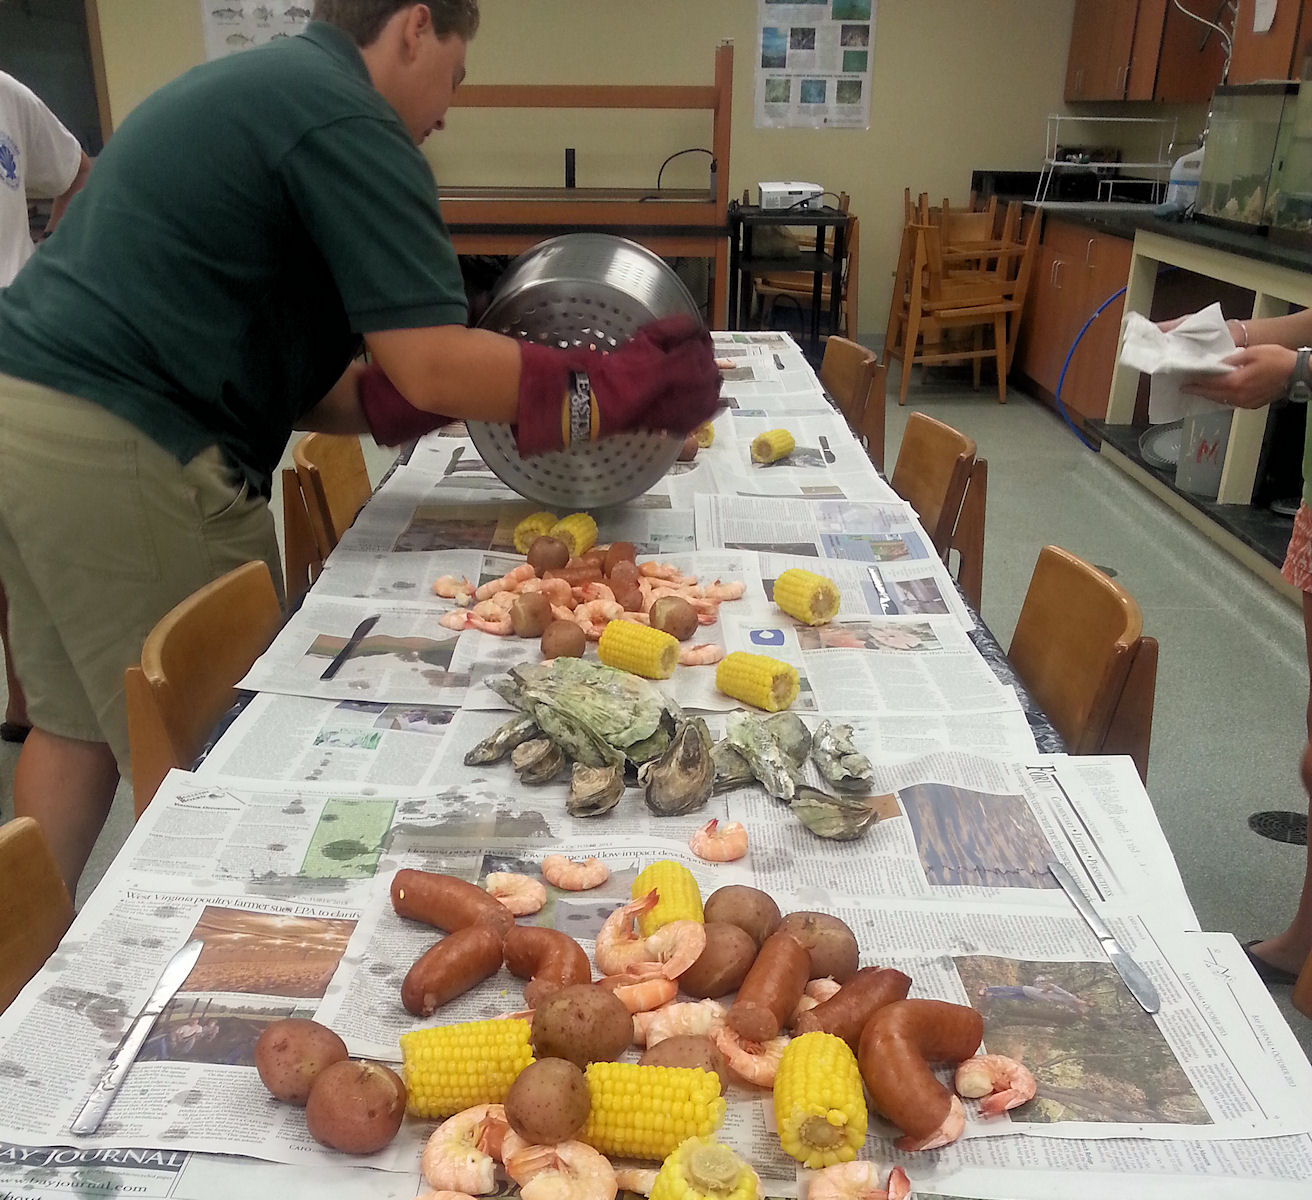
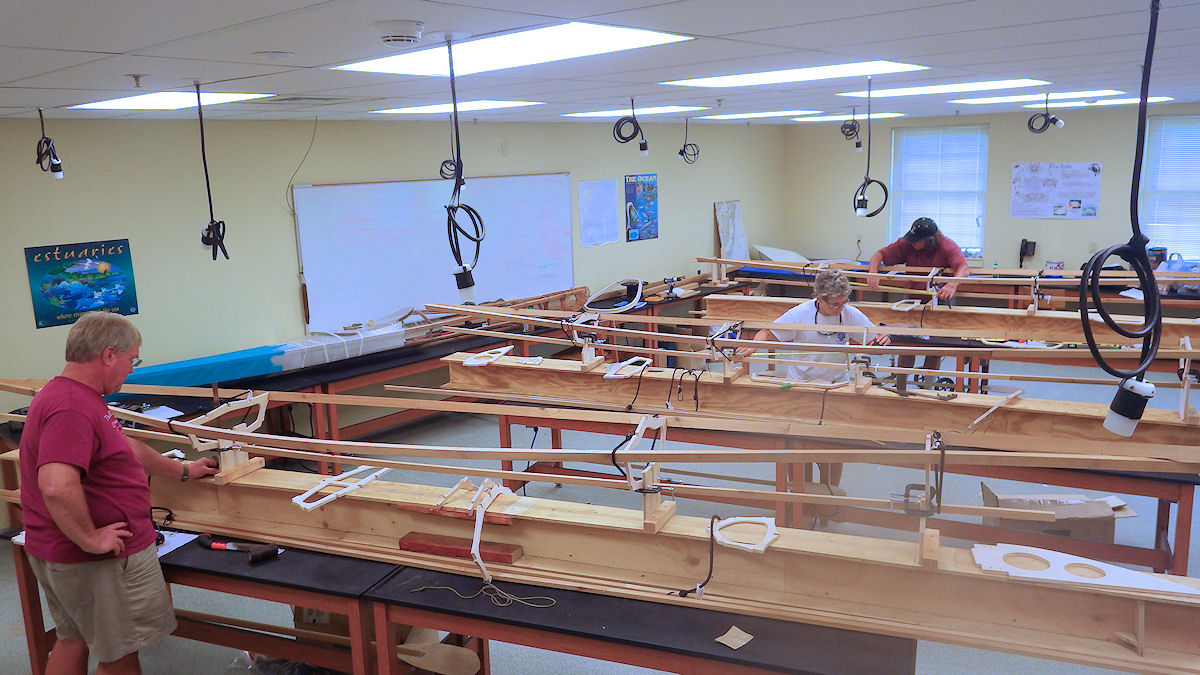
Sunday night I meet with my students, Parker does the introductions and goes over all the formalities and instructions for the coming week. Then my favorite part, The Boil! These folks start the class right, with meal fit for king! After the meal we visit the class room and show them what they have gotten into. I give everyone a homework project too. Monday morning we meet in the cafeteria and have breakfast together and get to know each other a bit better. This year we were building 3 kayaks, two of my Vardo design and a one Ravenswood. Once in the classroom I get everyone assigned to their stations. I cover some basics about building, teach them the names of the parts of the boat and I try to get them ‘hands on’ as quickly as possible.
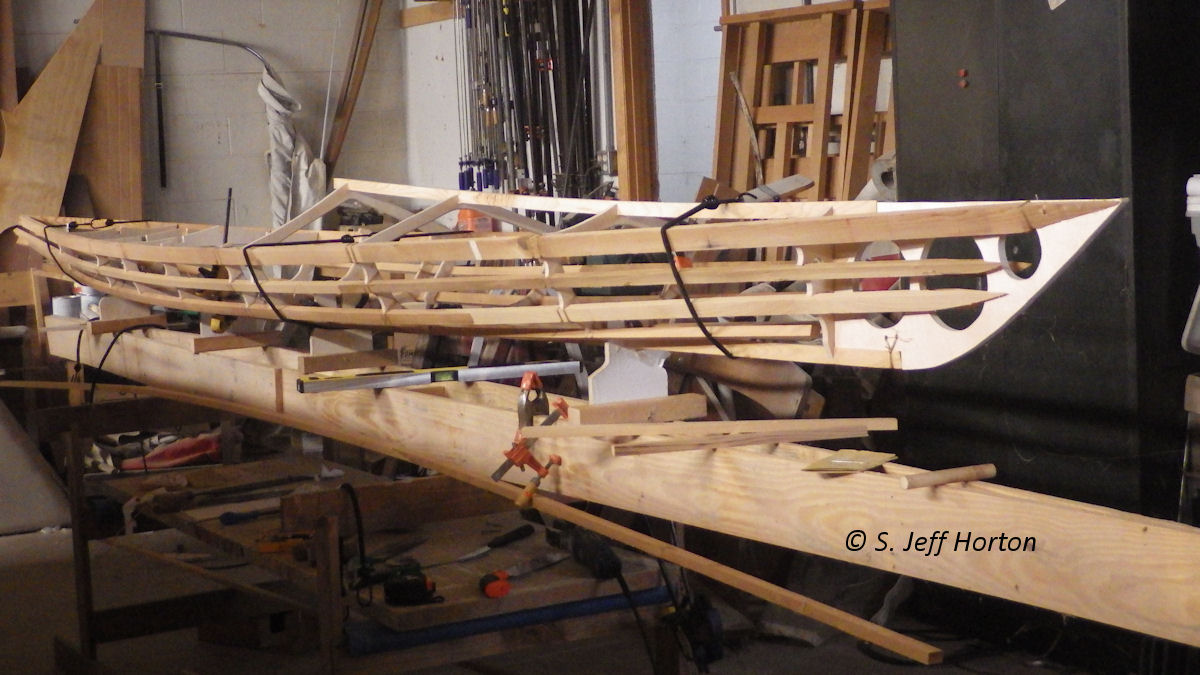
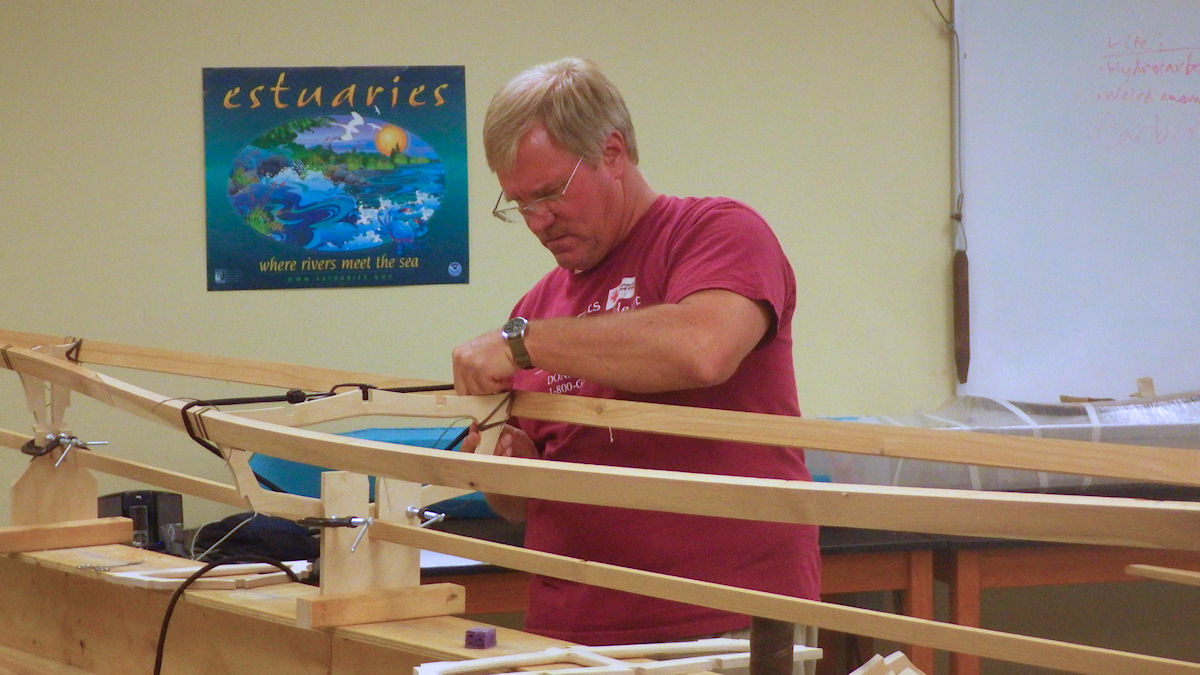
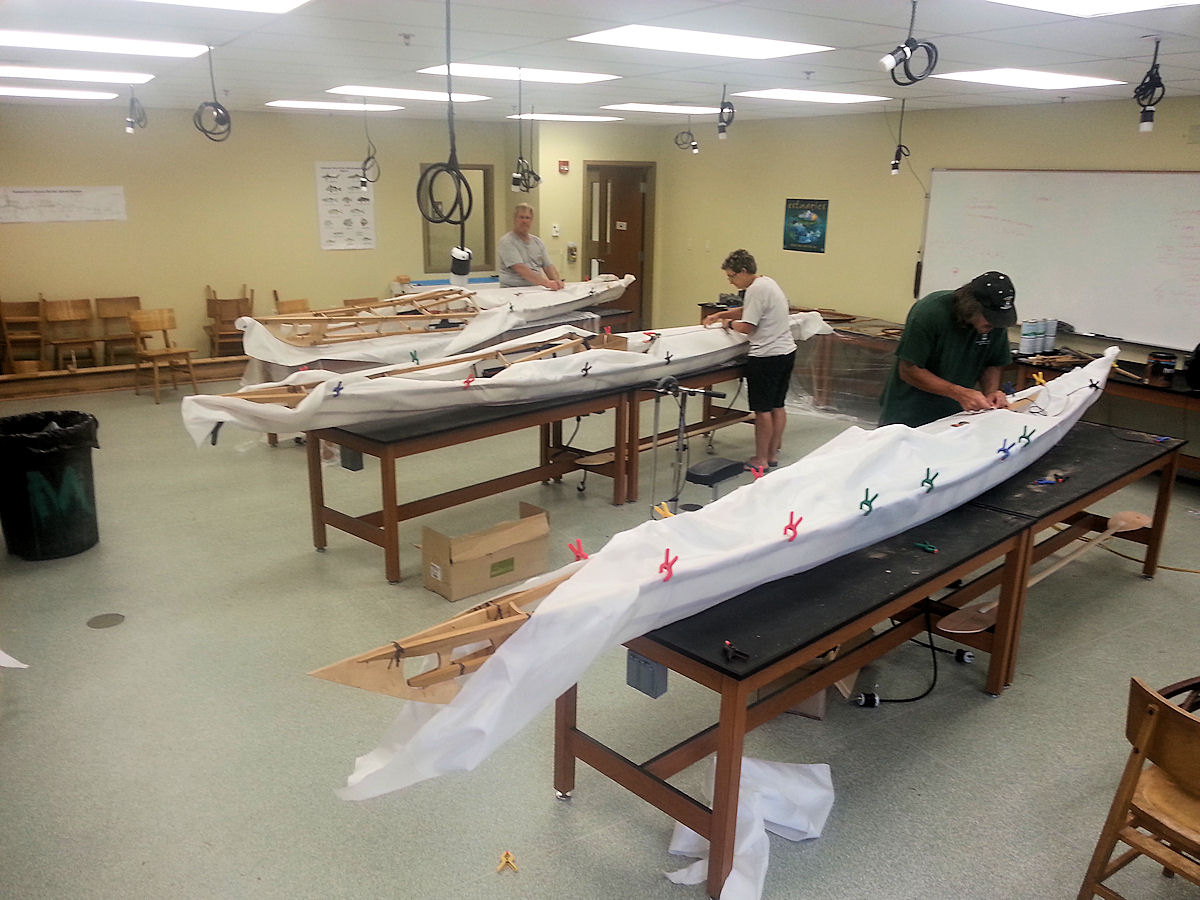
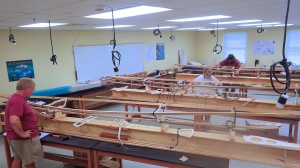
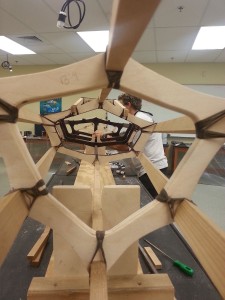
This is where we stopped at lunch, it doesn’t appear we have much done but it is actually a good start. They have a few frames in place and have started to lash them in place.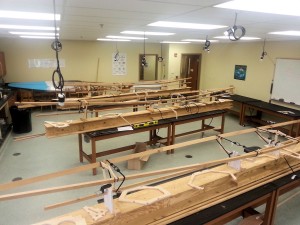

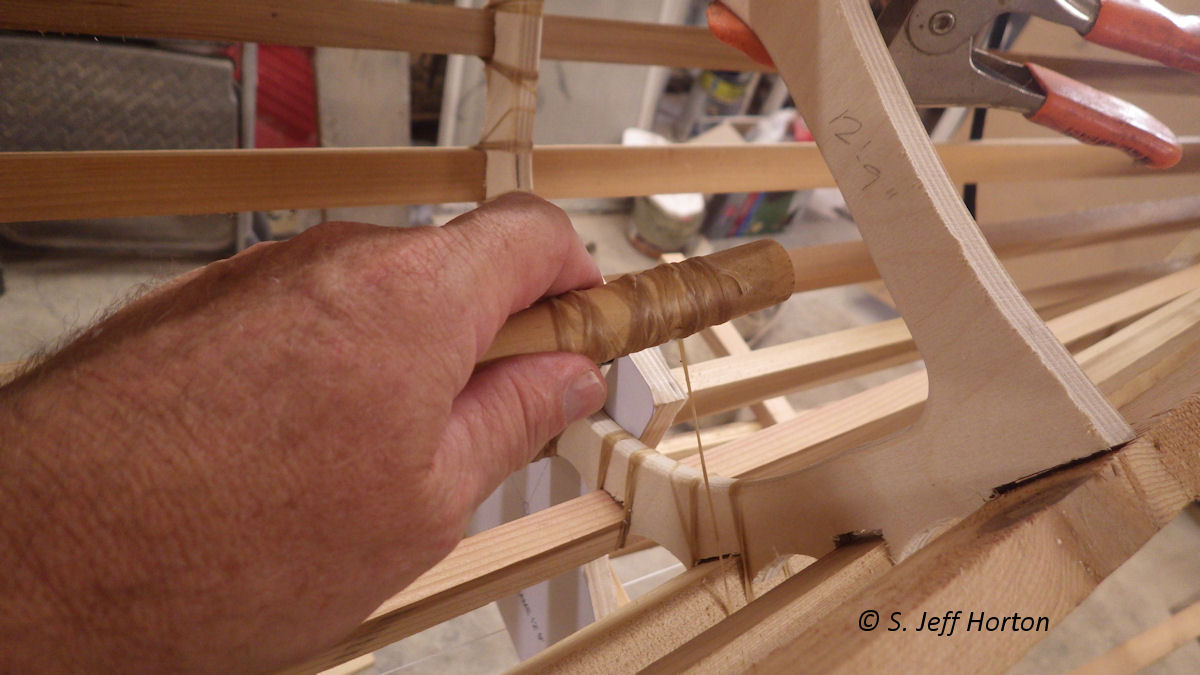
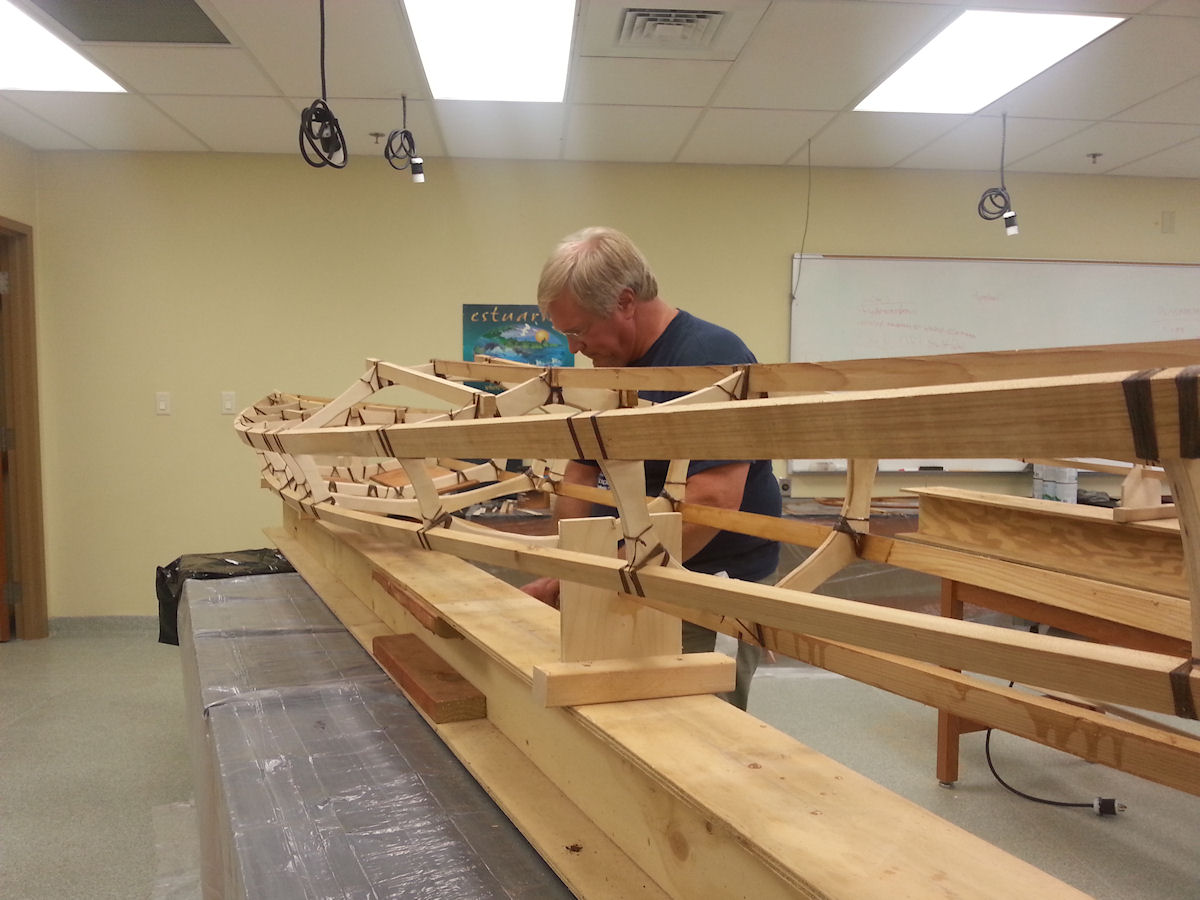
 It takes the students till the 3rd day to get the lashing to the point where we can take the boat off the strongback. However, these guys were here for one reason, to build a boat! The schedule is flexible and they decided to skip the extracurricular activities to stay in class and work. They even came back after dinner and worked when it wasn’t scheduled. By the end of the second day they had their frame to the point it had to come out of the strongback.
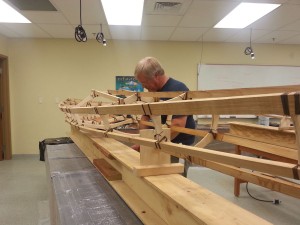
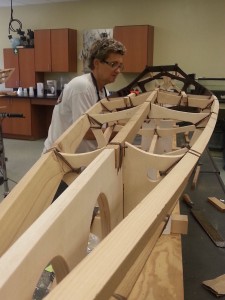
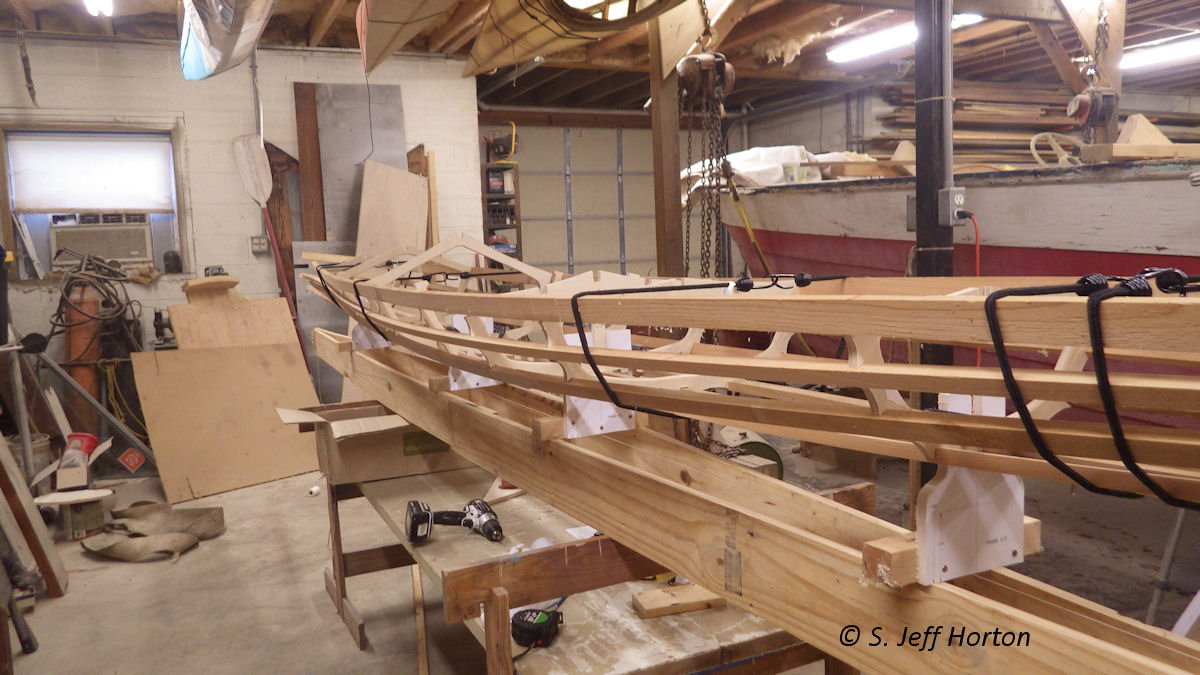
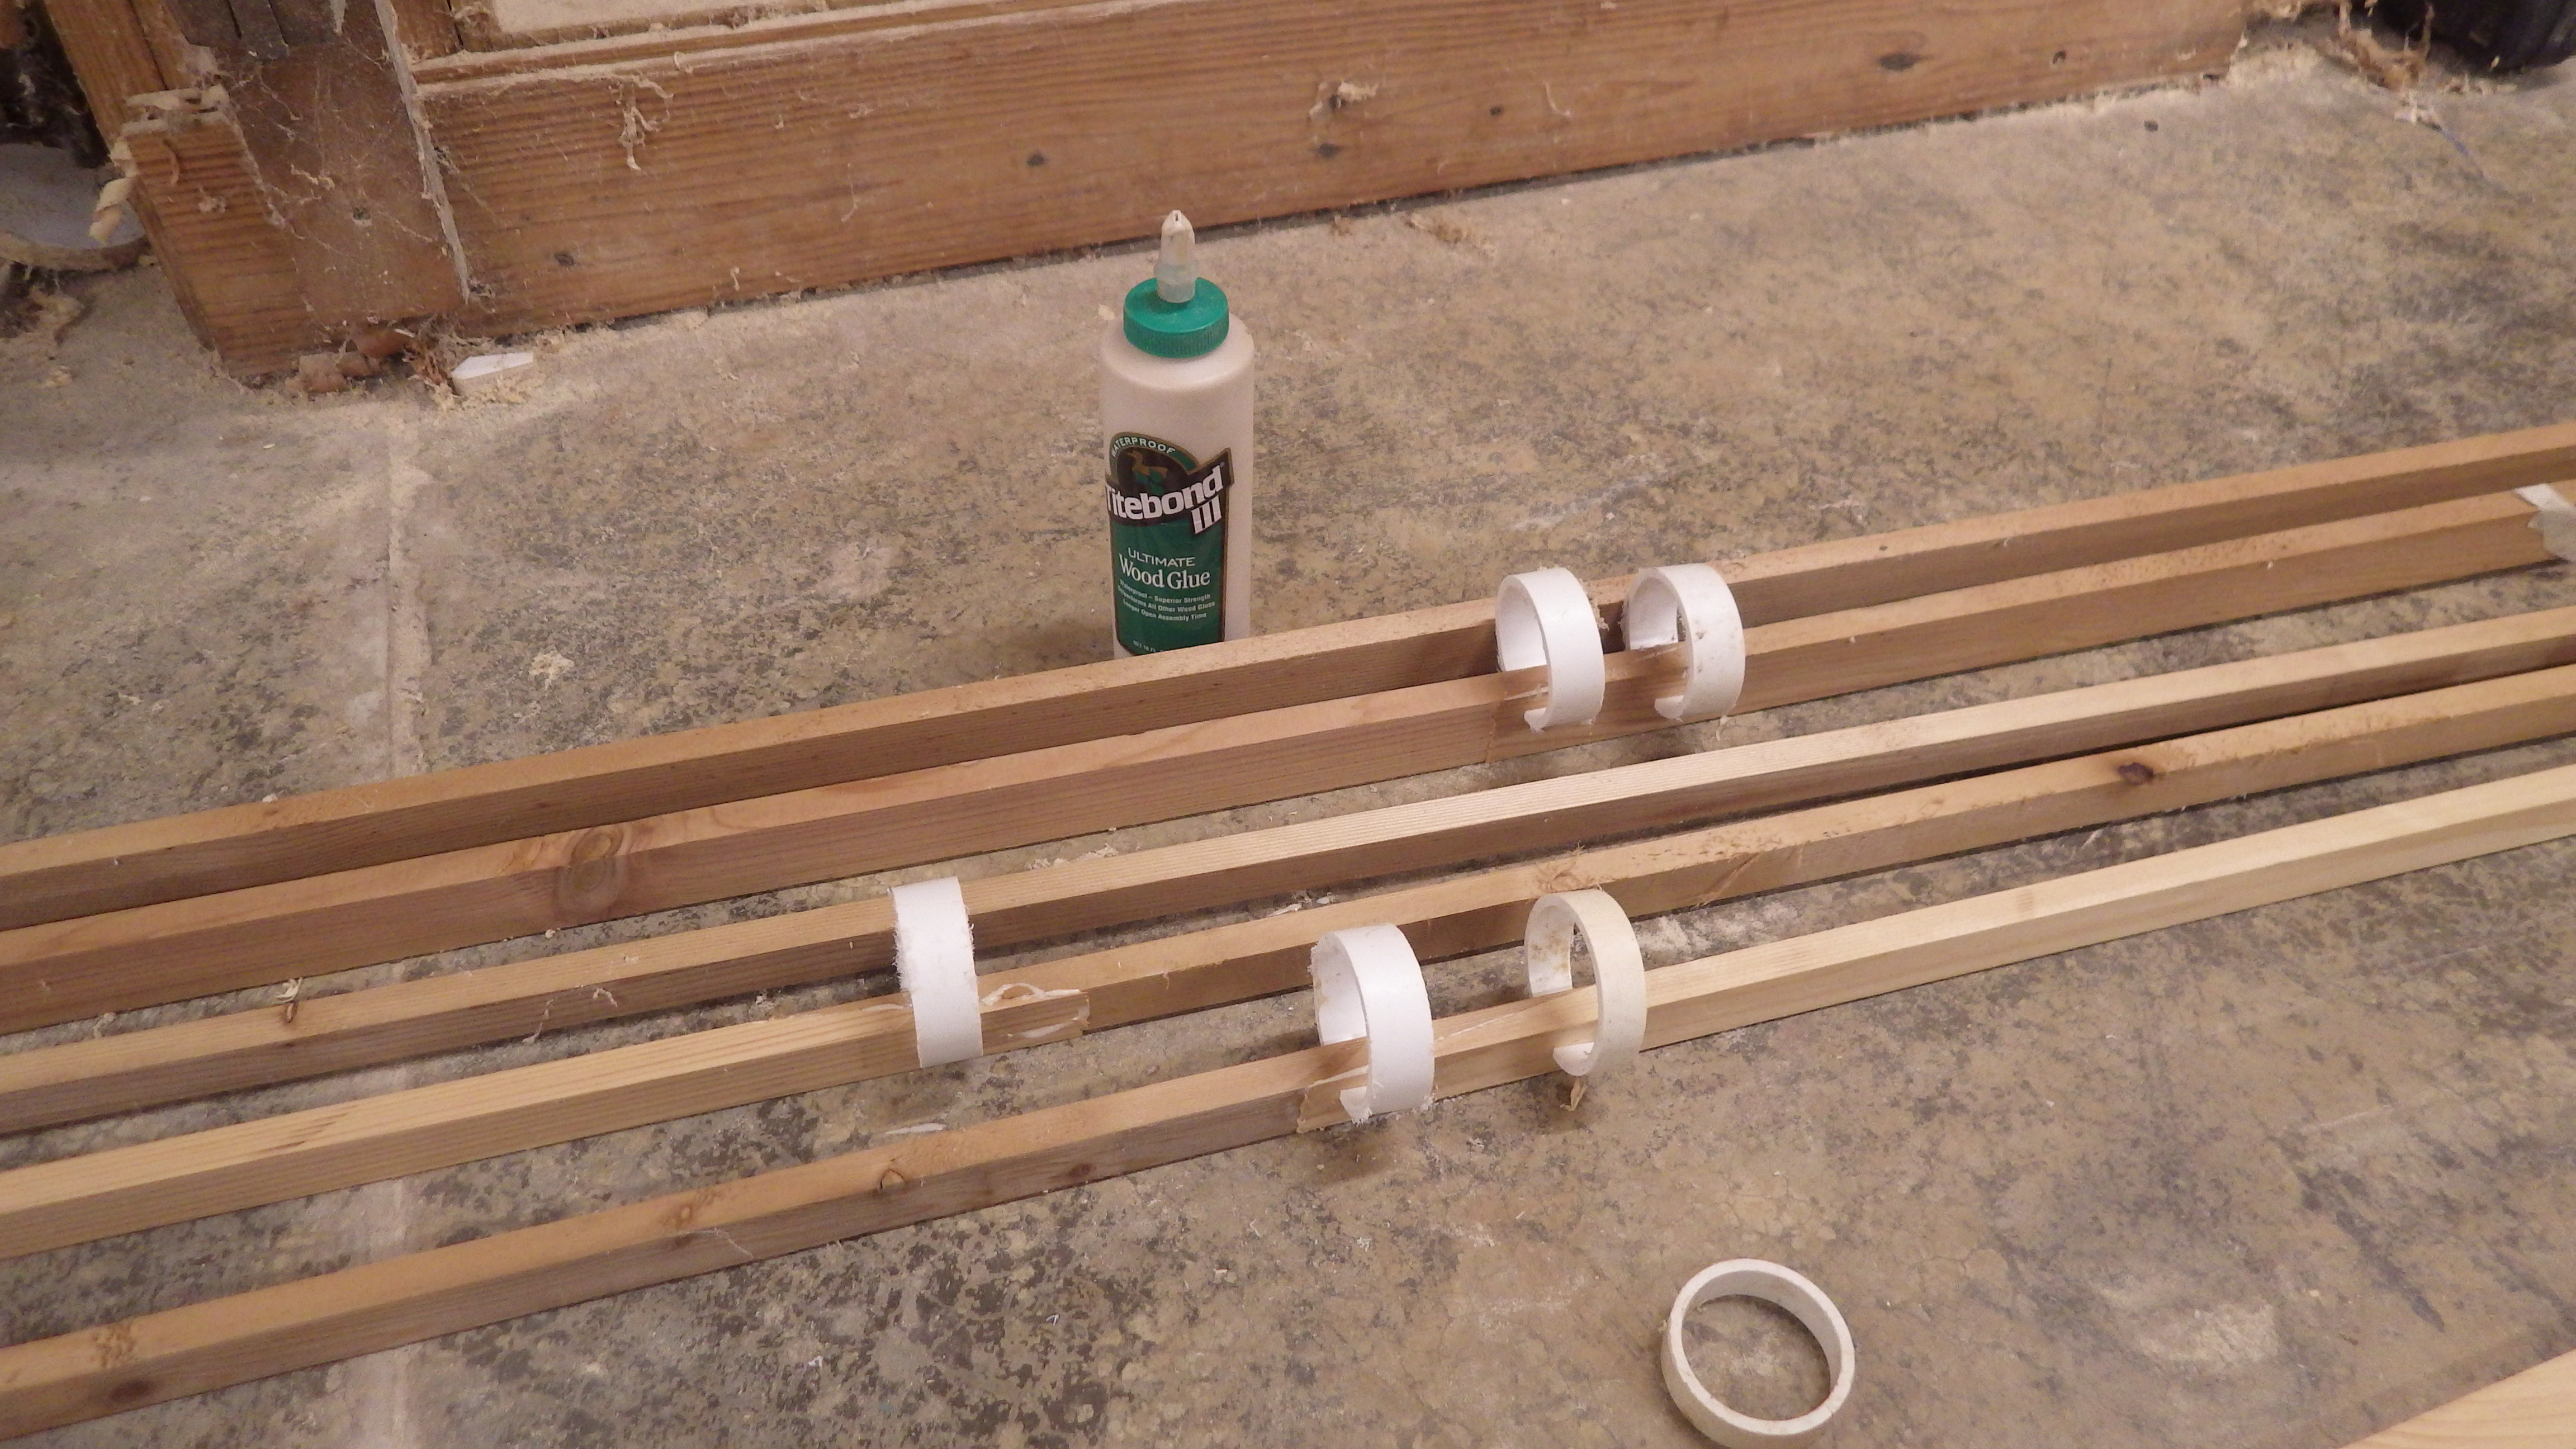
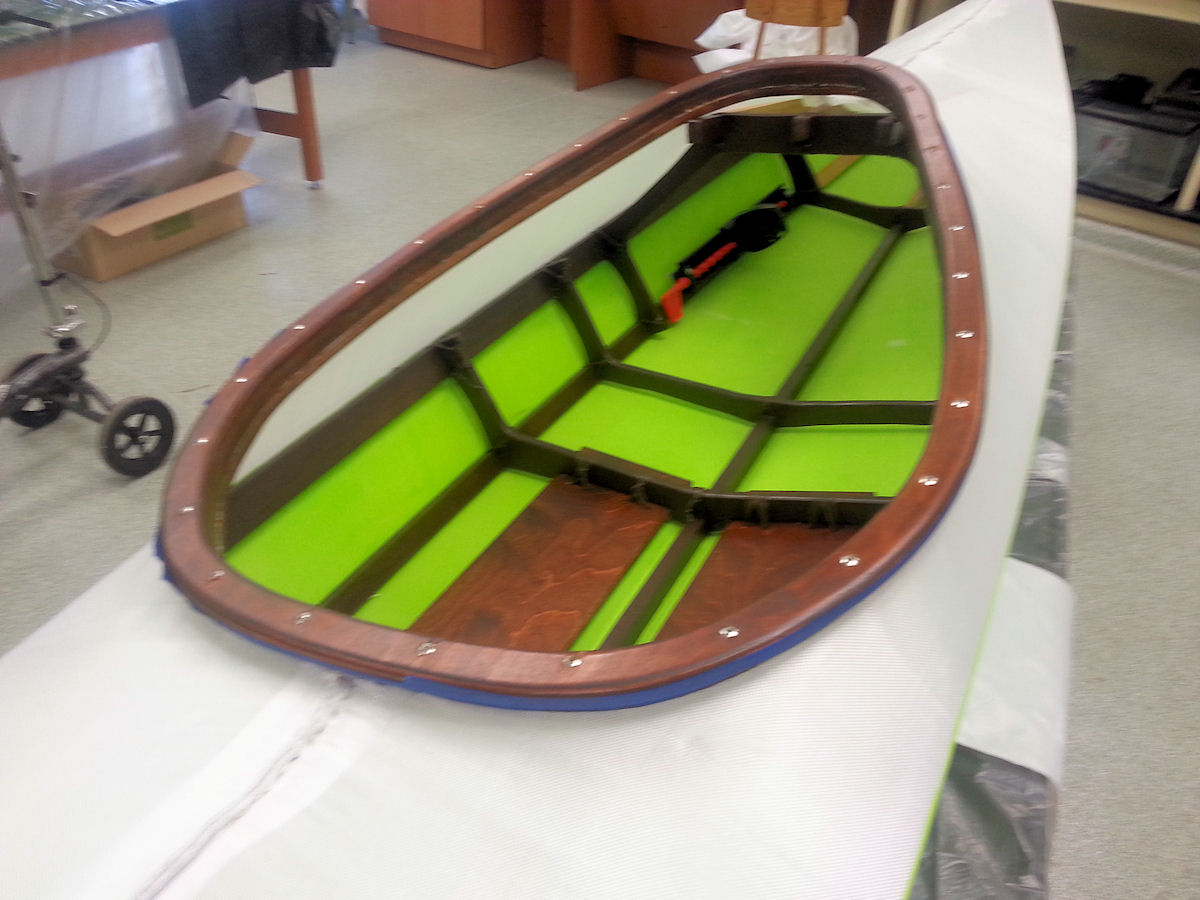
 We pulled off the frames, lashed the joints you couldn’t get to and then it is time to apply a finish to the frame. Because of the time limitations we use water based poly because it will dry quickly. Since we were a day ahead Wallis and Jim wanted to stain their frame as well as the coaming.
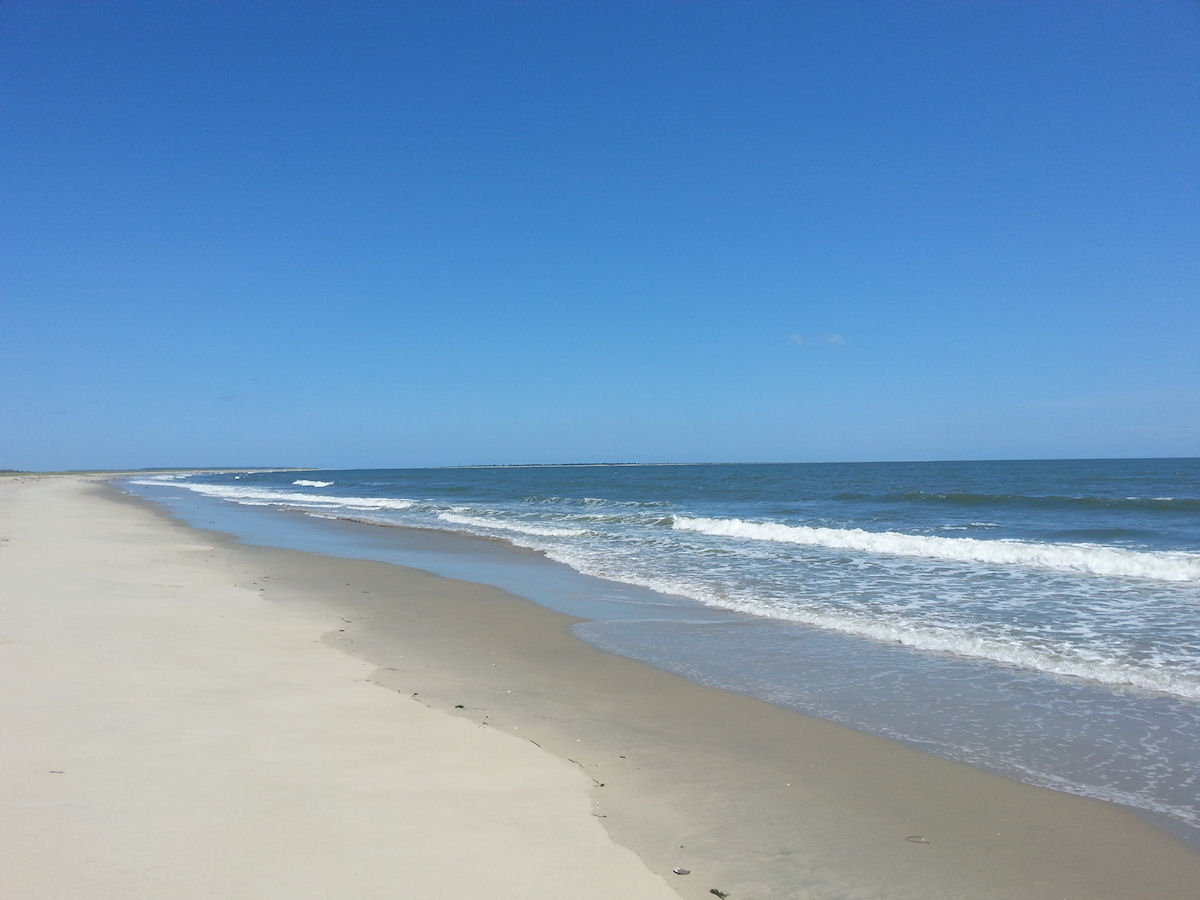
By the forth day, they were all starting to get a little tired from the pace they had been keeping. They decided to take some time off. So, the next couple of days we did some kayaking and went beach combing on Wallops Island, which is a Military base. It is used by the Navy and NASA has a launch facility there. The Field Station works with NASA and is the only group that gets access to the beach other than those that work or are stationed there. 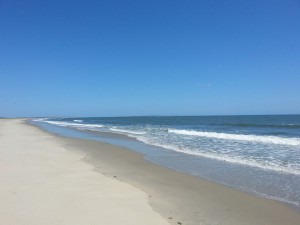
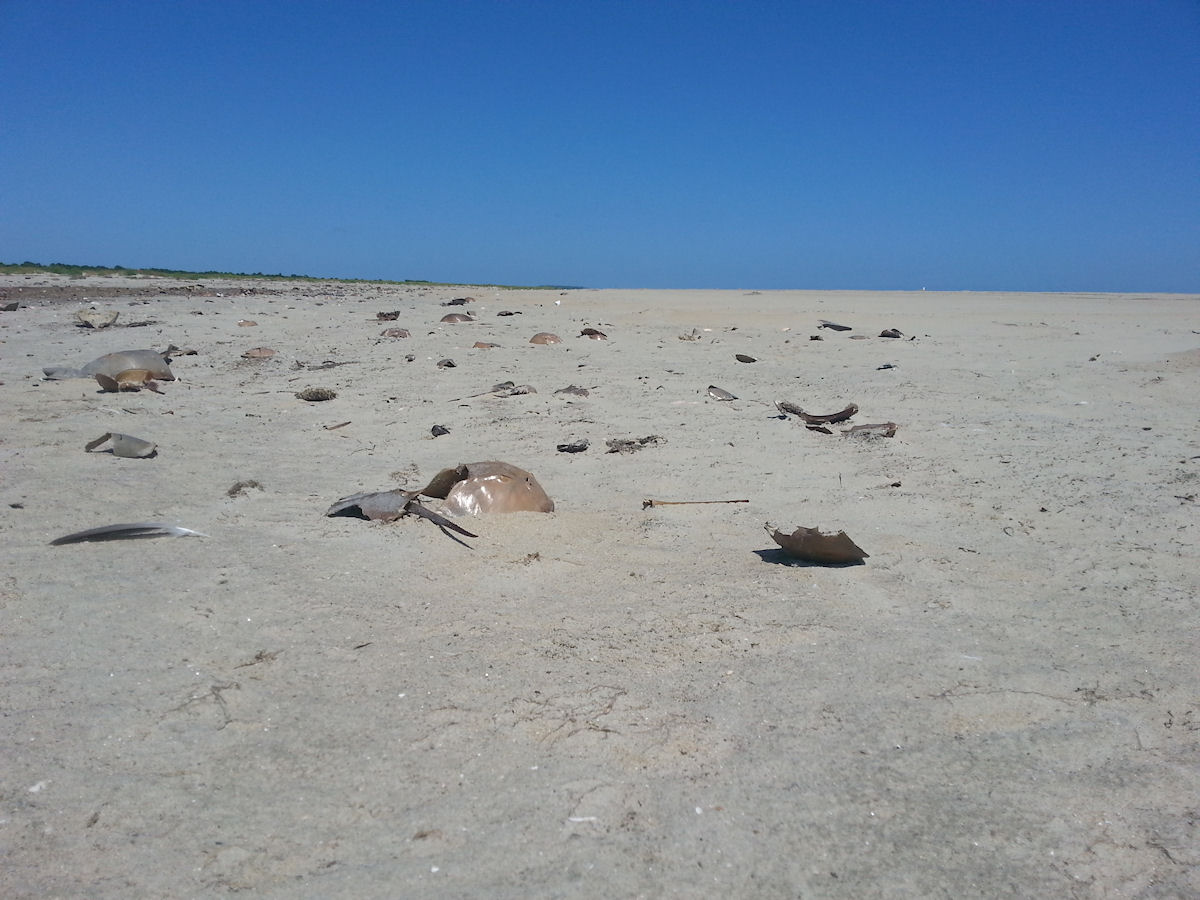
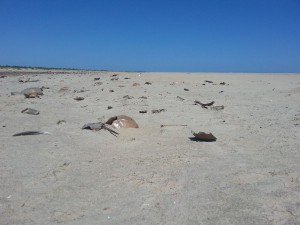 The beach was littered with Horse Shoe crabs. I discovered that this is Mecca for Horseshoe crabs!
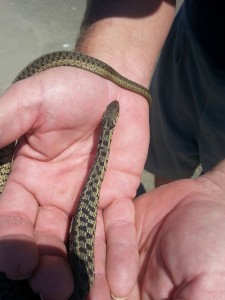 Tara, one of my educators found this little guy on the beach. I managed to catch him and calm him down. For such a little fellow he was seriously wanting to eat me! I thought it must be a Rat Snake but it turned out to be a type of Garter Snake I had never seen. My other educator Gabe, who was off that morning, was involved with an ongoing snake research project on the Island and told me they were a rare site on the Island. After a few photos, we turned him loose.
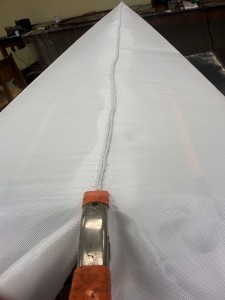
With the frame finished they started skinning the boats. I decided to try the Double Corded Stitch for the first time in a class and that was a good choice. It probably cuts the sewing time in half. I was also impressed with how straight their seams were for first timers too. They didn’t realize just how well they were doing though but I was impressed.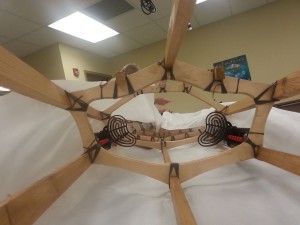

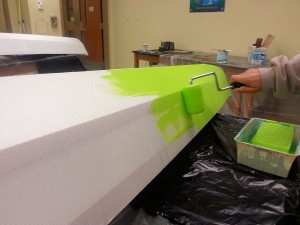
 Saturday arrives and it is the last big step, painting. I always look forward to seeing what color everyone picks. I had heard lots of ideas tossed around during the week, but when it comes down to the wire you never know what they will go with. Don seemed to go the safe route with white, but he had some big ideas for paint once he got home. So he just wanted to white base coat and has promised to send me photos of the finished product. Wallis and Jim…. well, they went bright!

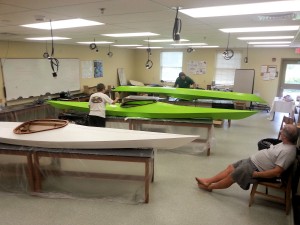 Sunday morning, 50 +/- hours latter we have 3 boats 99% finished. These guys have been hard workers and now it is time for their reward. We work on installing the backbands and painters. Finished any last minute details and it’s time to load up the boats and launch!
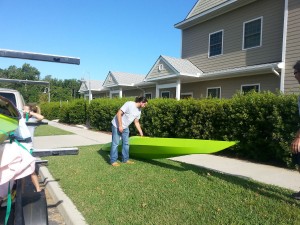
Don lived close by and decided to pass on the launching and so not soil the paint since he wanted to do some custom work on it.. He loaded up and said his good byes. And yes, that is a sweet little CJ!
 Gabe and Tara, my most excellent assistants for the week, loaded up the boats on their trailer and we headed the NASA docks to launch.
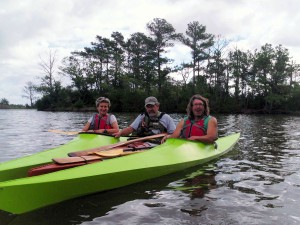 The smiles on their faces said it all! My camera had started acting up and I didn’t get to take any photos of us outside the harbor. I would have used my phone but there was at least 20 mph winds blowing and I wanted both hands on the paddle! That is a tough maiden voyage but it went very well and the boats looked great on the water. We paddled around for about an hour and I think no one was any happier than me! I love seeing those smiling faces in their new boats, that they built!