Lots of photos today and a good bit of progress too. I have started skinning the boat using the 8 oz polyester as I use on most of my boats.
I started sewing the skin around the boat, pulling it snug as I stitch. The one trick I learned when I skinned the first Firefly was to start at the cockpit and sew toward the bow. STOP, before you get to the bow and sew the Bifid bow first! Just trust me on this.
Sewing the Bifid is always tricky and my first attempt didn’t go to well. I had to remove a lot of my stitches and try again. Second time around looked much better. I ended up with a couple of puckered spots but I expected that and they will (should) pull tight once I shrink the skin.
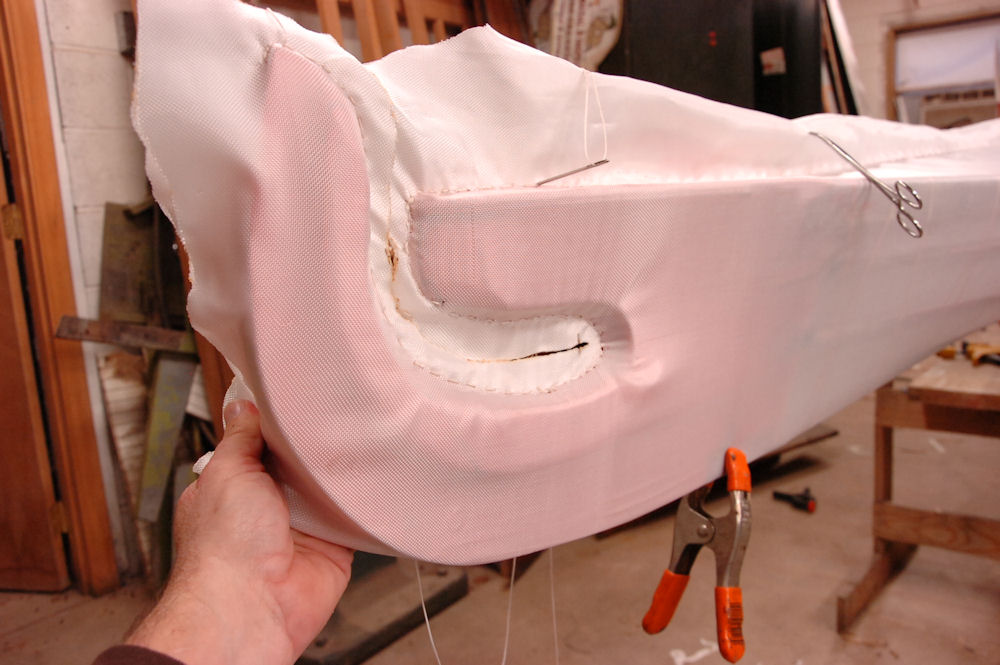
Another thing I am doing different is I am using Heat N Bond tape on the front of the bow to hold the skin in place. It is heat activated adhesive tape and you literally iron it on to the wood. Then peel off the paper backing, stretch the fabric tight and iron the fabric to bond it to the tap. I found it fairly easy to work with has a really good bond in one direction.
If I lift the fabric I can peel it off easy enough. But when pulling across the bonded area and not lifting it has a really good grip. So in this application it works really well. But it is not a permanent solution.
Once the boat is painted, I will be adding a bronze rub strip, screwed in place over it to finish it off. That will hide the exposed edges of the fabric and provide a very durable rub strip in the most damage prone area of the boat. And I think it will look better than stitching does.
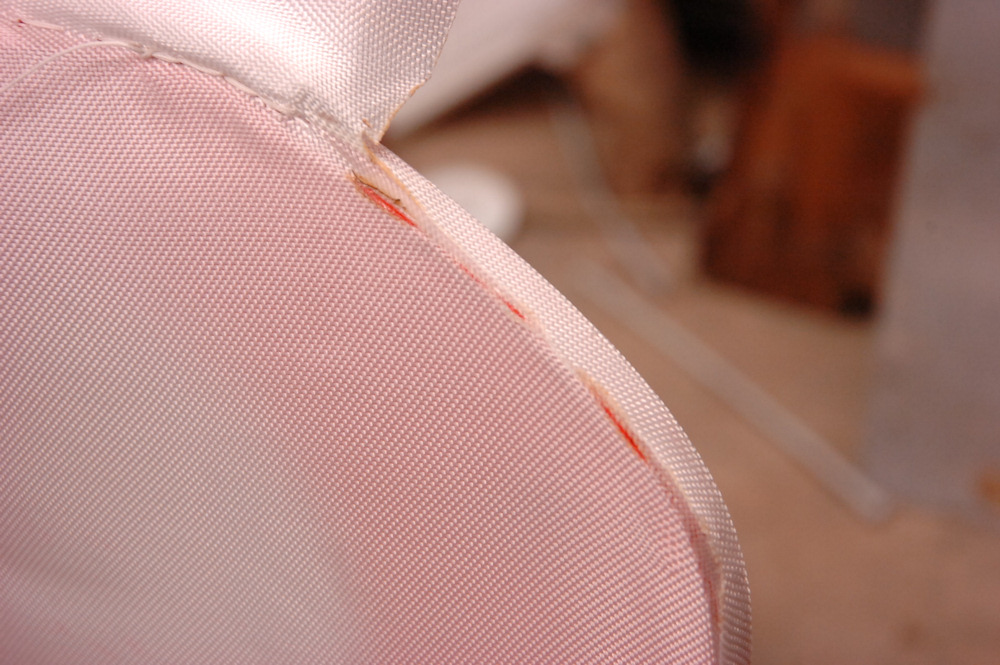
WOOPS! This is the stern and I used the tape there too. When I was trimming the excess fabric I stood on the wrong side of the boat and couldn’t see that I was hitting the corner with my hot knife and melting the fabric. If this were a clients boat I would have started over, but since it was mine I decided to repair it instead.
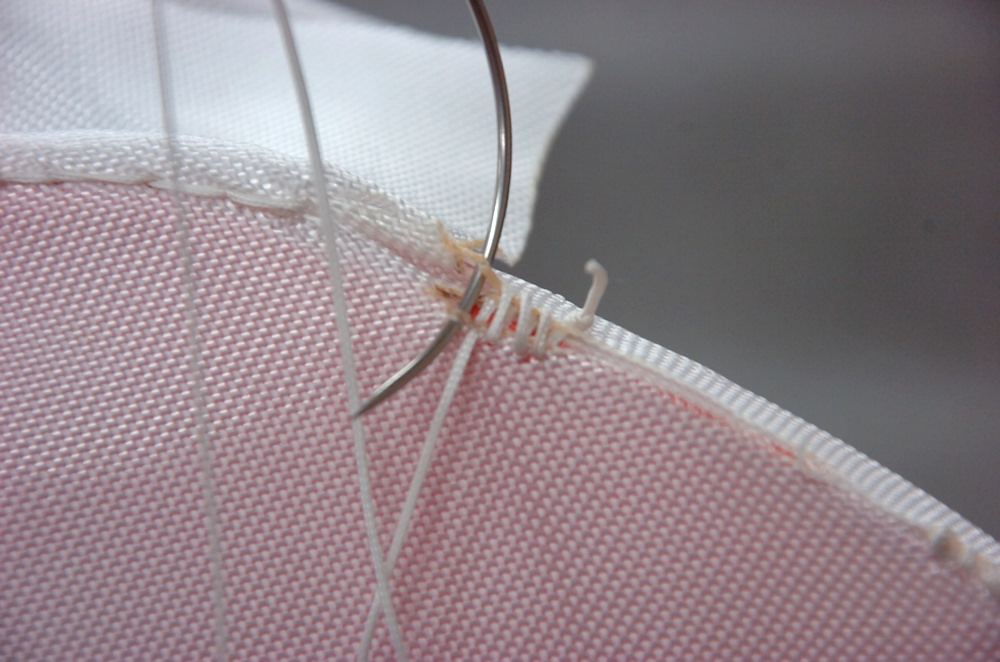
Using a curved needle I ran several stitches close together though the fabric behind the melted edge.
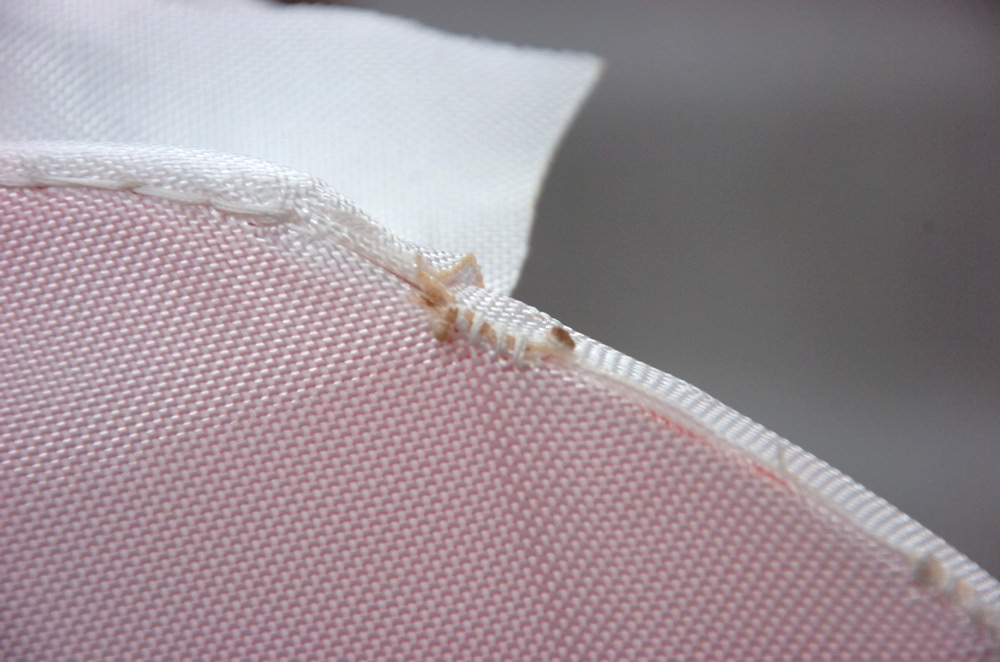
Once it is pulled tight and the thread trimmed close you can barely eve see it. After it is painted and the brass rub strip is in place, I think it will take a sharp eye to ever spot it.
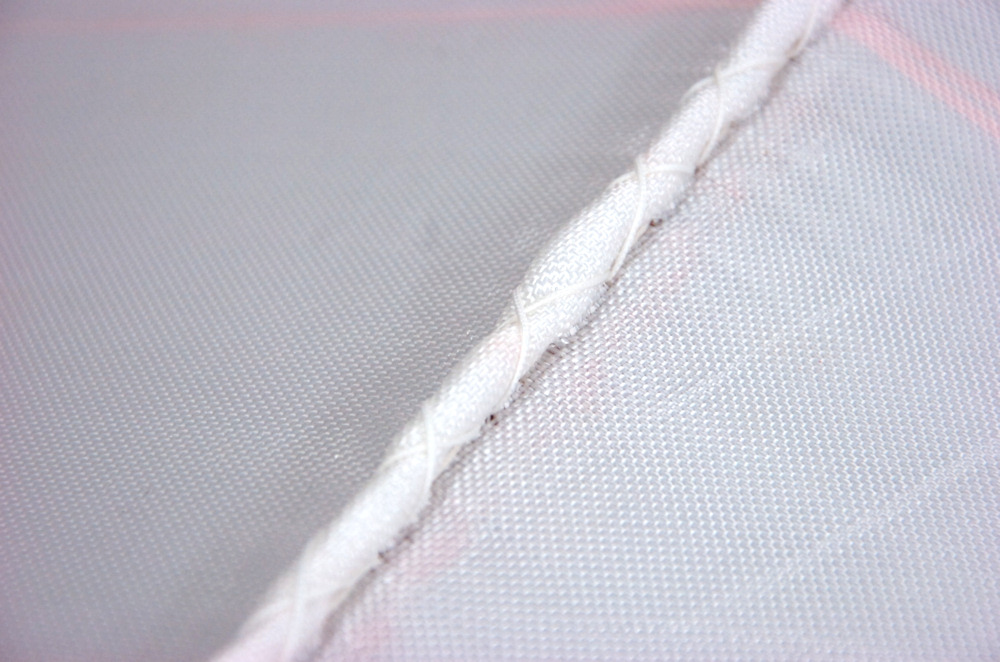
I did something a little different on the sewn seams this time. I usually just do a whip stitch and pull it tight. That makes it resemble 3 braid rope. This time I did 2 whip stitches from opposite sides and I only pulled the thread snug so that it did collapse the rolled fabric. This leaves me with a smooth bead down the center and it will give the boat a cleaner look.
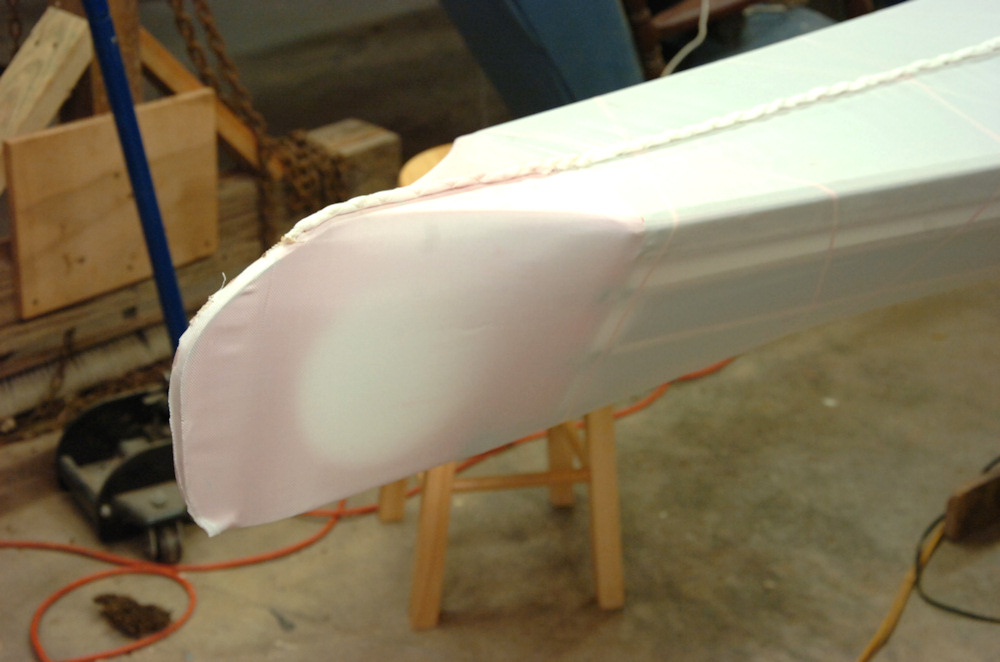
Here is the stern after I shrunk the fabric a little. If you remember I really struggled with the design for the stern and now I couldn’t be happier with this. It still looks traditional but it has a little flair and is not just squared off like many were. I never liked the squared off corners but I love this!
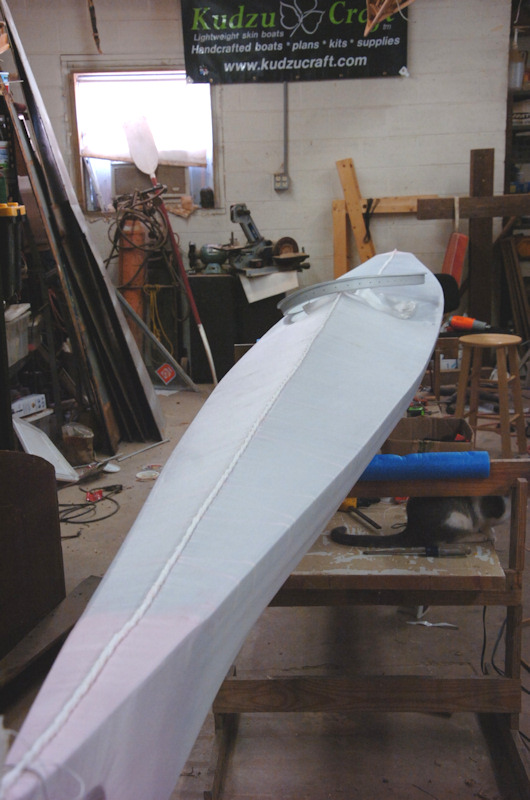
Check out those straight seams! Yea, I am bragging just a little bit. I need to install the coaming and finish the seam around the Bifid bow, which I am not looking forward too! That is going to be hardest part of the sewing.
The white coaming is a first for me, I usually varnish them but this will has a ‘special’ paint job so I decided to paint it to match. And that’s the only hint you going to get on paint job.