| Ā | Ā
Building a Wine Rack
I had a few people ask me about how I built the rack for the wine bottles in the Wine Cabinet. So, I put this together rather quickly. I assume you know a little bit about woodworking so this is not very detailed. I started by cutting by drawing my rack on a piece of plywood. This gave me the spacing and I could see how many strips I would need and the lengths. Then I cut a pile of strips from the scraps. You want to get the strips smooth at this point, as it not easy to go back and sand them once they are glued up! Click on picture for a larger image 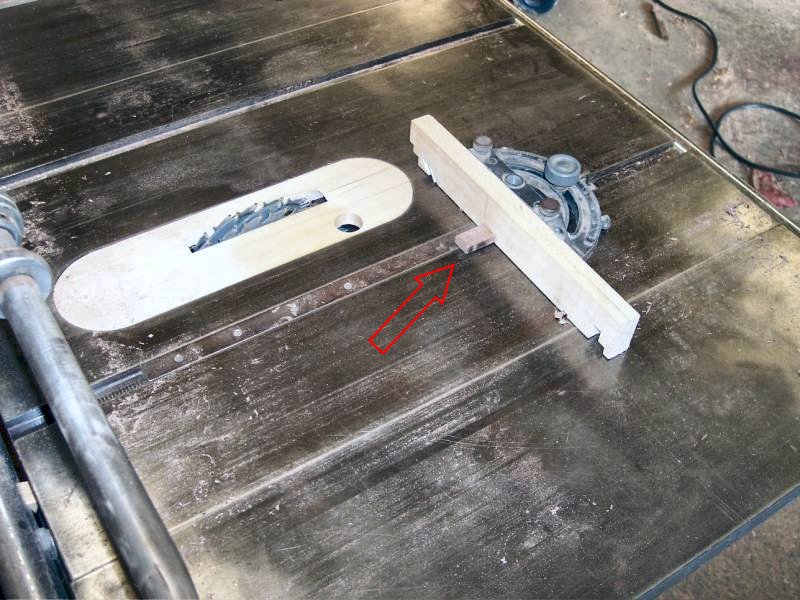
After I determined my dado size I made a simple jig attached to the miter gage. Once you cut the first dado, simply place it over the tongue and cut the second dado. Just keep doing this till you have all you dado's cut. 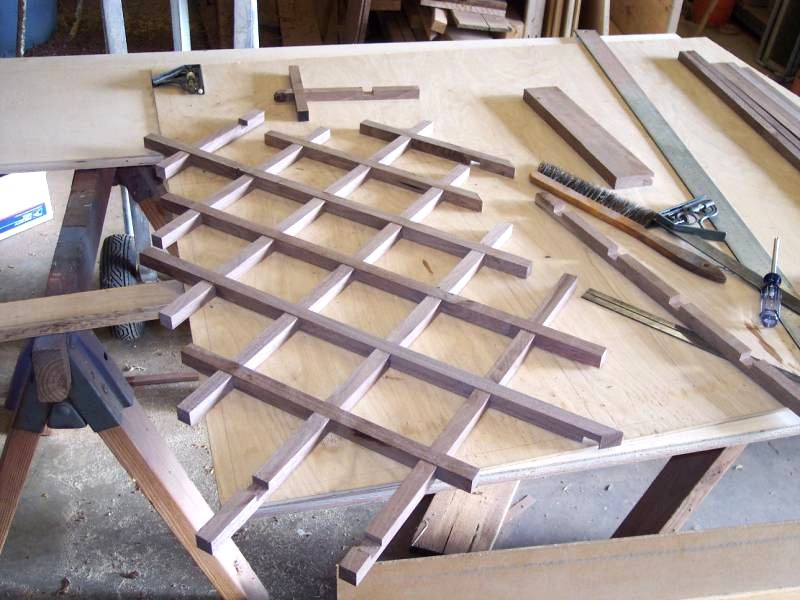
You can't see the pencil marks in this photo but I drew the whole rack full size. As I finished each strip I laid it on the my drawing I made to make sure I had all the pieces and that they were long enough. It was also handy for checking a rough strip to see if it was long enough before cutting the dados. There are many different length strips. 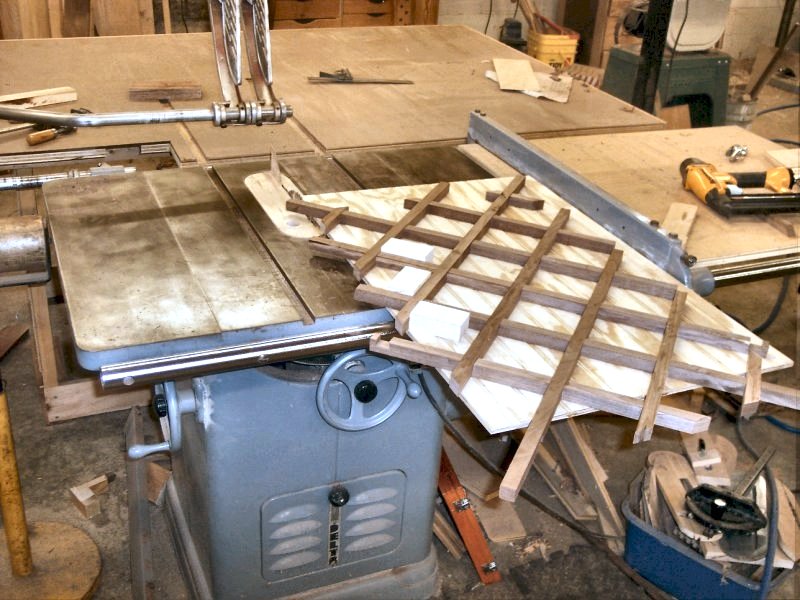
Once I got all the strips cut and glued up I made a sled to hold the rack so I could cut two edges square. I used my layout sheet and just added a few blocks from some scrap. Make sure your sled is straight and square and that the rack held firmly so it doesn't slip. Once these two sides were cut I took the rack off the sled and just used the cut edges against the fence to cut it to final size. 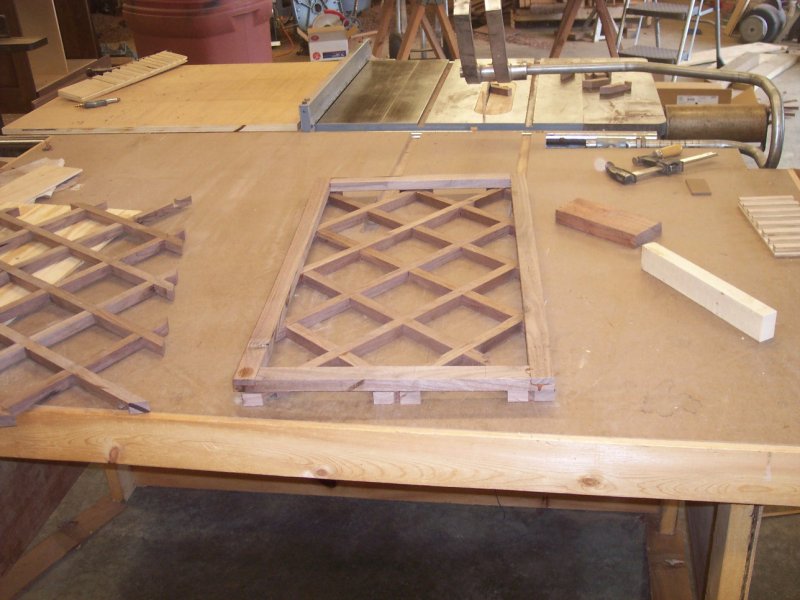
I would have liked to make the rack fit into th opening with no frame around it, but I couldn't justify all the work it would take to do that. So I made a simple lap joint frame that was fitted the opening. That way my rack could be a bit small and the frame would hide the gap. 
I installed the frame into the case with screws and plugged the holes. Then I glued the rack in place to the frame. Use the same procedure from the back for the rear rack. Once it's dry, it's ready for finish! |