| Ā | Ā
Building Traditional Garage Doors Any project should start with a good idea of what you want. I was a draftsman/designer years ago so I naturally start with some drawings. In this case more rough sketches. This is what I had originally drawn on the plans. I had two ideas for the doors. 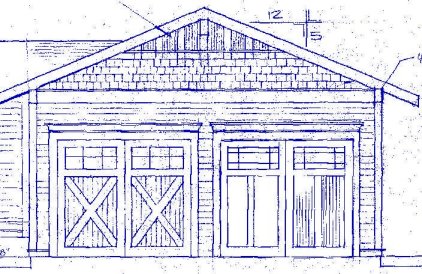 I laid out lumber on the floor of the shop to try to get a feel for the proportions of the doors. Problem is it is very hard to 'see' such a big item laying on the floor. Someone suggested laying out the doors full size on the wall with blue painters tape. This turned out to be a great idea!! We tried several different ideas on the wall, some were pretty bad but it was great to be able to stand back and see it full size. I highly recommend this approach! It's great to be able to take measurements of the wall too when you building the door. 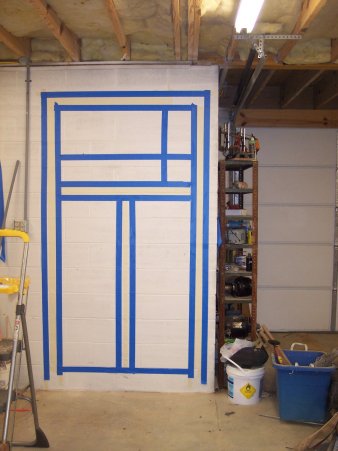 A couple of things I decided on is that the bottom rail of the door should be the tallest. My doors are roughly 4 1/2 feet wide and 8 feet tall. My bottom stile ended up being 8" and all the rest of the styles and rails 6". I think 10" would have looked good too. I would have had a lot of waste if I went 10". That is where the mock up was great, I could try both before I cut the wood. A word of advice that worked for me. Even thought I measured the door openings as being square, I made each door about an inch larger than I measured the opening. I stood the doors in place and marked and cut the height on each one. Then I placed both doors in the opening and let them overlap. I marked the overlap on both doors. I took half the overlap off each door and stood them back up to check the fit. Some of you maybe able to skip this step but I felt it was worth it to assure that everything aligned up properly |