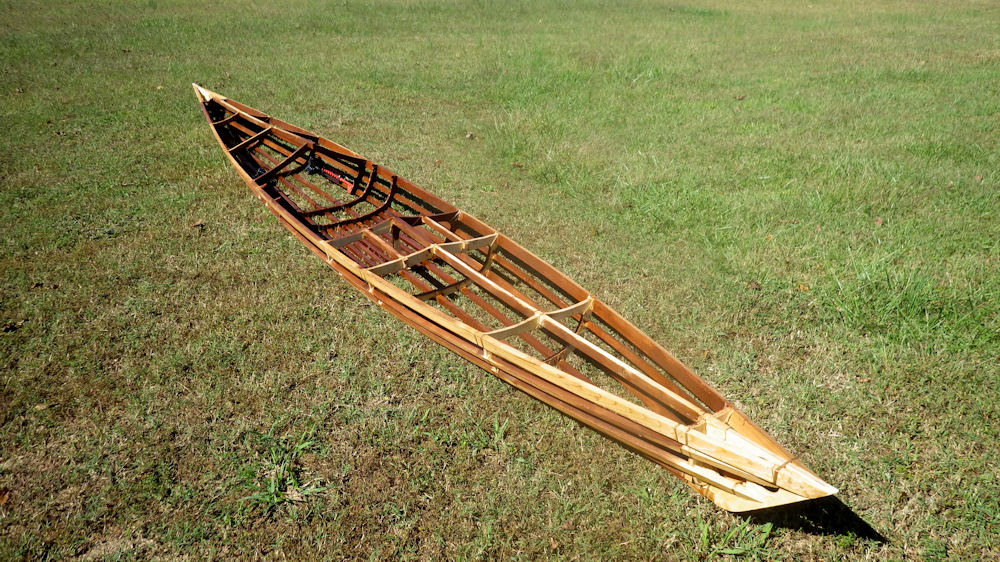
Had an interesting post on Facebook and I wanted to share this with all the newer paddlers. Someone wrote “Finally conditions were right for sea trials. She (a Ravenswood) wants to point up into the wind. Any suggestions?”
When I see posts like these I usually have more questions than answers. Since I can’t see the boat or the paddler, usually the best I can do is make a guess. In this case, the person asking was in my last class at Chincoteague, VA and built his Ravenswood in my class. So I know the boat, it was built correctly, so I can pretty much eliminate the boat being the problem. I also know he is a relatively new paddler so I can make an educated guess as to what is happening.
Kayaking looks easy doesn’t it? You jump in, just paddle left, right, left, right and away you go. While is true, there is more to it than meets the eye.
Controlling your boat or making it go where you want is more involved than it appears at first. A good paddler finesses the boat. Unless you look closely at what the paddler is doing, it appears the boat just goes where he wants. In reality he is using his body, paddle and boat to go where he wants. It is not obvious and takes some instruction and time to learn to do well.
As a new paddler you may not know that a well-designed boat should tend turn into the wind, or weathercock, much like a wind vane points into the wind. The reasoning is, if you stop paddling the boat will turn into the wind and faces the waves head on. It is much safer to be pointing into waves than being sideways or them coming from behind you.
You may read reviews about a boat and complaints about it weathercocking. All boats should weathercock but usually the complaints meant that it does it very strongly and is hard to make go any direction other than into the wind. The trick for the designer, is finding the balance so that the boat does turn but not so strong that it is a struggle to paddle the boat, especially in a stronger wind.
New paddlers start controlling the boat by using their paddle. If you paddle a couple of harder, quicker strokes on the right it will make the boat to turn left. Paddle on the left side to make it go right. This is the first skill you usually learn and then you build on it.
A lot of new paddlers will paddle a little ways then stop paddling and let the boat glide along, then start paddling again. Very few kayaks will go straight on their own for very long. Once you stop paddling, it is going to start to turn to one side. Even when paddling the boat is going to turn off course eventually.
The mistakes most often made is to waiting too long to stop the turn. The longer you wait, the harder it is to stop and the more energy it takes to bring it back on course. As soon as you notice the boat starting to turn you need to apply a little corrective action with the paddle and bring it back in line. The faster you react the easier it is to correct.
Another technique to make the boat turn is to lean the kayak as you paddle. If you want to go left you lean the boat to the right and paddle on the right side. This feels totally wrong because in a car, you lean into the turn but in a kayak you lean the boat the other way. Keep in mind you want to lean the boat with you hips and keep you torso upright. It takes practice to get comfortable with this but it is skill you should develop!
Most paddlers will assume the boat has a problem when things don’t go right but often times they just have not developed their skill set to the point of being able to do what they want it to do. In this case, while I don’t know exactly what was happening I strongly suspect it was just part of the learning curve.
I had to learn kayaking by doing, there were no instructors in my area when I started. I struggled along making lots of mistakes and got frustrated at times. I did eventually meet some people that paddled and learned a few tricks from them which made paddling much more enjoyable.
When a friend of mine became an ACA instructor I photographed an Introduction to Kayaking class he was teaching. Watching his class was an eye opener! His students walked away knowing what had taken me at least a year to figure out on my own. I realized how having someone watch you and show you the tricks was the way to go. First timers walked away knowing more than I knew after my first summer of paddling. I very serious when I say, If you want to learn to kayak, take some lessons, It is money well spent!
Remember, the water is not your friend!
![IMG_3135_2[1]](http://www.kudzupatch.com/blog/wp-content/uploads/2015/07/IMG_3135_21.jpg)
![43[1]](http://www.kudzupatch.com/blog/wp-content/uploads/2015/07/431.jpg)
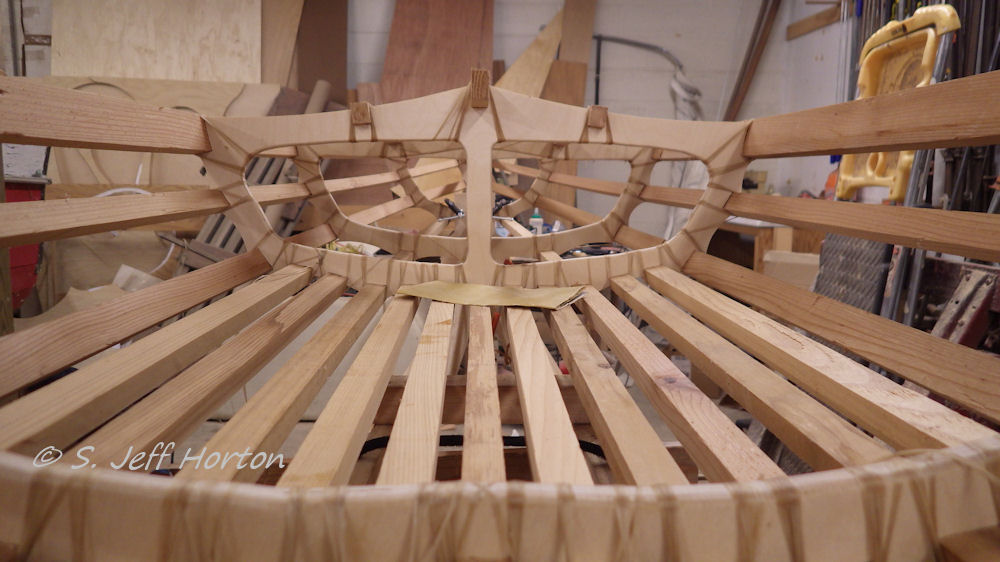
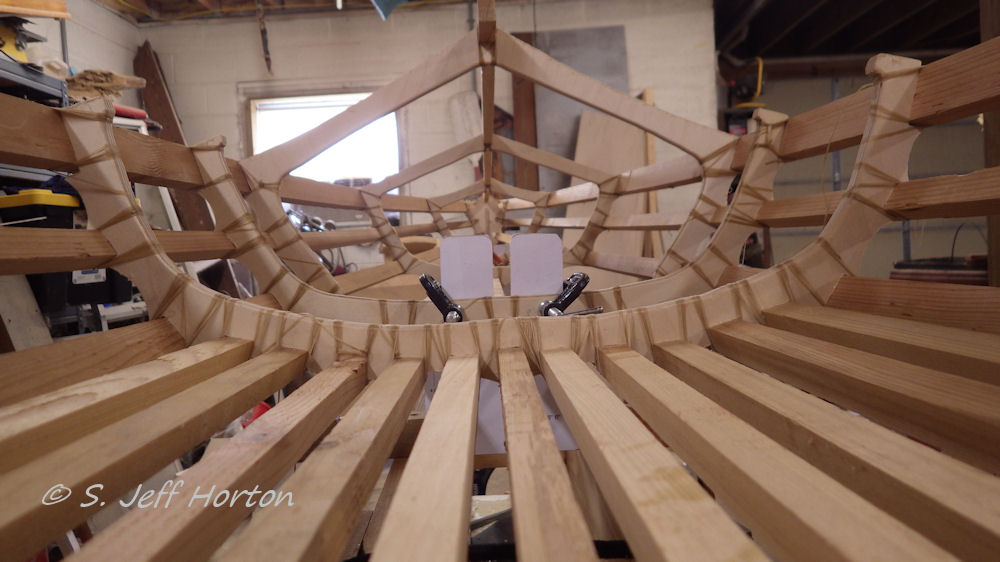
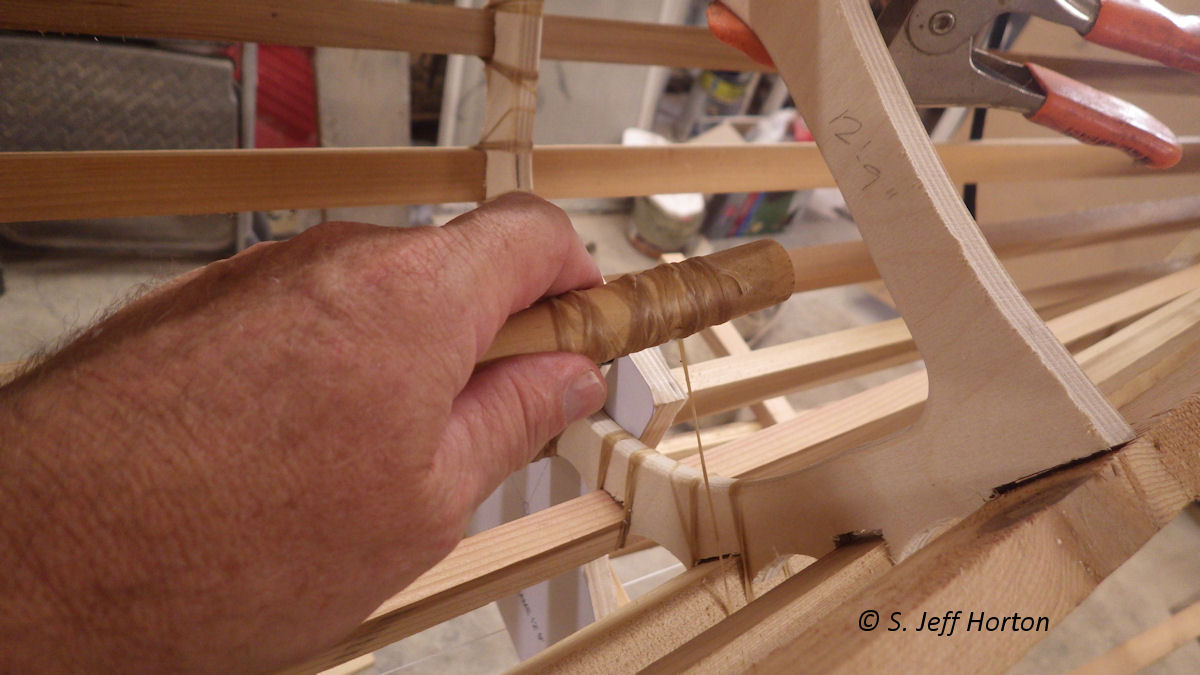
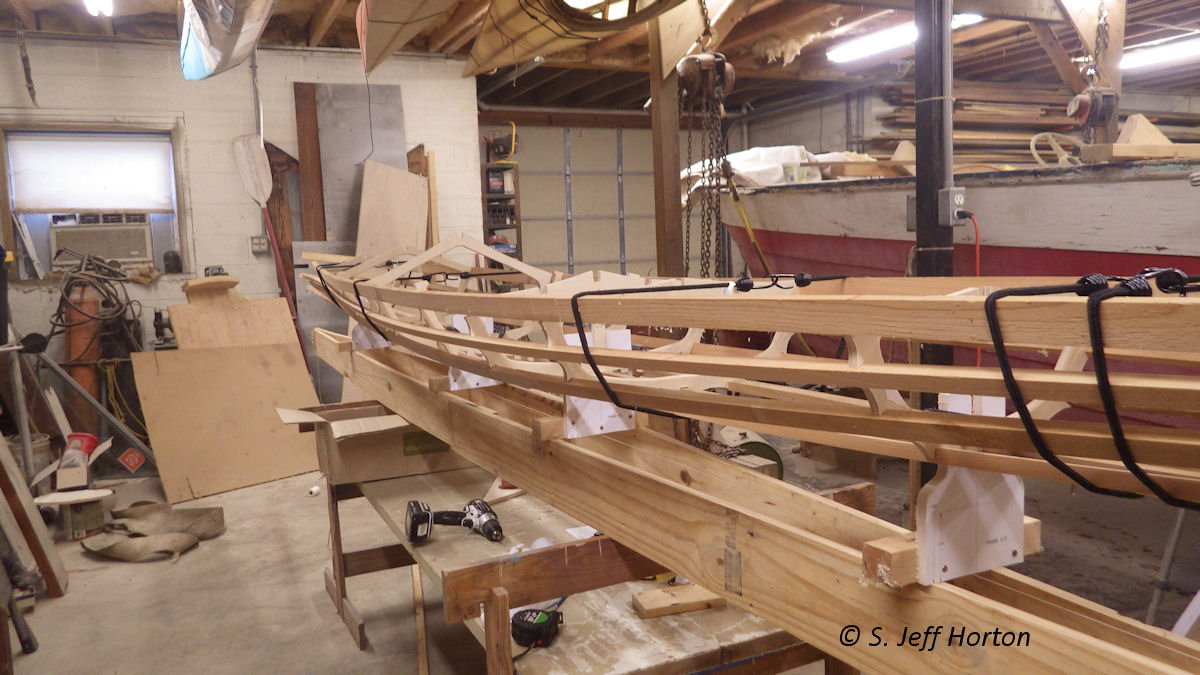
![41-1800x1200[1]](http://www.kudzupatch.com/blog/wp-content/uploads/2015/07/41-1800x12001.jpg) If you want to know more I suggest you go to his blog about he build. I have read it and I am very impressed!!
If you want to know more I suggest you go to his blog about he build. I have read it and I am very impressed!!

![10155175_10152857752083637_3146700171828702359_n[1]](http://www.kudzupatch.com/blog/wp-content/uploads/2014/11/10155175_10152857752083637_3146700171828702359_n1.jpg)
![10407065_10152868674548637_7053745604893262592_n[1]](http://www.kudzupatch.com/blog/wp-content/uploads/2014/11/10407065_10152868674548637_7053745604893262592_n1.jpg)
![1467336_10152868674633637_4366544975802705400_n[1]](http://www.kudzupatch.com/blog/wp-content/uploads/2014/11/1467336_10152868674633637_4366544975802705400_n1.jpg)